The most authentic way to make pineapple cakes! You'll understand why handmade pineapple cakes sold on the street are so expensive after just one try! I've written down all the precautions and potential problems in detail, so please read carefully. Don't doubt other people's recipes just because you don't succeed yourself. The recipe is one I modified based on my own taste and combined with recipes from several other bloggers. Please remember that everyone's taste is different! What I post only represents my own experience.
Materials
Pineapple cake & pineapple filling recipe steps
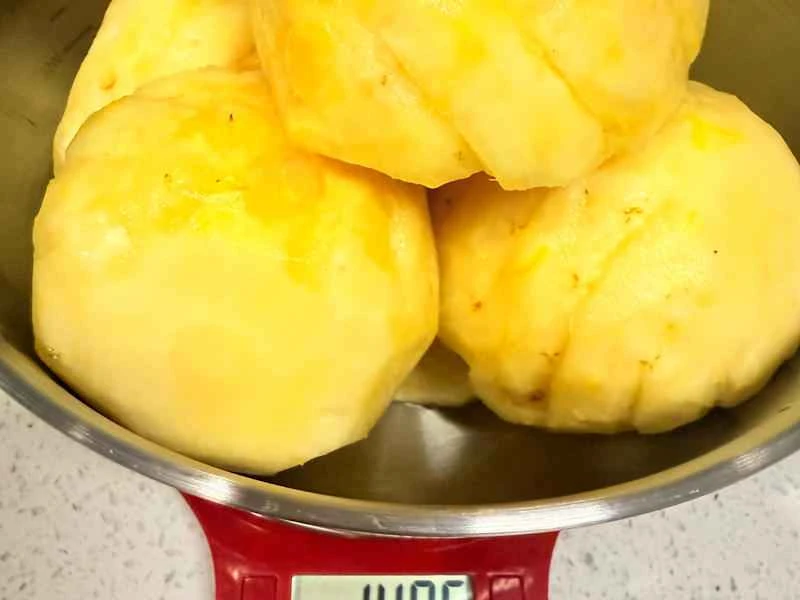
The pineapple weighs approximately 1500 grams after peeling.
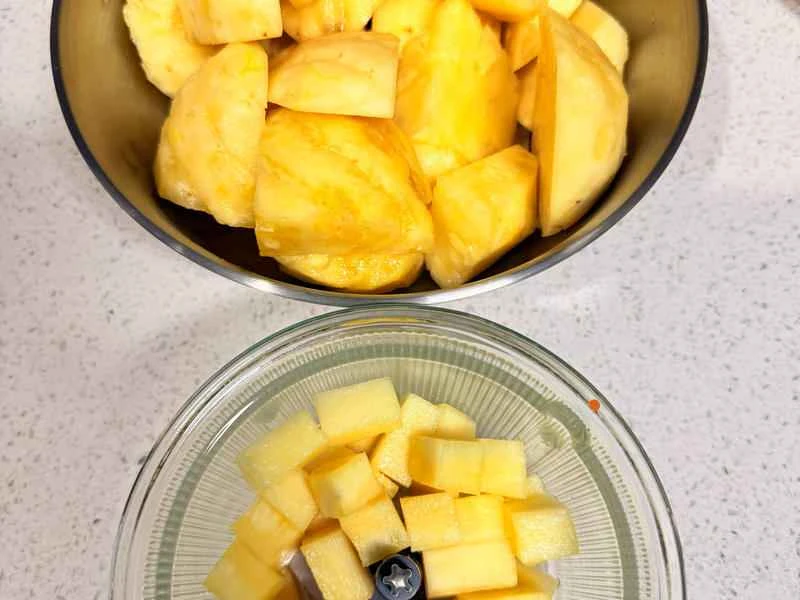
Cut out the hard core from the center of the pineapple and blend it into a puree using a food processor, making it as smooth as possible.
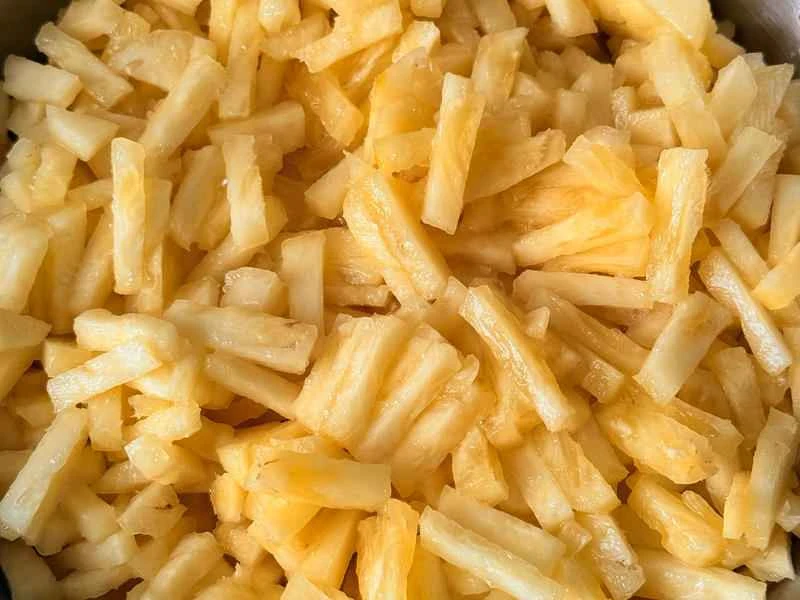
If you like a fibrous texture, cut the pineapple flesh into shreds or strips, but remember not to chop it too finely. If you prefer a smoother texture or want to save time, you can also use a food processor to grind it into small pieces. I like to be able to taste the fiber, so I cut it with a knife.
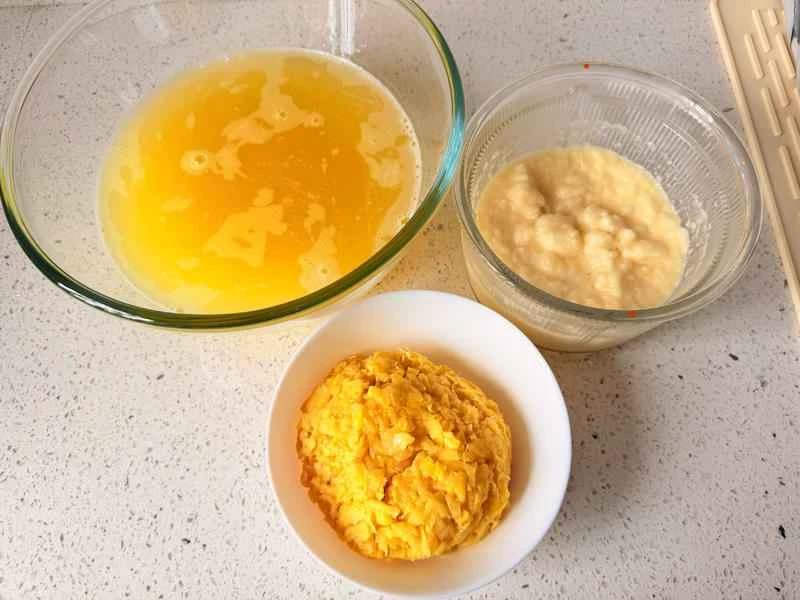
Strain the chopped pineapple flesh through cheesecloth to extract the pineapple juice. Puree the pineapple core into a smooth paste. Set aside the pineapple juice, the strained pineapple flesh, and the pureed pineapple core. The pineapple juice will produce a lot of foam; you can strain it twice or simply skim off the foam with a spoon.
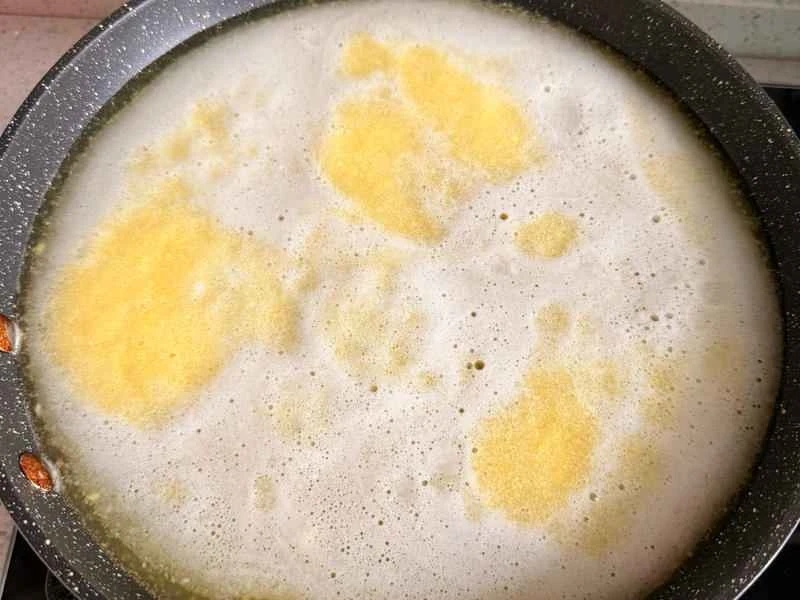
Pour the pineapple juice and pineapple core puree into a non-stick pan and bring to a boil over high heat. Then reduce to medium heat and simmer until it becomes a concentrated pineapple puree. Simmering the puree makes the pineapple filling more flavorful; if you filter out the juice, the filling won't have as much of a pineapple flavor. This step is optional, as some people simply drink the pineapple juice instead of drinking it.
Bring to a boil over high heat, then reduce to medium heat and simmer.
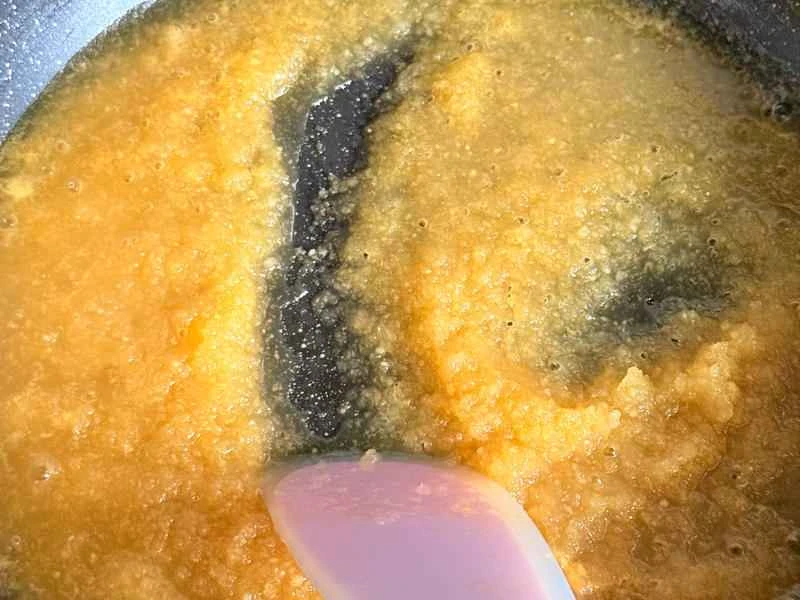
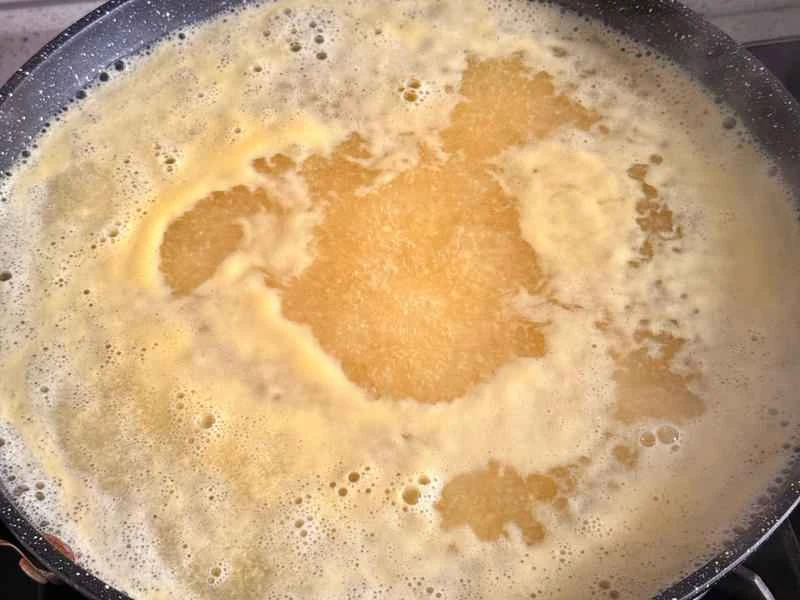
It took me about 45 minutes to cook it to the consistency shown in the picture. The process is actually not complicated, it just takes a little time. You don't need to stir it much during the process, and it won't stick to the pot. But remember to use a non-stick pot to cook it.
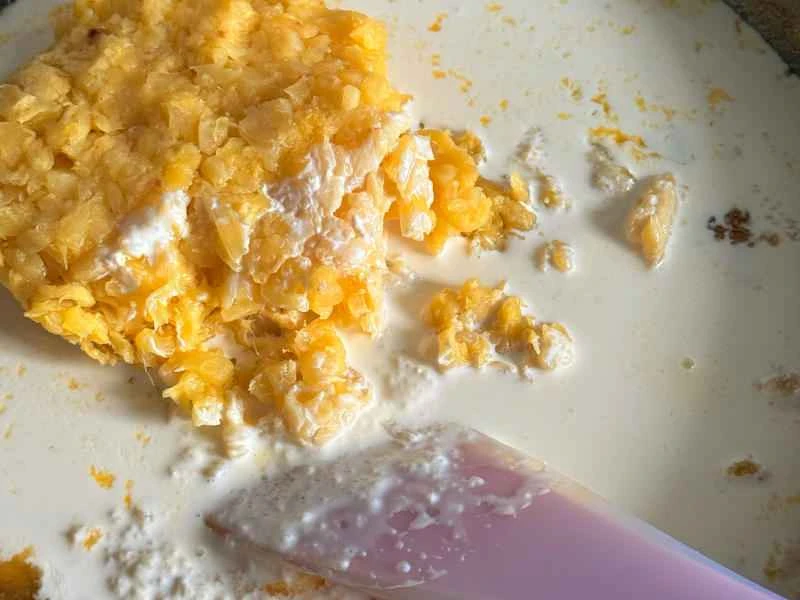
Once you've cooked it to around step 7, you can add the pineapple chunks after straining out the pineapple juice. I also added heavy cream in the picture because I had some leftover from making a cake. Heavy cream also has a high fat content, so I used it instead of butter, and didn't add any more butter later. However, butter isn't essential; adding it will give the filling a milky flavor and make it less sticky—it's a matter of personal preference. If you're adding butter, don't add it at this step; it's too early.
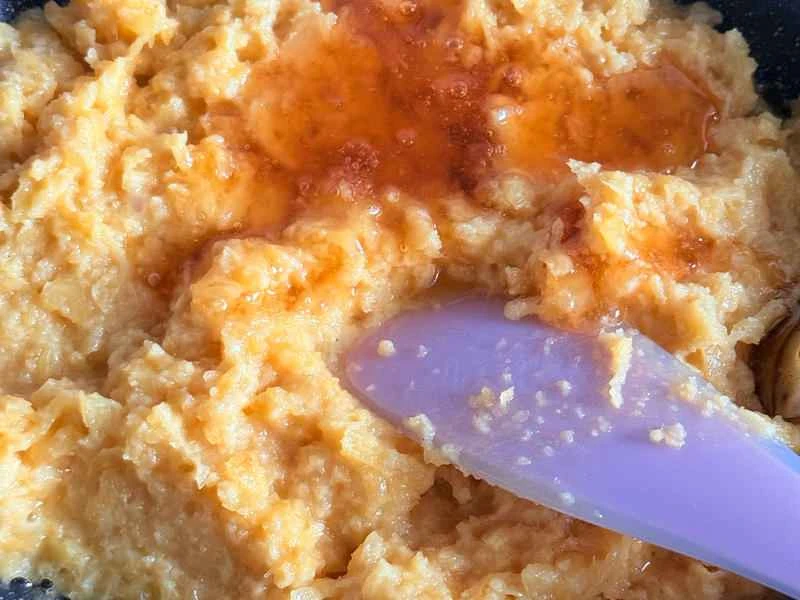
Add all the maltose when the fruit pulp is relatively dry. I only added maltose to this recipe; it's for binding. I didn't add other sugars because I personally don't like it too sweet; I prefer a slightly sweet and sour taste. Actually, the pineapple I chose was already quite ripe, and it was already quite sweet before adding the maltose. Adding the maltose is just for binding. If you prefer it sweeter, you can add some rock sugar at this step. After it's quite dry, use low heat and stir frequently.
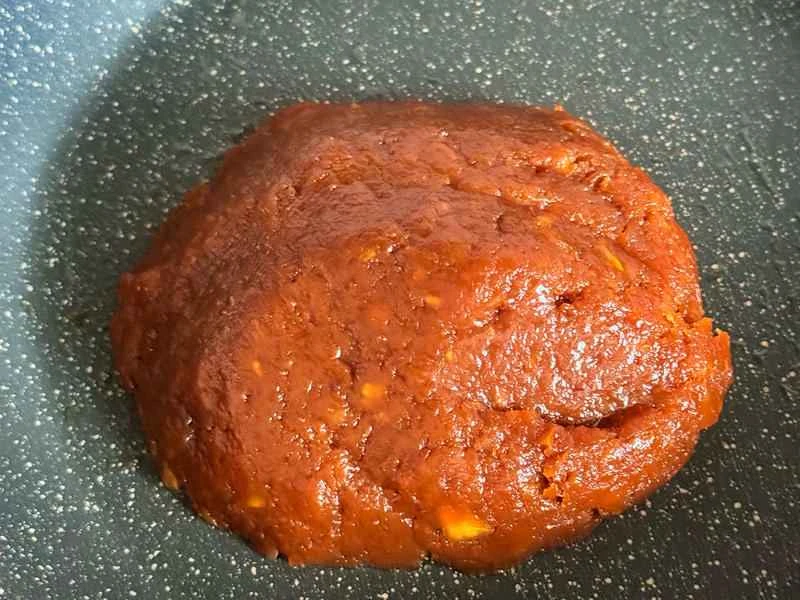
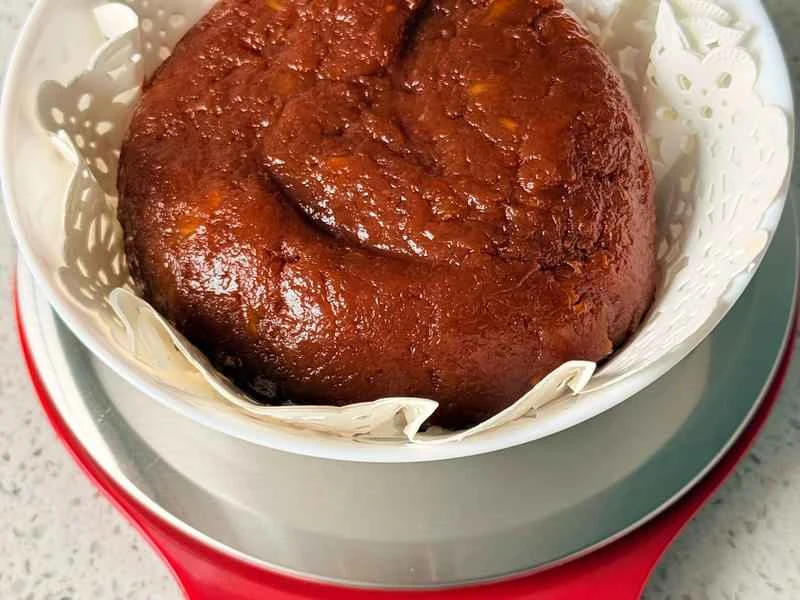
Cook until it forms a ball like in the picture; this took me an hour and a half. If you choose to add butter, add it when it's almost ready to come together, then stir until the butter is absorbed and the mixture forms a ball. Turn off the heat. Don't add the butter too early, or it will easily separate. The filling with butter will have a milky flavor; please choose whether to add it or not according to your personal preference, or replace it with an equal amount of corn oil, or omit it altogether. The filling with fat will be less sticky.
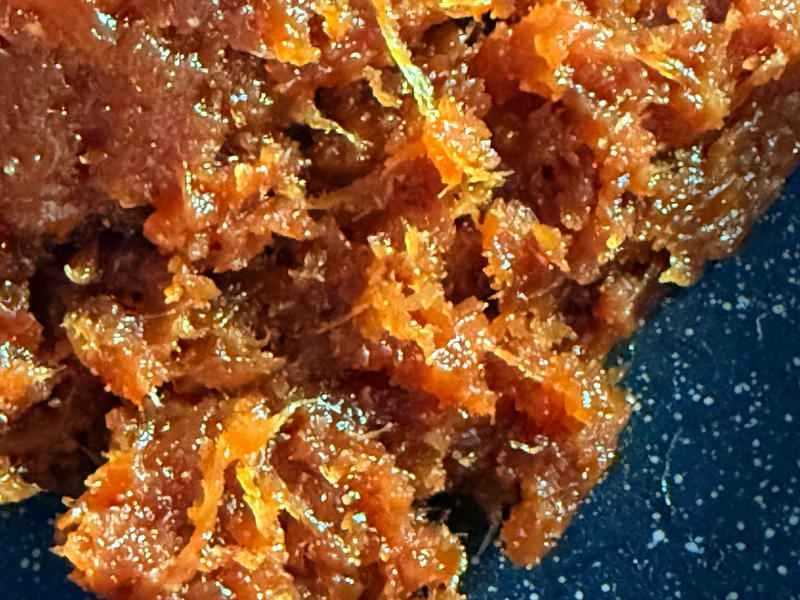
The stir-fried filling has this fibrous texture. If you use a food processor to blend the pineapple, you won't be able to taste this fibrous texture; it will be much smoother.
Three pounds of peeled pineapple will yield 500-600 grams of pineapple filling. I cooked it quite dry this time, so it came to 450 grams. Generally, depending on how dry you cook it, you'll get around 500-600 grams of filling. Otherwise, the filling might be too wet. But you can't cook it too dry either. Personally, I feel that 450 grams of filling from three pounds of peeled pineapple is the minimum you should get. If you plan to make pineapple cakes the next day, refrigerate the cooked filling. Maltose and butter harden when cold. To soften them, you can microwave them on low for one minute the next day, then let them cool to room temperature before using.

The butter should be softened until it can be easily scraped with a spatula with little resistance. The ease with which the dough can be filled later also depends on the degree of softening of the butter.
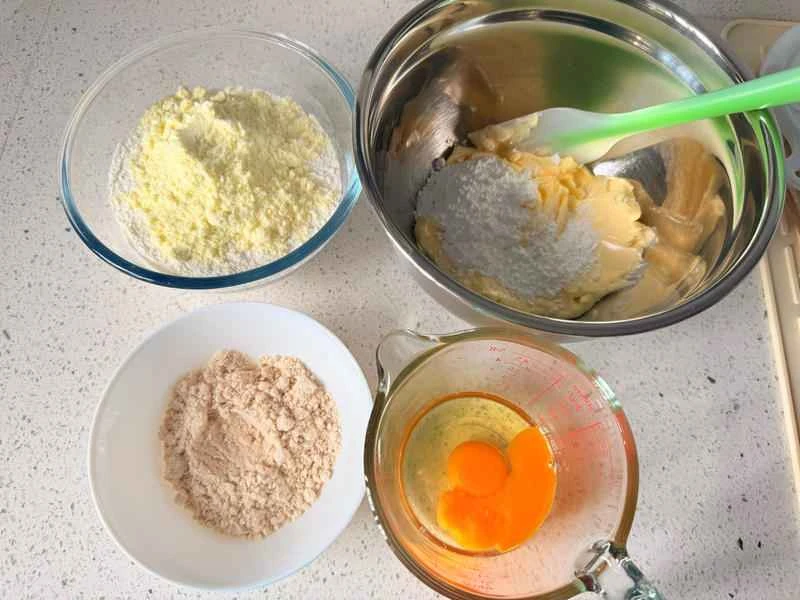
Weigh out the required ingredients. Milk powder can be weighed together with flour, and powdered sugar and salt can be weighed together with softened butter.
Mix the powdered sugar, salt, and butter until smooth.
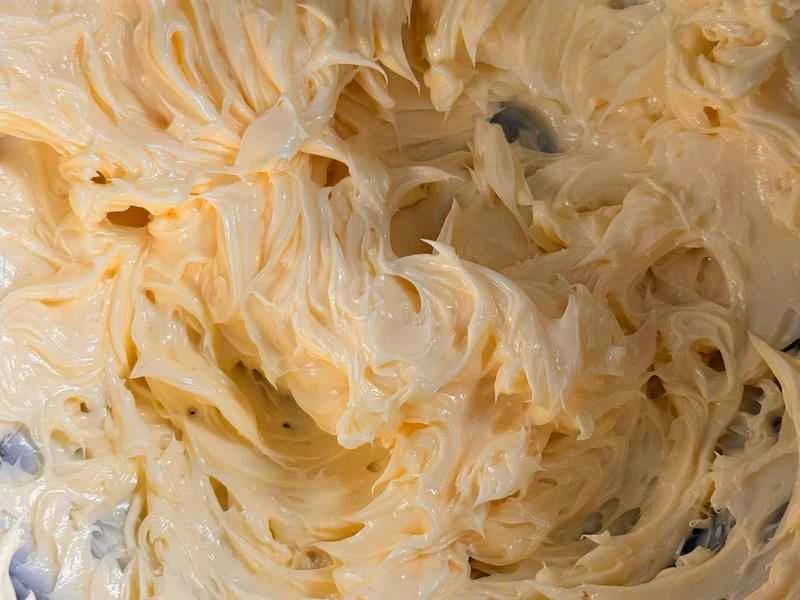
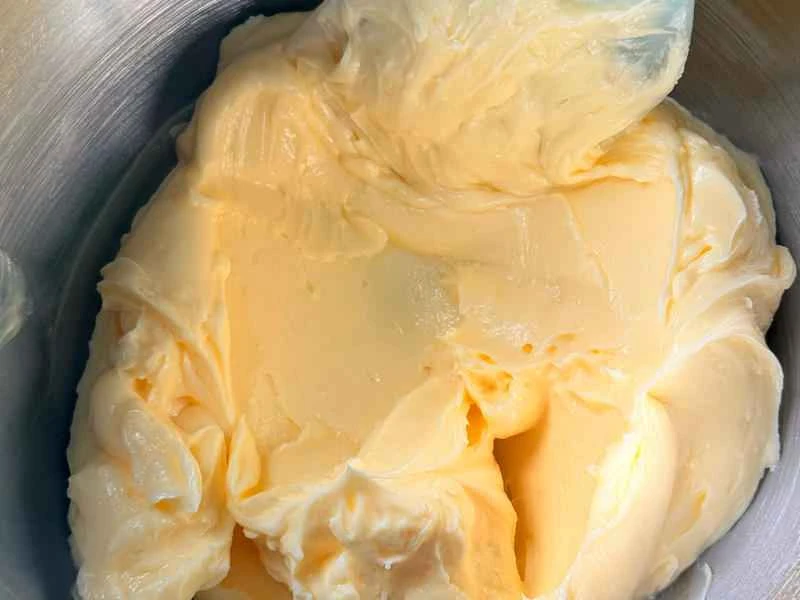
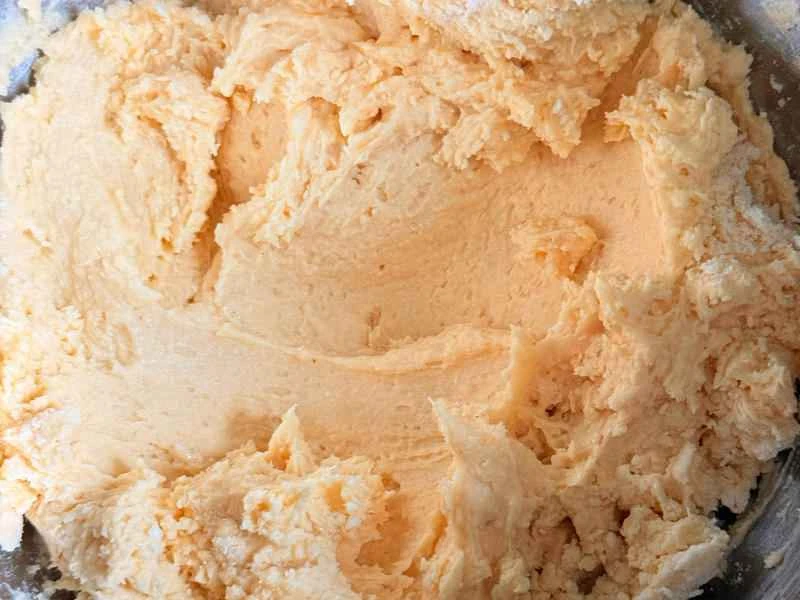
Use an electric mixer to beat the mixed butter until it becomes fluffy, lighter in color and larger in volume, but it doesn't need to be beaten too much.
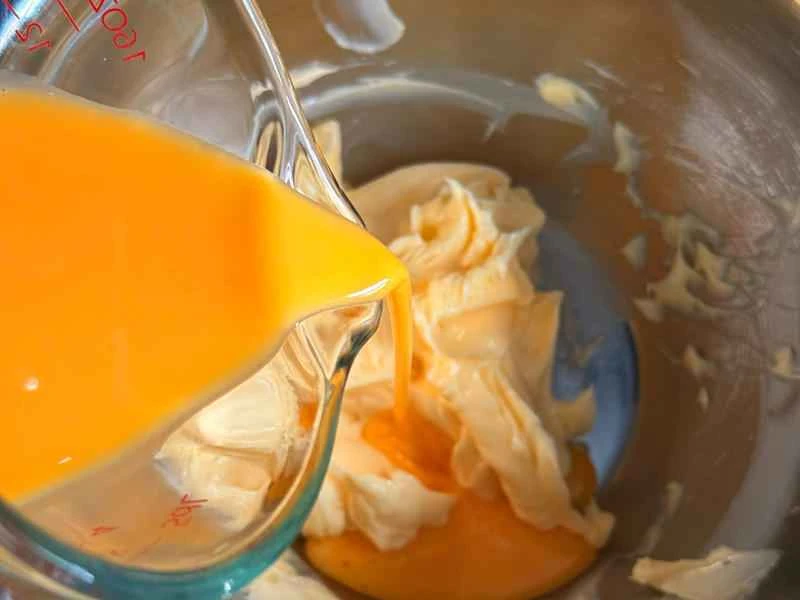
Add the whole egg liquid to the whipped butter in two batches and mix well with an electric mixer. Mix well with the mixer after each addition.
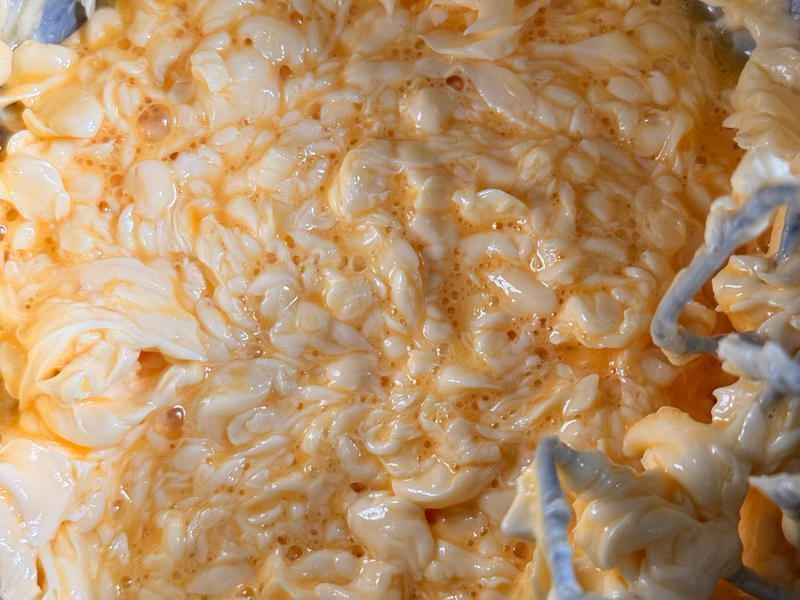
The state of the mixture immediately after adding the egg mixture.
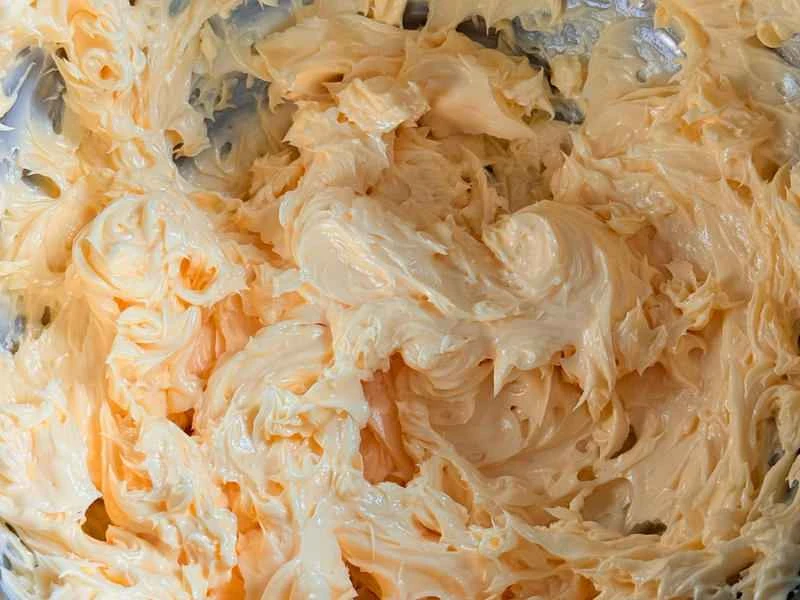
The mixture is in a well-mixed state.
Add the almond flour directly to the butter without sifting. I used southern almond flour, but you can also use peach kernel flour instead. I've used both and they're both delicious. Some people may not like the distinctive smell of southern almonds, so choose whichever suits your taste.
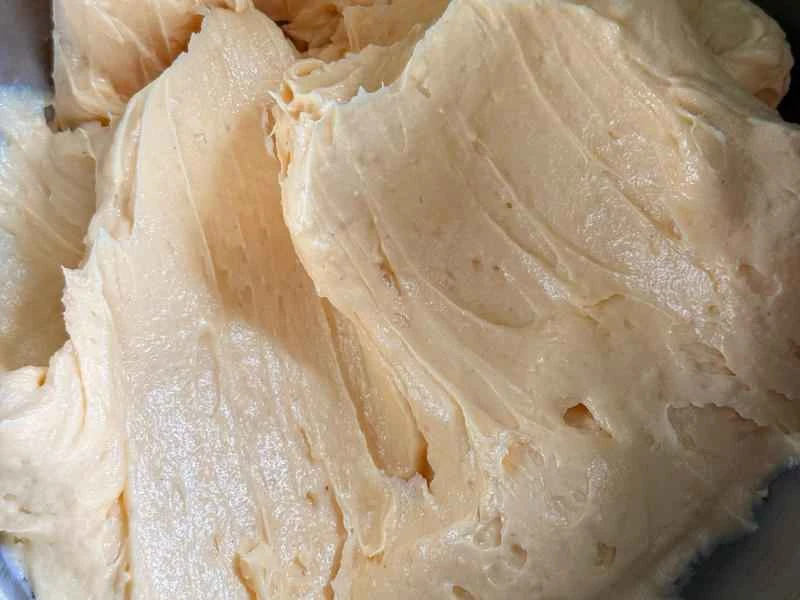
Mix the almond flour and butter together until smooth.
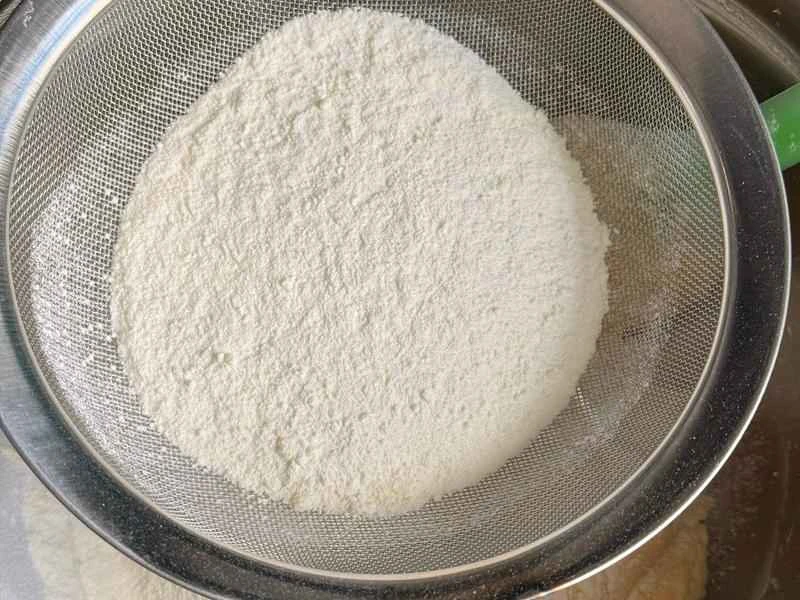
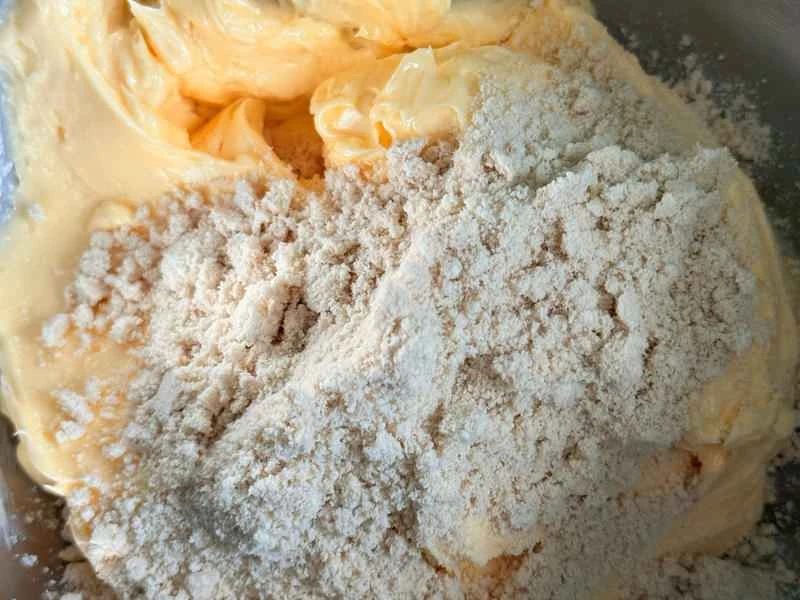
Sift the flour and milk powder into the butter in batches. I used all-purpose flour, the same kind used for making steamed buns and mantou. I've also made it with cake flour, but I prefer the texture of all-purpose flour. All-purpose flour with whole egg liquid results in a crumbly texture that doesn't easily crumble when handled, while cake flour with whole egg yolk liquid results in a light and crumbly texture. Choose between all-purpose and cake flour based on your preferred texture. Actually, this outer crust is just like a cookie; some people like it crispy, while others like it crumbly.

I added the sifted flour and milk powder to the butter in three batches, mixing them slightly after each addition before adding the next.
Mix the flour and milk powder with the butter using a cutting or pressing method until a dough forms. Do not overmix, otherwise the dough may crack during baking.
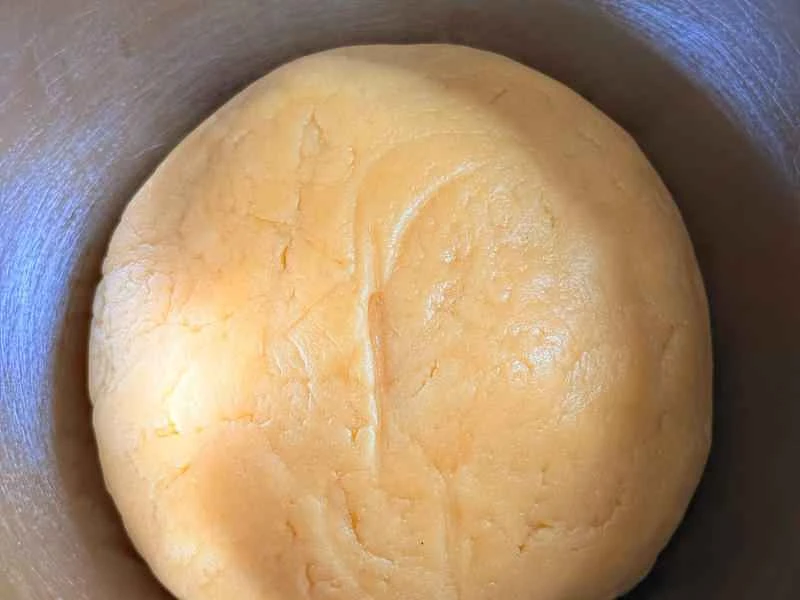
This is what it looks like when it's mixed together. Right after mixing, it will feel a tiny bit (just a tiny bit!) dry, but not hard! It will become softer after it relaxes.

Wrap the dough completely in plastic wrap and refrigerate for 1-2 hours to relax.
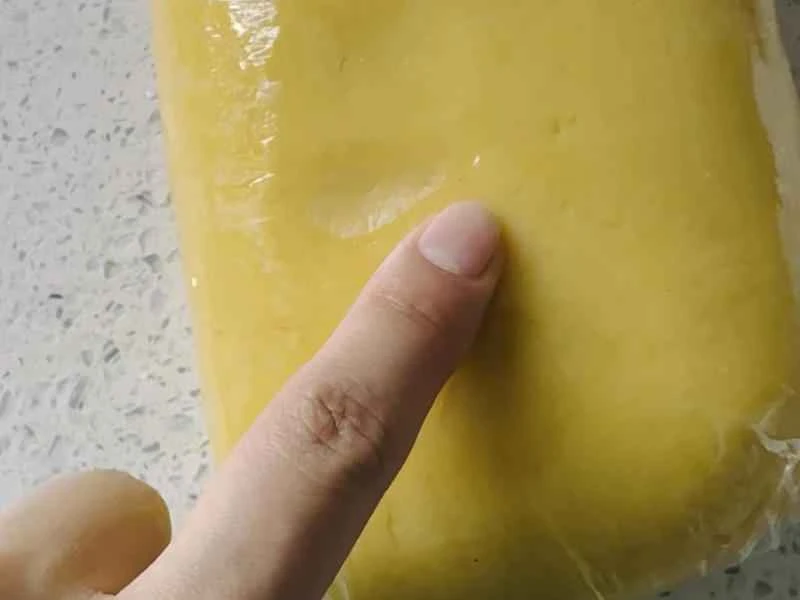
The dough that has just been made is not hard; it is actually soft, but after it has rested, it will be even softer and easier to wrap the filling.

The total weight of the dough after mixing. The weight may vary depending on the absorbency of the liquid and flour. If the dough is too dry, add a small amount of liquid, such as milk, heavy cream, or egg liquid; if it is too wet, add a small amount of flour. Adapting to the recipe's measurements is generally fine; don't rigidly adhere to the quantities given.

This time, I divided both the filling and the dough into 15 portions each. Each filling portion was 30 grams, and each dough portion was a little thicker, 44.5 grams. I made a little extra dough this time, and to use it all, I divided each portion a bit more. Actually, my mold is for 50-gram portions, so dividing it like this made the mold a bit small. I should have divided it into more even portions. Please divide the filling and dough according to the size of your mold; the general ratio is 1:1.
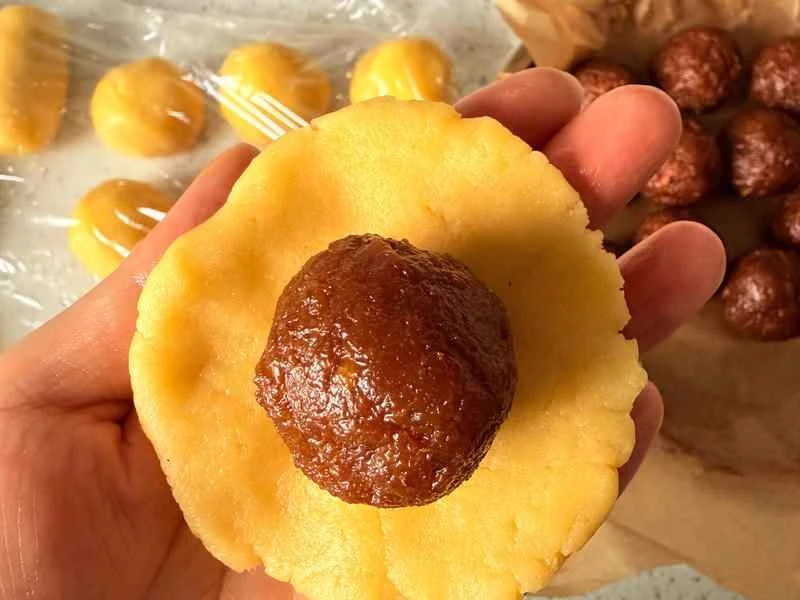
Wrap the filling like you would a mooncake. The relaxed dough is soft and easy to wrap. At this point, you can also start preheating the oven to 160°C (top and bottom heat). I used the convection oven mode. If you're using a conventional oven, set it to 170°C (top and bottom heat).

Because the molds for pineapple cakes are rectangular, I usually roll them into cylindrical shapes after wrapping them, which makes it easier to put them into the mold for pressing.
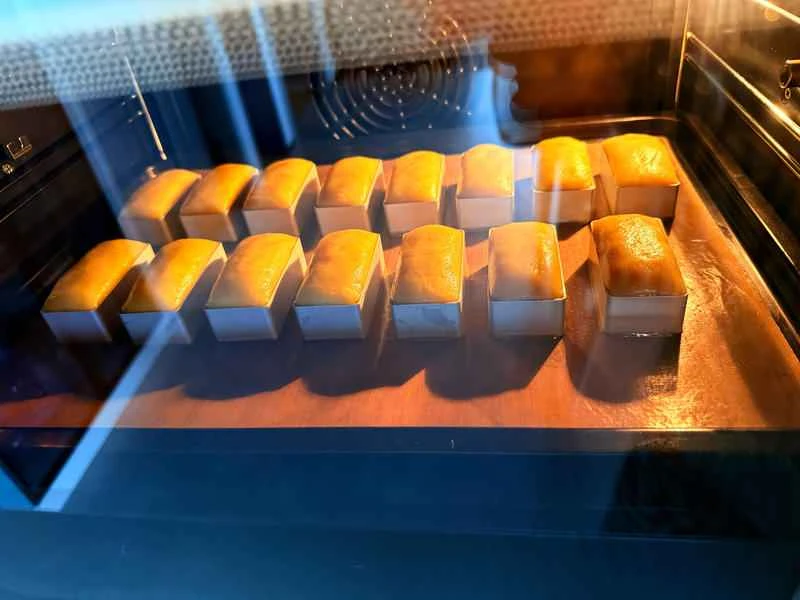
Place the pressed pineapple cakes in a preheated oven to bake. Because my cakes were quite large this time, the mold was a bit small, causing them to rise slightly. Bake in a convection oven at 155°C for 20 minutes to set, then flip them over and bake for another 15 minutes. Alternatively, bake in a conventional oven at 165°C for 20 minutes, then flip them over and bake for another 15-20 minutes. The times and temperatures I provided are based on my own oven and are for reference only.
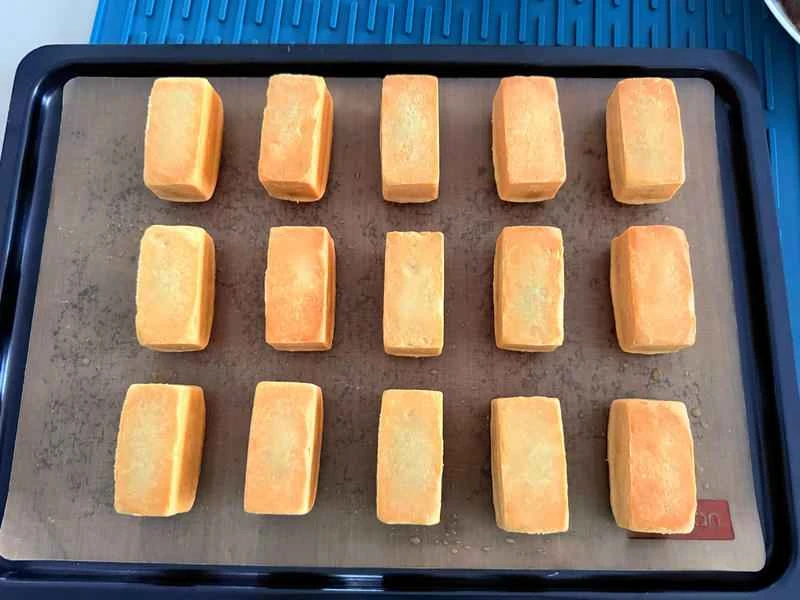
Pineapple cakes can be unmolded immediately after baking and allowed to cool, or they can be allowed to cool slightly before unmolding. Under normal circumstances, they are easy to unmold. Regarding the mold, it is recommended that it be baked in the oven along with the cakes. I've tried unmolding and baking them directly after pressing, and they will deform slightly, becoming rounder and less perfectly shaped. If cracks appear during baking, and the dough is not the problem, you can try lowering the temperature and increasing the baking time to bake them slowly.
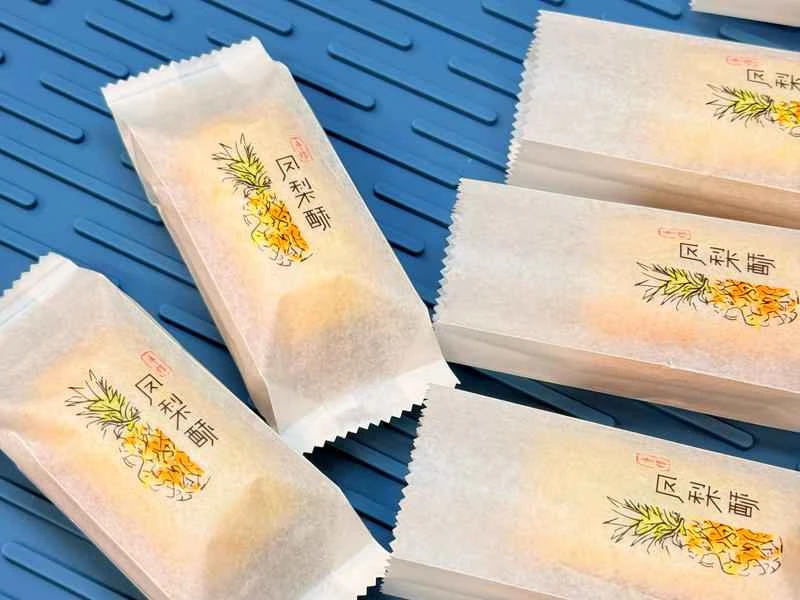
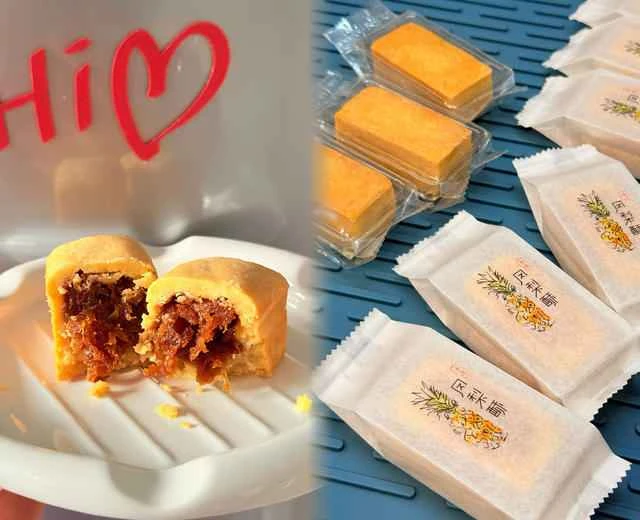
After cooling, pack them in a bag and they'll look beautiful! Wouldn't that make them a very classy gift?
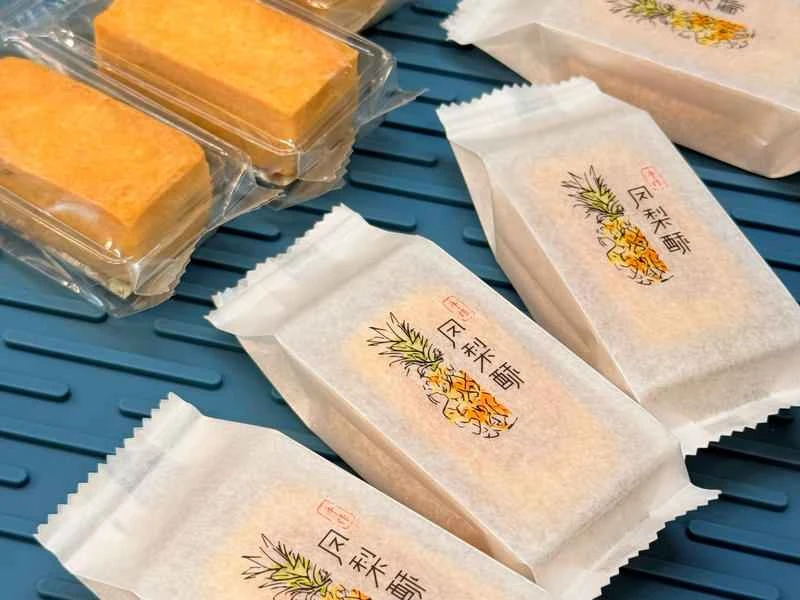
This picture is from before. The ones in the transparent bags are hawthorn pastries. The size of the pastries was just right so they wouldn't bulge.