[Personal Notes] The core of European-style bread is "high water + low yeast + long time". In summer, the key is "temperature control, reducing yeast, and shortening the exposure time at room temperature", not reducing water. Generally, mix the ingredients on Saturday night, bake on Sunday morning, and then freeze for the following week's breakfast. For a crispier texture, bake at 200℃ for 10 minutes; for a crispy exterior and chewy interior, microwave for 30 seconds, then bake at 180℃ for 5 minutes. [Key Checkpoints] ① 75-80% water content is sufficient for thin walls; >85% will cause the top to collapse. ② Refrigerate for 12 hours for best results; >18 hours will cause it to become too sour. ③ A second proofing of 1.5 times the original volume is sufficient to prevent collapse; over-proofing will result in a flattened crust without ears. ④ Steam is essential (hot water or spray), otherwise the crust will be hard and not crisp. ⑤ ≤60% whole wheat, bran not cut.
Materials
Baking: Summer Whole Wheat European Bread (Standard Cold Proofing) Recipe and Steps
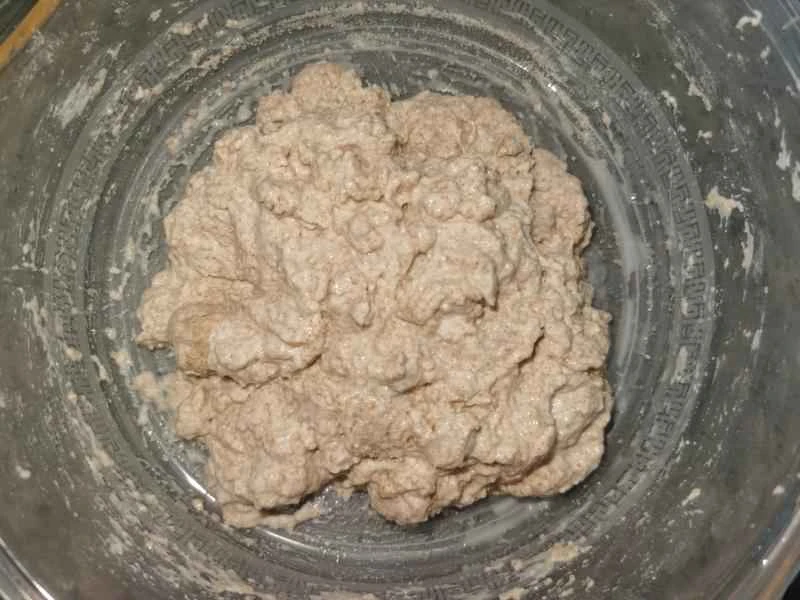
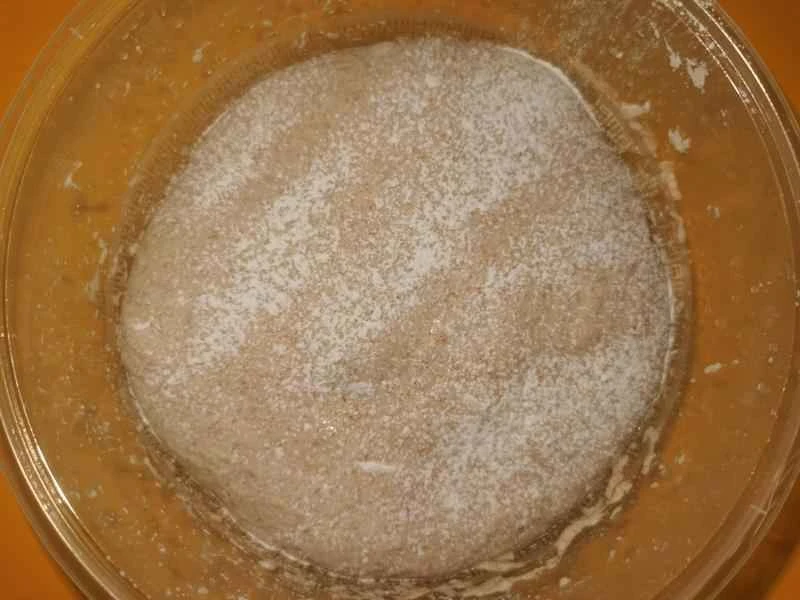
【Day 0 Evening | Kneading dough】 In a bowl, combine whole wheat flour, high-gluten flour, and salt. Make a well in the top of the flour and add yeast powder. Pour in ice water and stir with a spatula until there is no dry flour. Cover with a lid/film and let it sit at room temperature for 20 minutes.
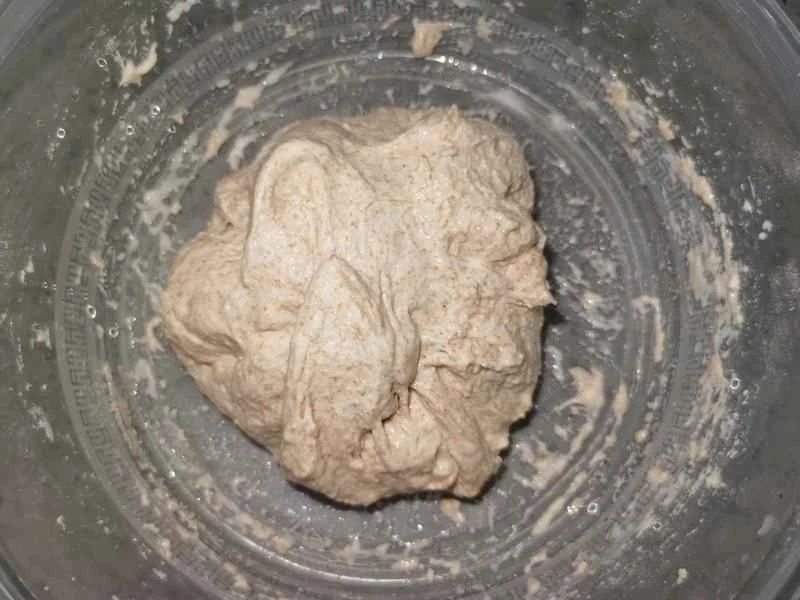
【Day 0 Evening | Folding】 Wet your hands and stretch the dough around the edges, folding it inwards 3-4 times. If it's too runny, cover it with a lid or plastic wrap and refrigerate for 30 minutes.
Remove from the refrigerator, wet your hands, lift and fold downwards three times, rotate the box 90 degrees, fold three more times, cover with a lid or plastic wrap, and refrigerate for 12 hours. ⚠️The purpose of folding is to help the dough develop more even gluten development.
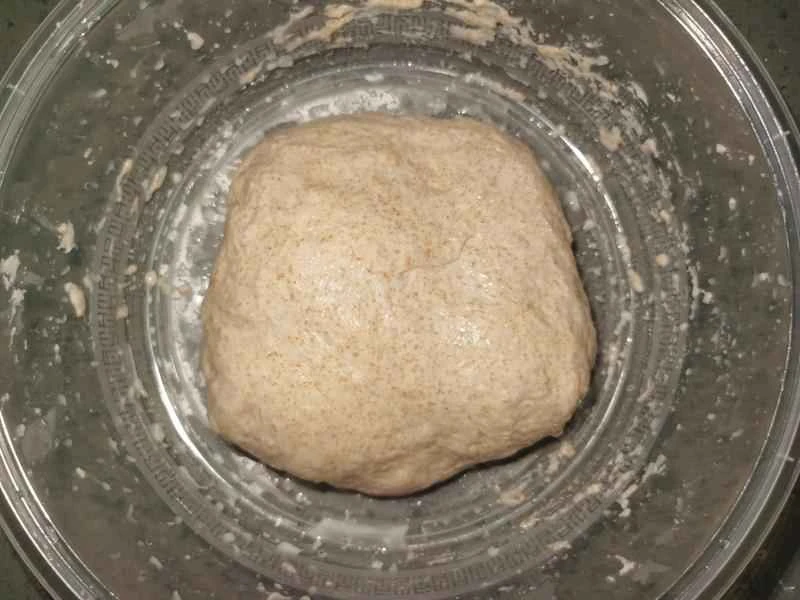
【Day 1 Morning】 Remove the dough and let it warm to room temperature for 30 minutes. If the room temperature is <15 ℃, warm to room temperature for 45-60 minutes.
Sprinkle flour on the work surface, take out the dough, and gently flatten 1/3 of it with your palm (without rolling) to release about 30% of the air, leaving air pockets.
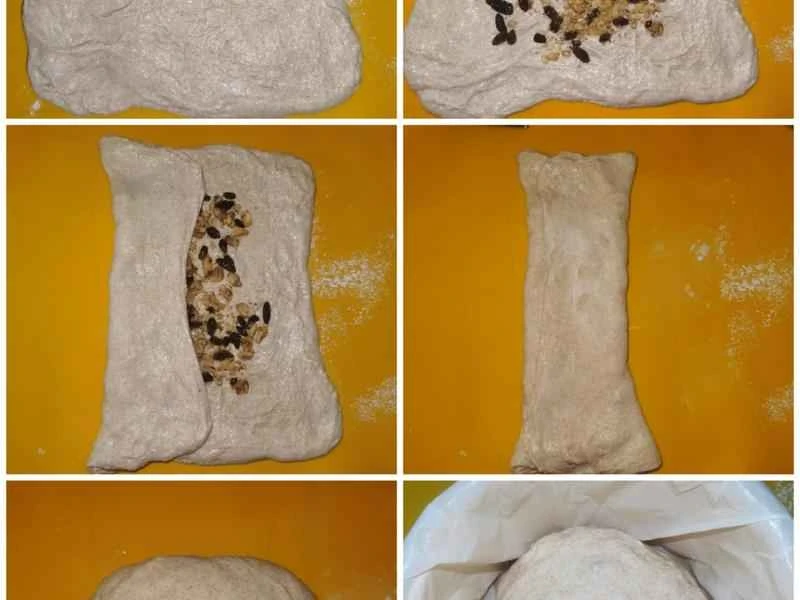
Fold the left and right sides inwards and roll it up, finally tightening the two sides of the roll slightly. [Filled Version] Stretch the dough into a rectangle and place your desired filling in the center. Fold the top and bottom thirds towards the center (envelope fold), then fold the left and right thirds towards the center, pinching tightly to form a square. With the seam facing down, roll it into a ball shape with both hands, making sure the seam is pinched shut so there are no gaps. Place it seam-side down on a baking sheet lined with parchment paper.
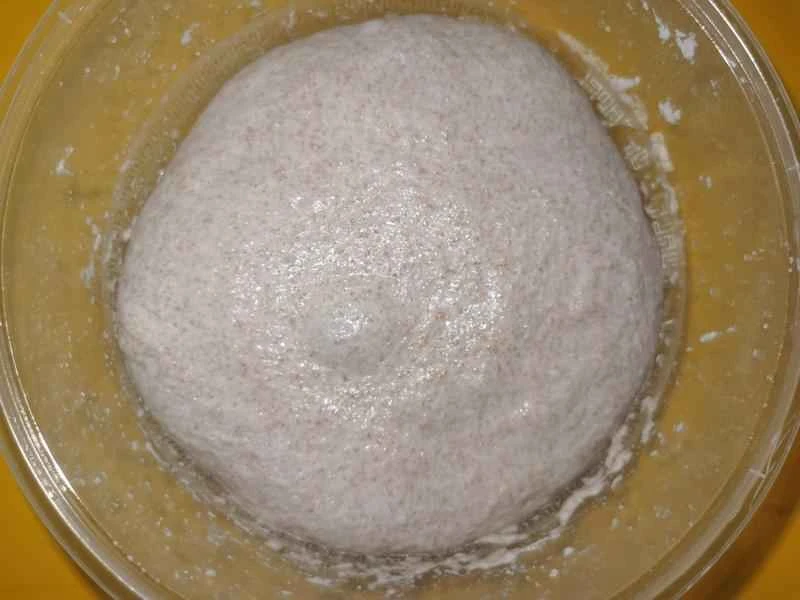
[Final Proof] Place in a proofing basket/baking tray, cover with a cloth/lid, and proof at 35℃ for 40 minutes until it increases in size to 1.5 times its original size. ⚠️1.5 times vs 2 times: 1.5 times: European bread retains its chewiness and round shape, with the cuts opening up like ears, resulting in even holes and a high tolerance for error (for beginners/home ovens). Home ovens + whole wheat ≥30% → 1.5 times is more stable. 2 times: Larger volume and more open holes, but prone to flattening and weaker ears; requires ≥75% high-gluten flour + 0 oil and 0 sugar + precise steam (for competition/commercial ovens).
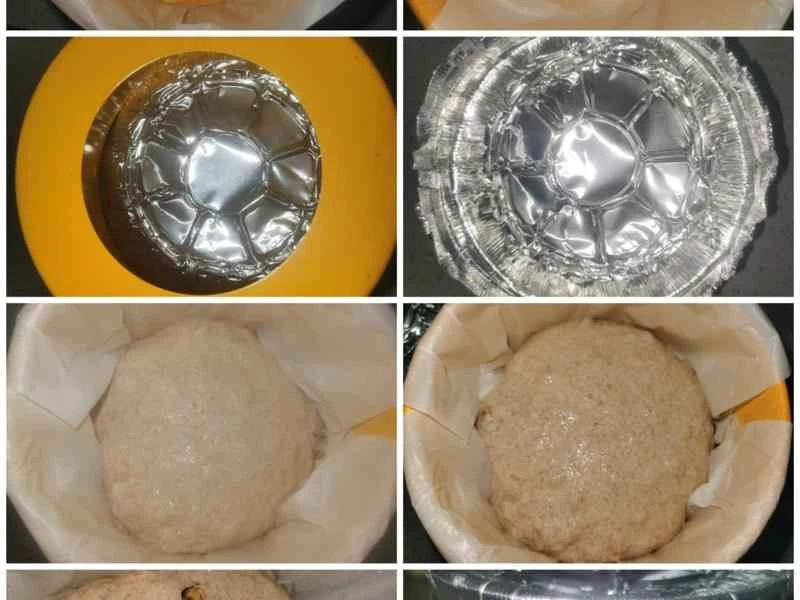
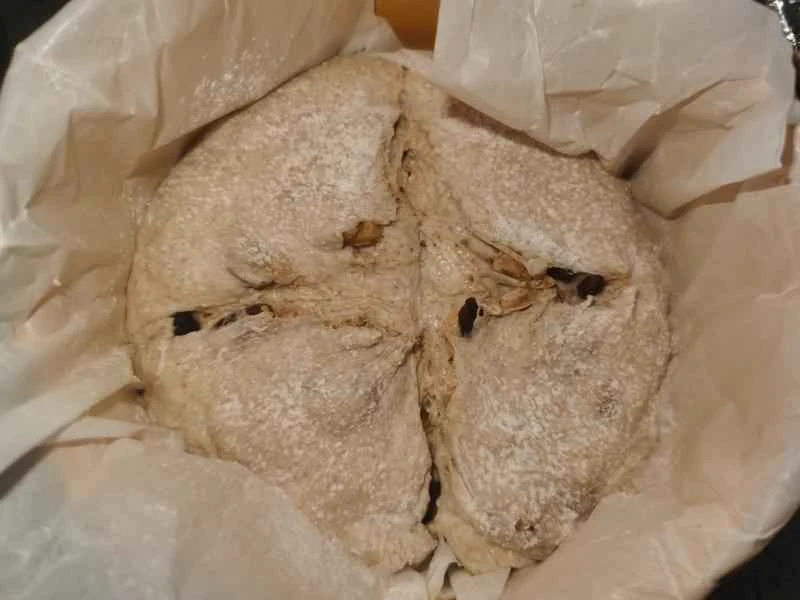
[Baking] If you cannot follow the steps below, please refer to the tips. 1. Use a 6-inch cake pan as a cast iron pot. ① Line the inside of the pan with parchment paper, including the bottom circle and side strips; ② Foil cap/foil bowl: Tear two 25×25 cm foil sheets together, place the center on top of the pan → Press down with your hand to outline the pan, pressing the edges down, i.e., cover the top + 2 cm rim, → Do not pinch tightly, do not seal, keep it open by 1 cm (for venting and preventing the top from burning). 2. Preheat the oven to 230 ℃ for 10 minutes. Place the 6-inch cake pan and foil cap on a wire rack to preheat (without the dough). 3. While preheating, choose a pattern you know how to make (facepalm, not very good at it, just making a few marks with a knife). 4. Place the dough, along with the parchment paper, into the 6-inch cake pan (right side up), quickly cover with the preheated foil cap, and immediately close the oven door. 5. Bake at 230℃ for 20 minutes (with the cap tightly closed → homemade steam chamber) + remove the foil cover and bake at 200℃ for 10 minutes to brown. 6. After removing from the oven and shaking the mold, allow to cool completely for at least 2 hours before slicing to prevent shrinkage.
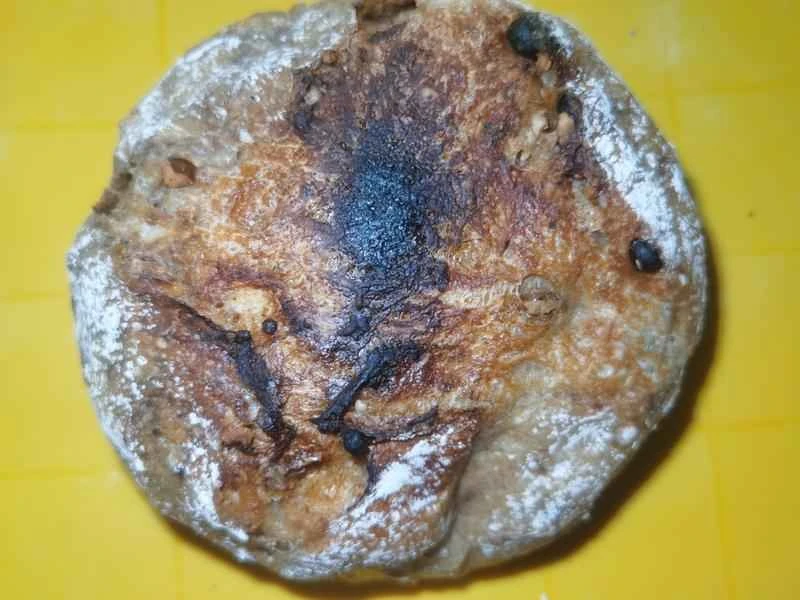
The oven is too close to the top heating element, so the top of the food burned.
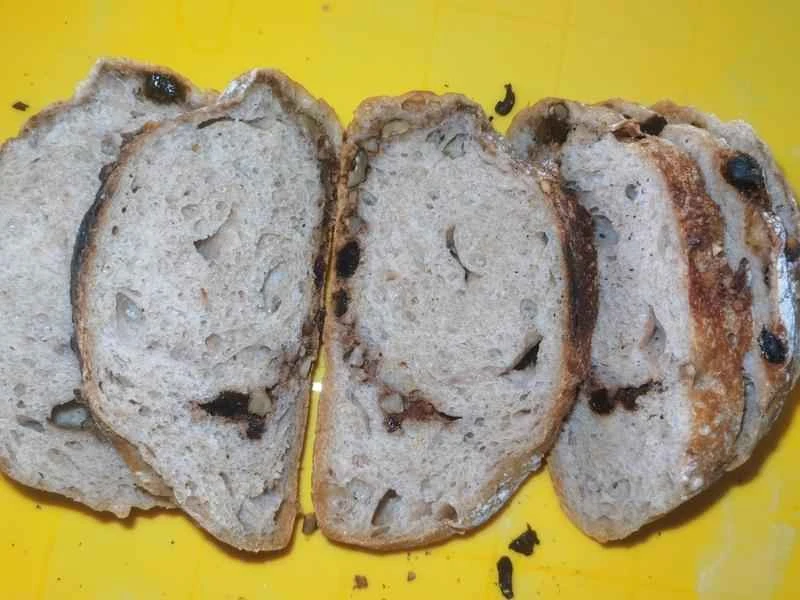
[Storage] Slice with a serrated knife. Freeze any leftover slices in portions according to the "usage amount"; [Reheating] After freezing, microwave for 30 seconds, then bake at 180℃ for 5 minutes.
Baking Tips: Summer Whole Wheat Bread (Standard Cold Proof)
Even a small oven without steam can bake decent European-style bread. The key is "locking in moisture + quick baking"—propping up the crust first. Here are three of the most common, zero-cost methods; choose the one most convenient. ──────────────── Method 1: Cast Iron Pot/Thick-Bottomed Pot (Highly Recommended) 1. Place a covered cast iron pot (an 18-20 cm saucepan will do) with the lid in the small oven and preheat to 230℃ for at least 20 minutes. 2. Lift the risen dough, still attached to the parchment paper, and drop it into the hot pot, immediately covering it. 3. Bake at 230℃ for 20 minutes (covered, which is equivalent to having built-in steam). 4. Remove the lid and bake at 200℃ for another 10-15 minutes to brown the top. Don't have a cast iron pot? A thick stainless steel saucepan that's oven-safe will also work, as long as it has a lid. ──────────────── Method 2: Baking Pan + Hot Water (Also works with small ovens) 1. Place the bread on a rack, and put an empty baking pan on the bottom rack. 2. Preheat the oven to 230℃, then pour 50 ml of hot water into the empty baking pan and immediately close the oven door. 3. After 20 minutes, lower the temperature and continue baking. Note: Be quick, and avoid dripping water onto the heating element; the baking pan should ideally be made of dark metal to prevent a sudden drop in temperature. ──────────────── Method 3: Water Spray + High-Moisture Dough (Simplest) 1. Spray a fine mist of water onto the surface of the dough, or quickly wet the surface with your hands. 2. After the bread is placed in the oven, bake at 230℃ for the first 10 minutes, then spray water again halfway through. 3. Bake at 200℃ for the remaining time. The results are slightly worse than the previous two methods, but better than not treating it at all. ──────────────── 【Summary】 1. If you have a cast iron pot/thick-bottomed pot → Choose method 1, the effect is closest to professional steaming. 2. If you don't have one → Choose either method 2 or 3, both will result in a sufficiently crispy outer shell and a porous interior.