With a brush, ancient charm is expressed; with skillful pastry making, craftsmanship is revealed. What wonderful sparks will fly when millennia-old calligraphy culture meets modern baking art? This calligraphy cake roll uses sauce as ink and cake as paper, perfectly blending traditional calligraphy art with Western desserts. Each stroke outlines the tender moments of time, each sweet and chewy bite writes a poem on the tip of the tongue, each frame and painting carries profound cultural heritage and best wishes. ☁️Take a bite, and the cloud-like, dense, and sweet taste unfolds between your teeth, your taste buds wander between the lines of calligraphy, as if savoring a breathing ink painting. Experience the wonderful encounter between traditional culture and delicious flavors, adding a touch of elegant sweetness to life. ☕️Whether it's the sentiment of "peace and tranquility" during a casual gathering, the wish of "a perfect union" during a festival, or the blessing of "good fortune and health" at a birthday banquet, this calligraphy cake roll can endow every precious moment with poetry and a sense of ritual with its unique Eastern aesthetics.
Materials
Calligraphy Swiss Roll | How to Make Art in Your Mouth
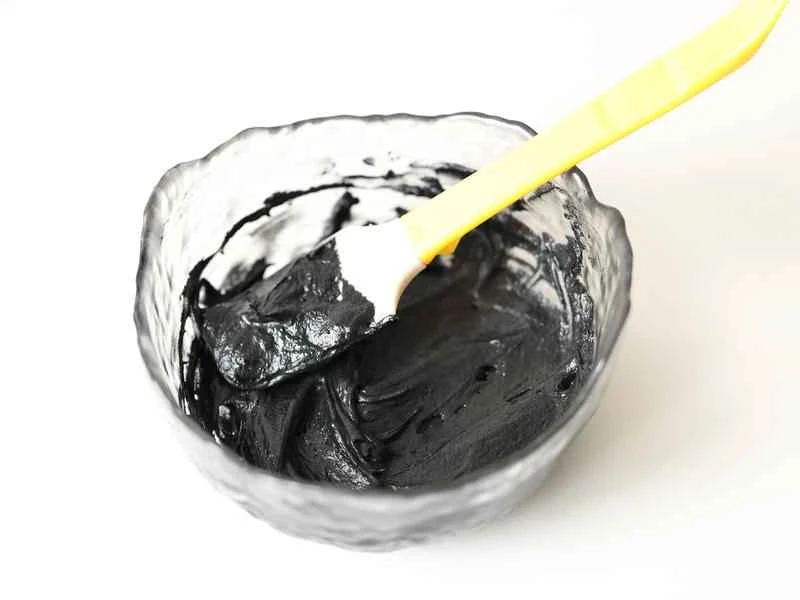
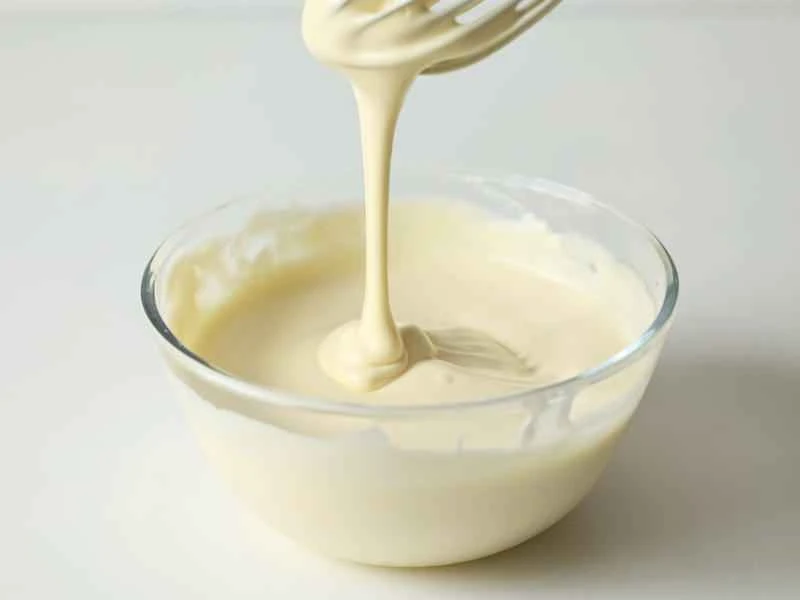
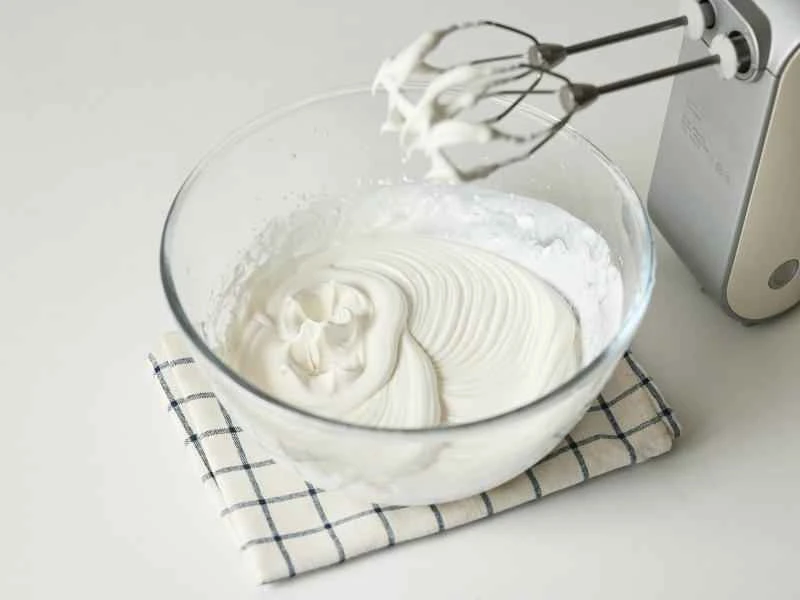
First, prepare the frosting: Soften the butter into a paste, add powdered sugar, and beat with an electric mixer until smooth and creamy. Add the room temperature egg whites in two batches, beating until fully incorporated. Add the cake flour and bamboo charcoal powder, and mix until smooth and creamy, but still pourable. (Bamboo charcoal powder can be replaced with edible black food coloring, dark cocoa powder, or regular brown cocoa powder. If the cocoa powder is light in color, add a few more grams; adjust the amount to your liking.)
Put the filling into a piping bag, and cut the tip to the same thickness as your handwriting. If the tip is too thin, the writing will not be full; if it is too thick, the writing will be blurry.
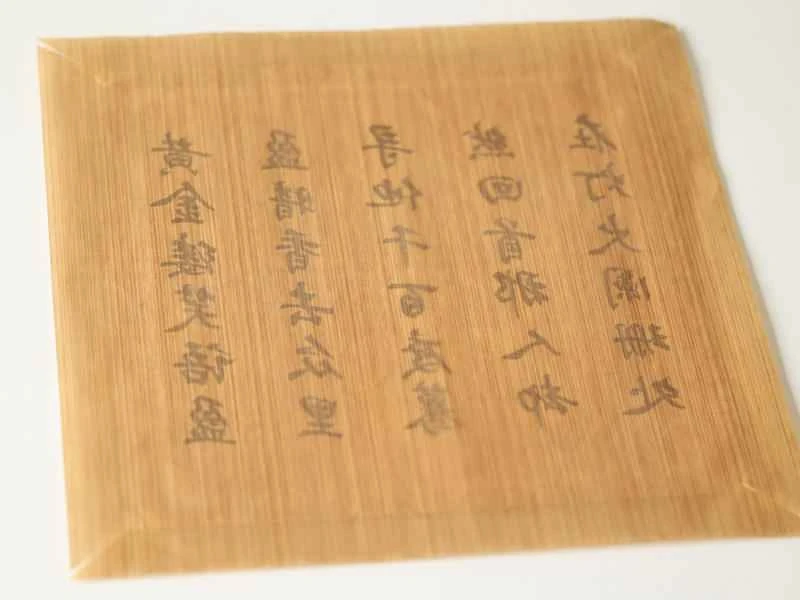
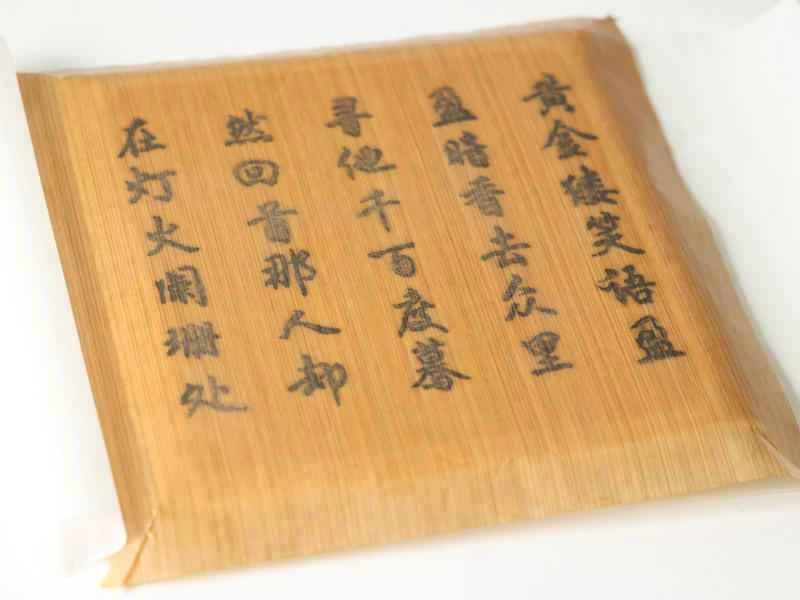
Print out a mirrored calligraphy font of your choice (upside down), place it under an oilcloth, and secure the edges of the oilcloth with tape.
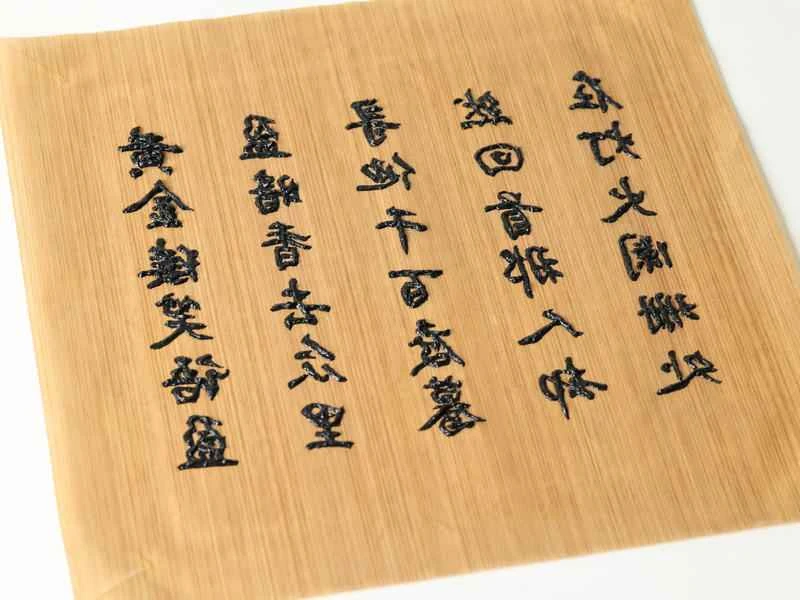
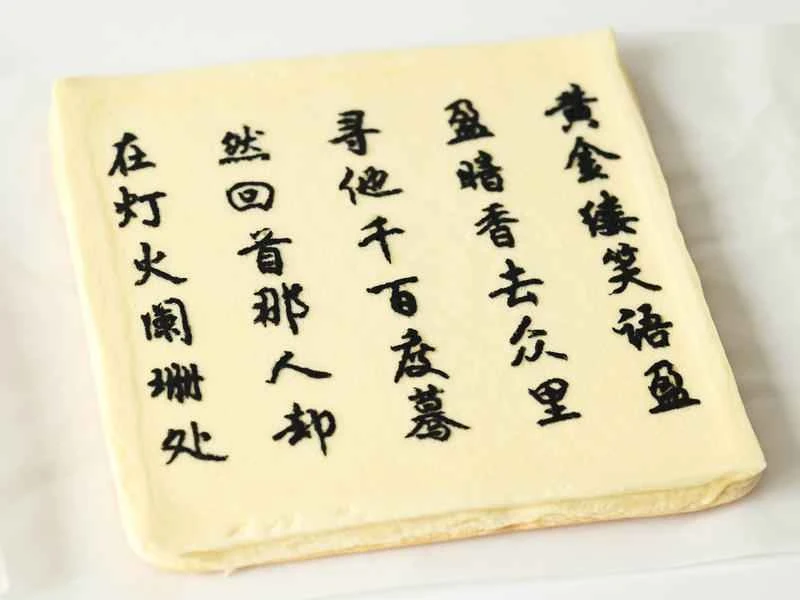
Simply trace the lettering. Make sure the side in contact with the parchment paper is fully written without any breaks; this will make the front look better. Also, the lettering should have a certain thickness to prevent it from sticking to the parchment paper after baking. ⚠️ I wrote 5 lines for an overall neat look. You can write only the middle 2 lines, as you'll mainly be looking at the middle two lines when the paper is rolled up. Writing 2 lines is easy and stress-free, while writing 5 lines requires more patience.
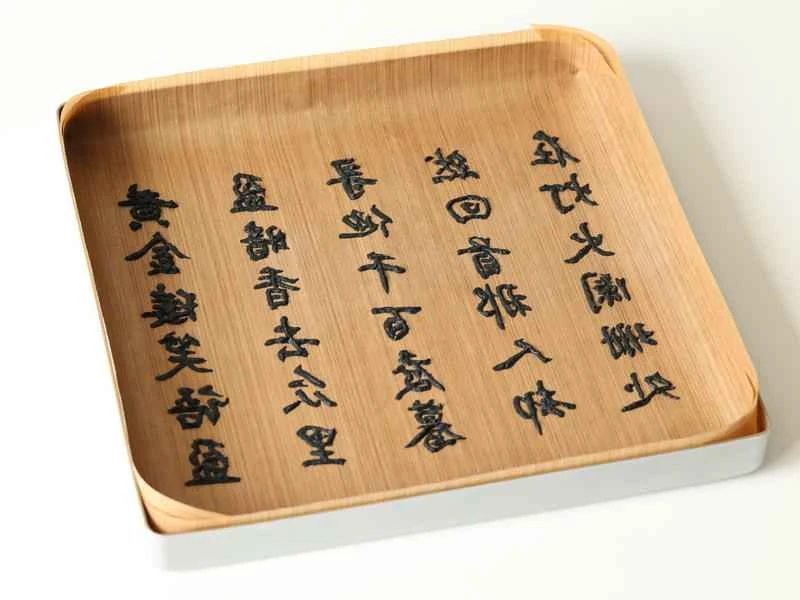
Write the instructions and place them on a baking tray, then freeze or refrigerate until hardened.
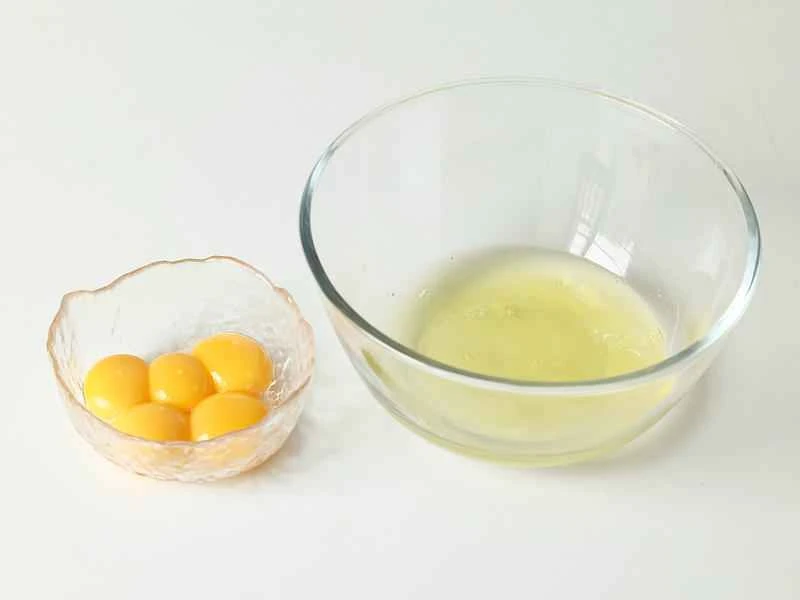
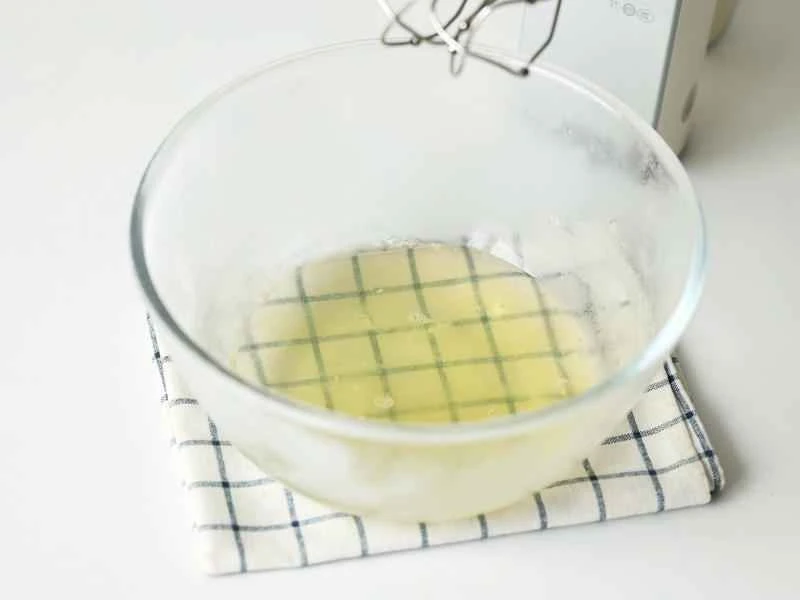
Next, make the Swiss roll: Separate the egg whites and yolks. Make sure the bowl for the egg whites is clean, dry, and free of oil; absolutely no yolk should get in, as it will prevent the egg whites from whipping. Seal the separated egg whites and store them in the freezer or refrigerator for later use. ⚠️Use fresh eggs; the yolks are less likely to break, and the egg whites are more stable. I used 65-70 grams per egg; I recommend weighing the egg whites and yolks separately. Add more yolks if the eggs are too small.
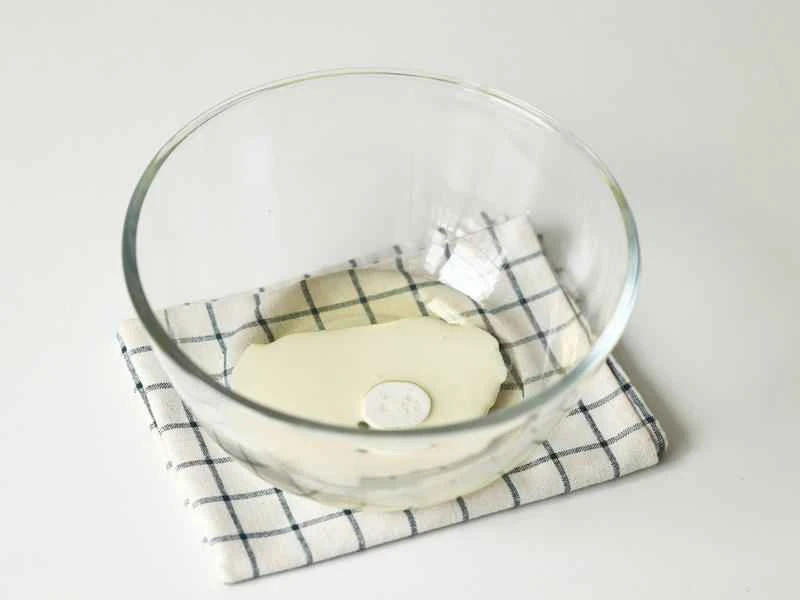
Add milk and corn oil to a bowl
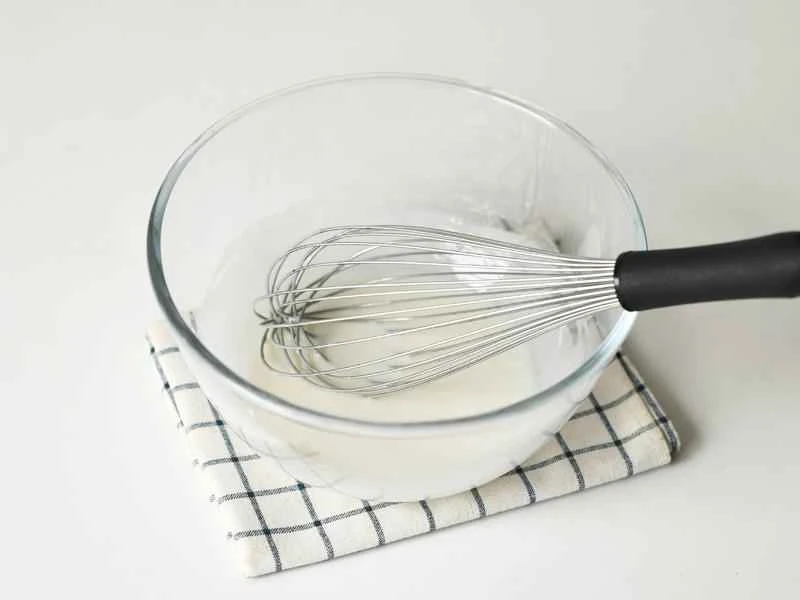
Whisk until smooth and completely emulsified.
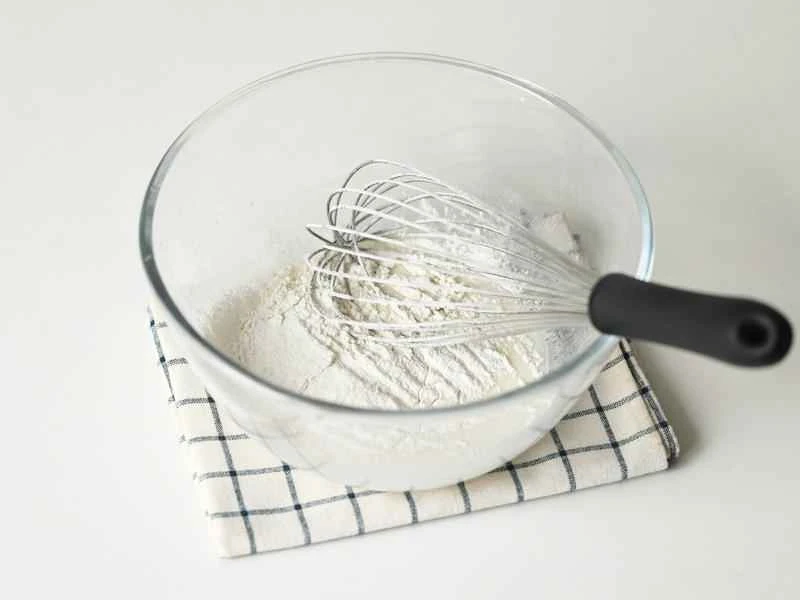
Sift in the cake flour
Whisk until smooth and free of dry powder.
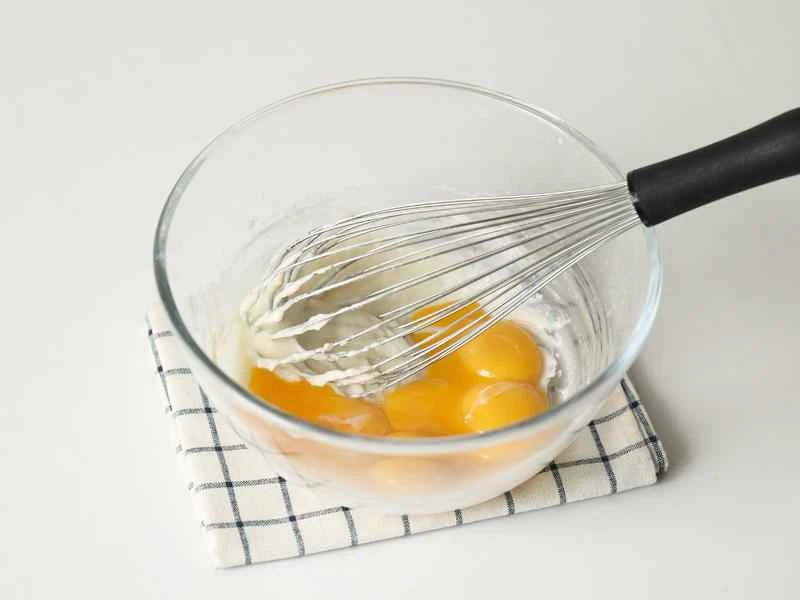
Add egg yolk
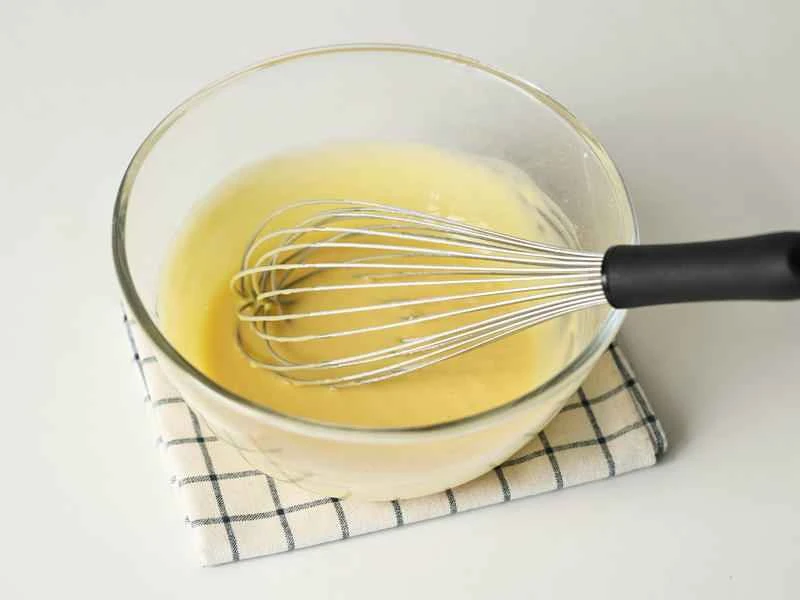
Whisk the eggs until smooth and elastic, then set aside.
Take the egg whites out of the refrigerator and add lemon juice.
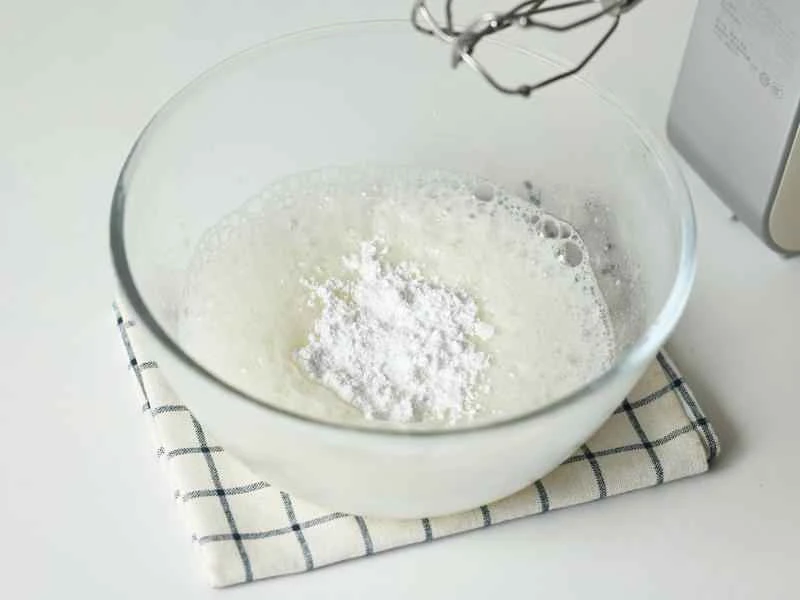
Whip the egg whites at high speed, adding sugar in three batches. Add the first batch of sugar when large bubbles appear (this isn't cornstarch, it's powdered sugar. I ground my own powdered sugar because I didn't have granulated sugar and was worried that coarse sugar wouldn't dissolve well).
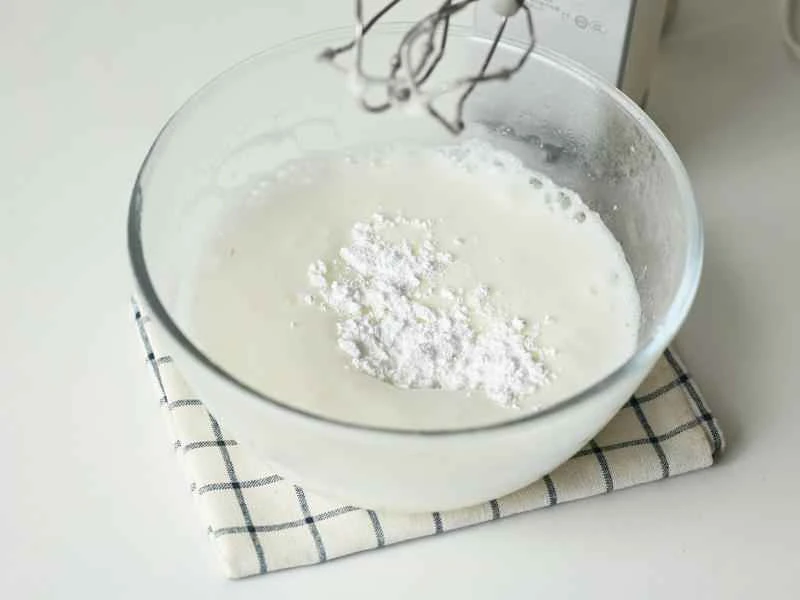
When the foam becomes smaller and finer, add the second portion of sugar.
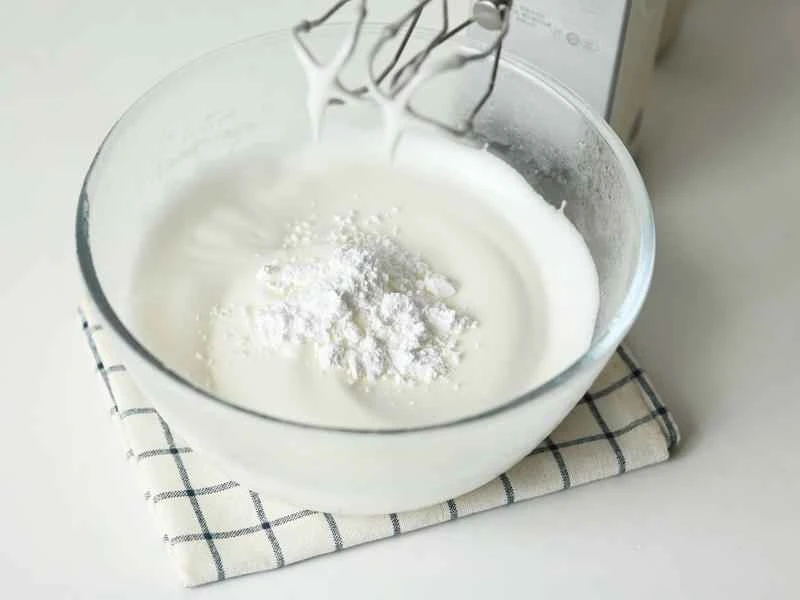
Whisk until soft peaks form, then add the third portion of sugar.
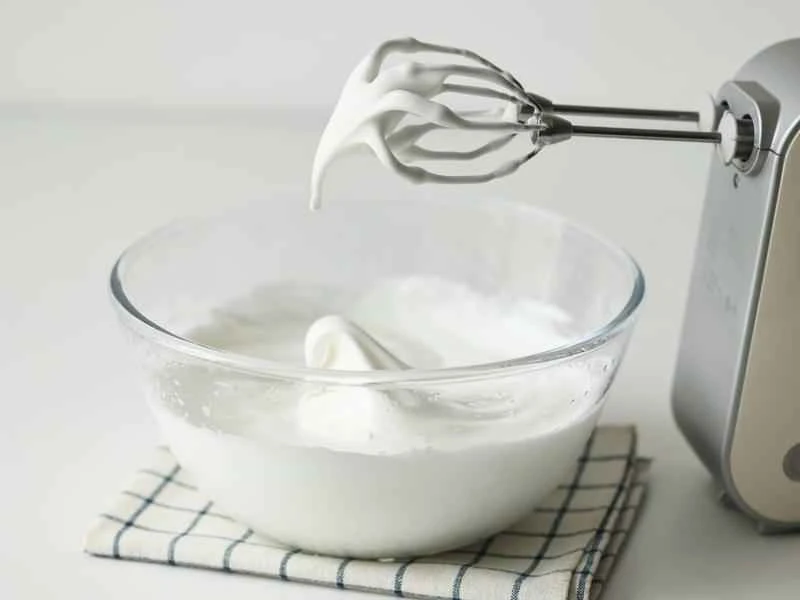
The entire whipping process begins at high speed (level 5), then medium-low speed, and finally whipped to soft peaks. A final low speed (level 1) is used to refine the air bubbles. The consistency should resemble the image shown; when lifted, the meringue should form a large or small hook. The meringue should be soft but not dripping.
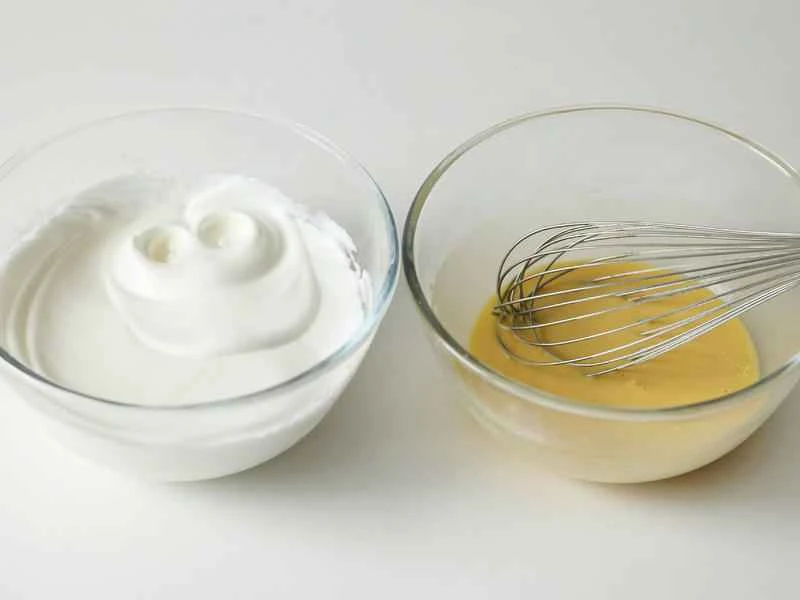
Next, mix the meringue and egg yolk mixture.
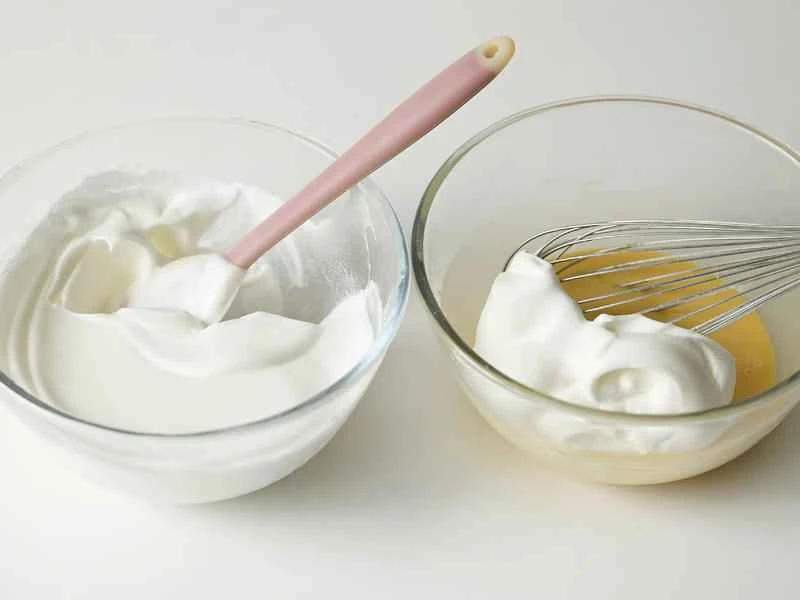
Divide 1/3 of the meringue into the egg yolk mixture bowl.
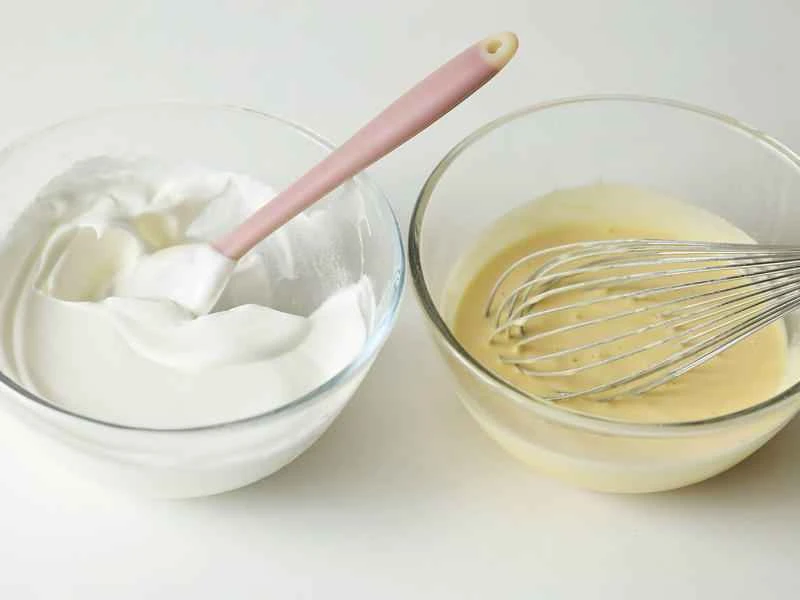
Roughly fold the egg mixture in using a cutting and folding motion, not stirring in circles, as this will deflate the mixture.
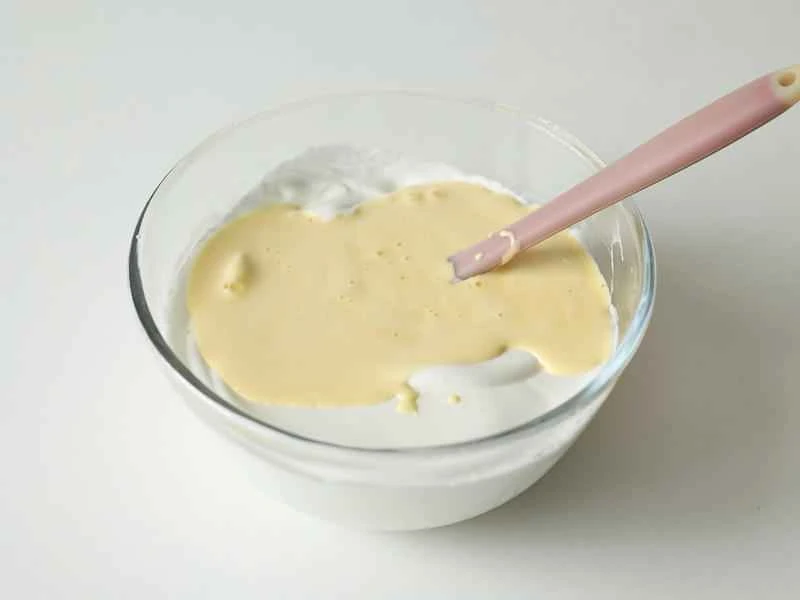
Mix well and then pour back into the meringue bowl.
Continue using folding and cutting techniques, lifting up the bottom and sides of the bowl to mix everything thoroughly.

Remove the baking pan from the refrigerator. Hold the cake batter bowl about 30cm above the countertop and pour it into the pan. This helps to remove large air bubbles. First, pour the batter over the lettering, covering it completely to prevent smudging. Finally, use a spatula to smooth the surface and gently tap the pan to release any remaining air bubbles.
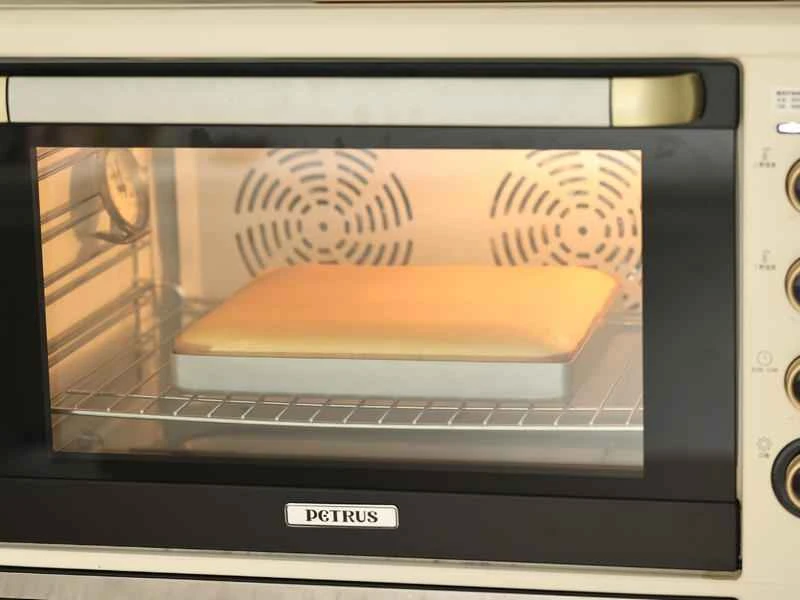
Place in a preheated oven (Petrus K85pro) at 180 degrees Celsius (350 degrees Fahrenheit) for 20-23 minutes. I baked it for 23 minutes. (180 degrees Celsius is the actual temperature measured by the oven thermometer.) ⚠️This temperature is only suitable for my oven; it may not be suitable for other ovens. Adjust the temperature according to your own oven and experience. Do not copy this recipe exactly. Convection oven reference temperature: 130 degrees Celsius (340 degrees Fahrenheit) for about 35 minutes. Other household oven reference temperature: 150 degrees Celsius (300 degrees Fahrenheit) for about 30 minutes.
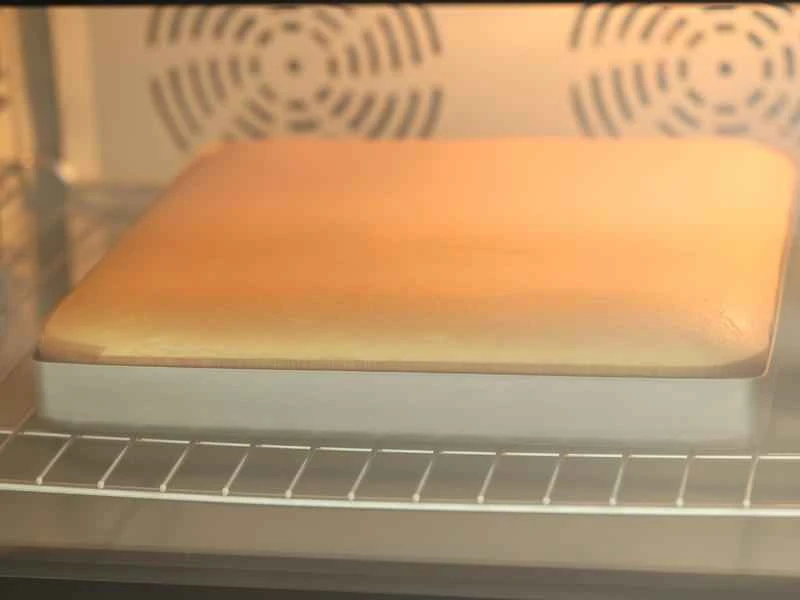
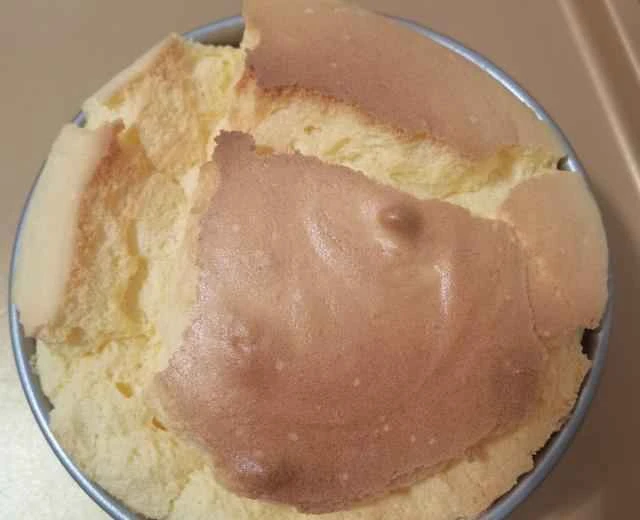
The cake roll is growing well and is very plump.
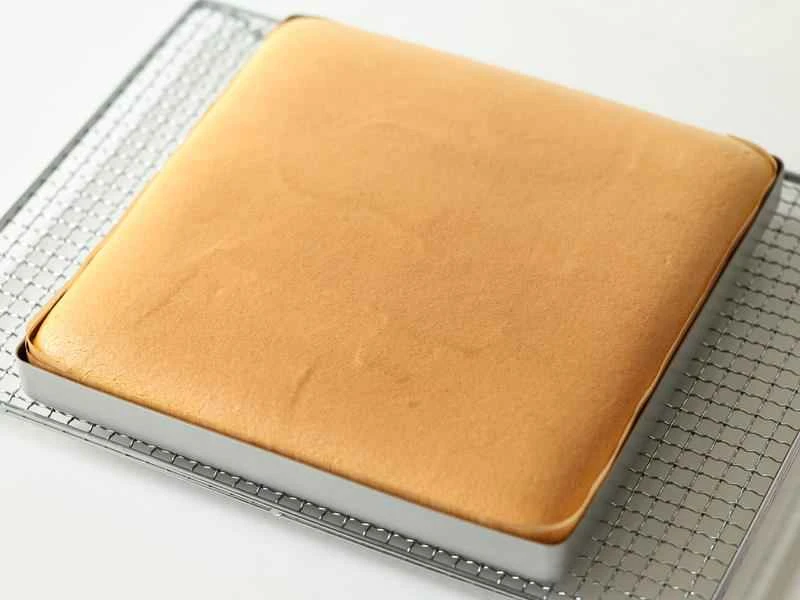
Immediately after baking, tap the baking tray to release the hot steam, then remove it from the tray and peel off the parchment paper from all four sides.
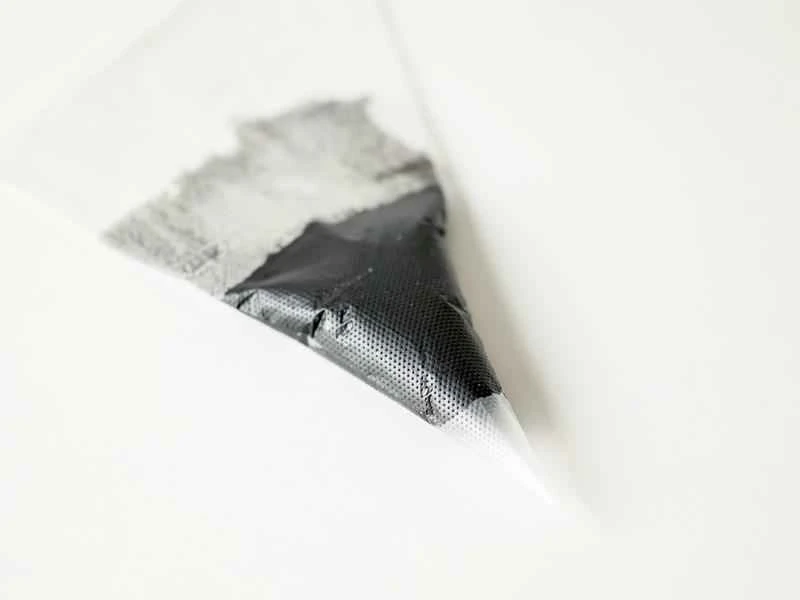
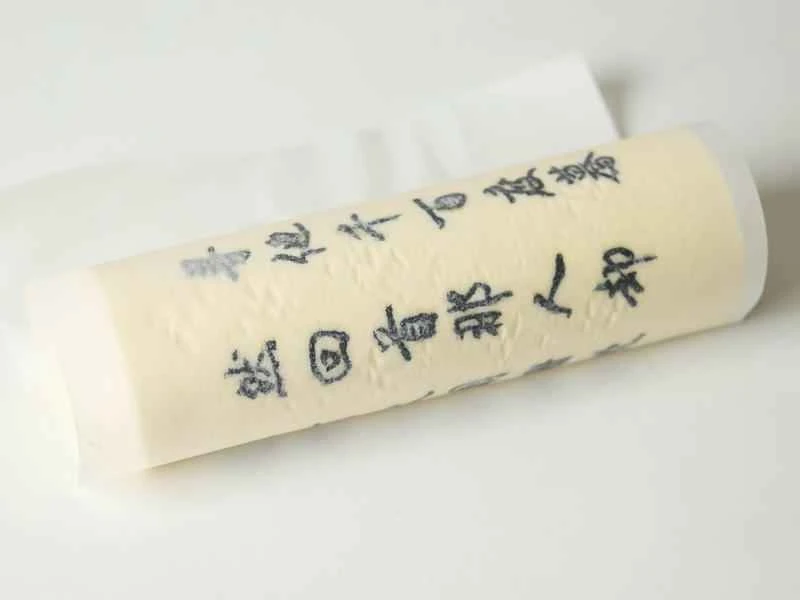
Turn it over while it's still hot, and peel off the oilcloth while it's still warm—it feels like opening a blind box 🤔, with an excited heart and trembling hands. Peel off the oilcloth very, very slowly; if you peel it off too quickly, the lettering will easily stick and get smudged.
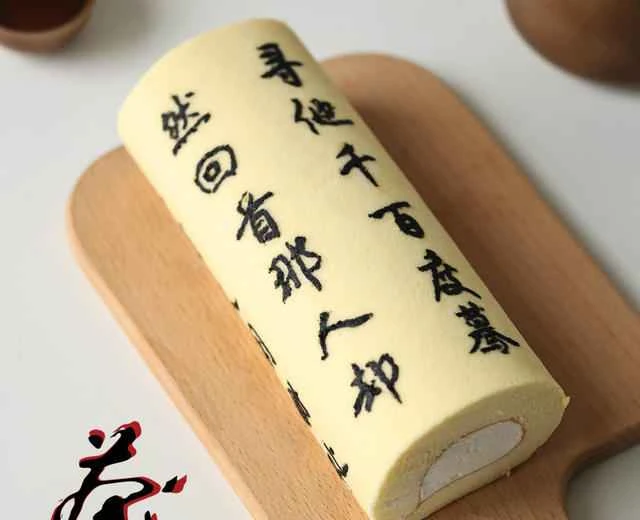
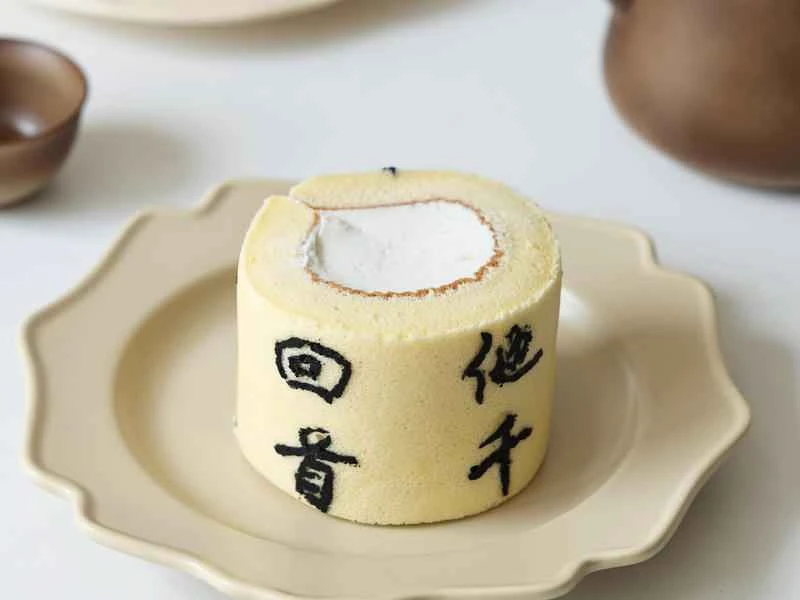
Ta-da! Perfect! I'm so satisfied! The most beautiful calligraphy-themed Swiss roll on the entire internet!
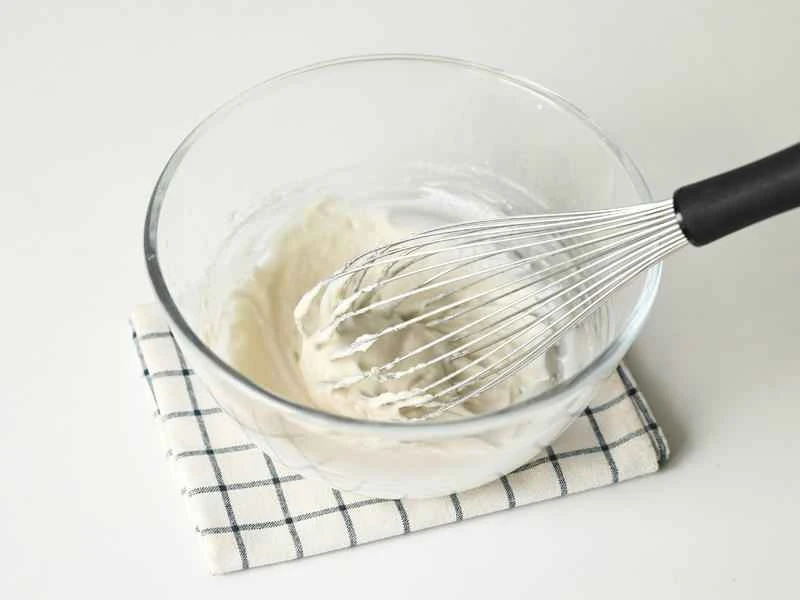
Prepare the filling while the cake roll is cooling: Add sugar to the heavy cream and whip until stiff peaks form. For roll e, use 200g of heavy cream and 10g of sugar. For roll o, use 250g of heavy cream and 15g of sugar.
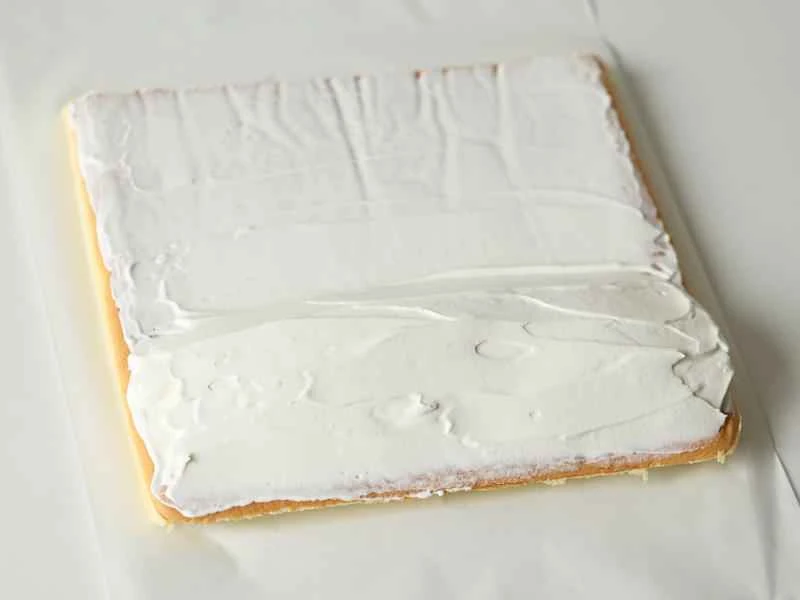
After the cake roll has cooled, cover the surface with parchment paper, flip it over, and spread the filling on top.
I rolled the dough into O-shaped rolls and froze them in the freezer for about 30 minutes to set.
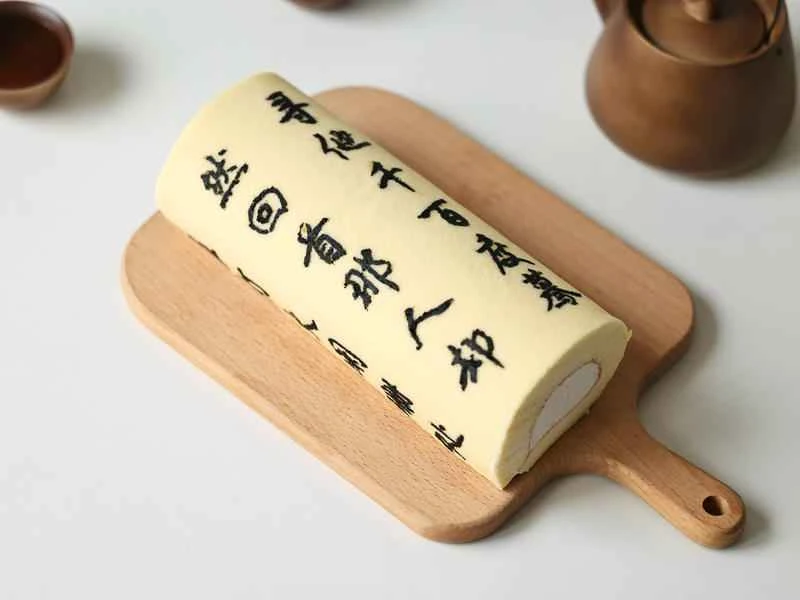
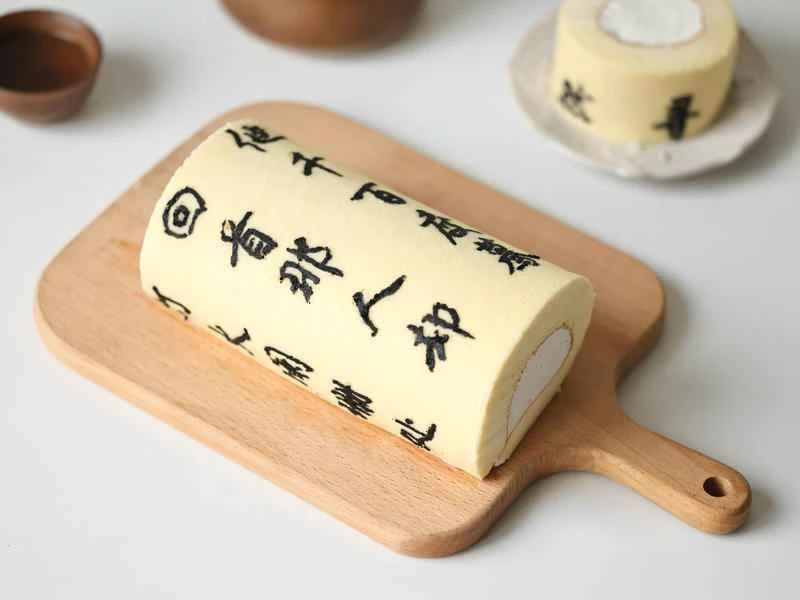
Once set, slowly and gently peel off the parchment paper. Peeling it off too quickly might cause the lettering to stick to the paper again. Trim off any irregular parts at both ends. Done.
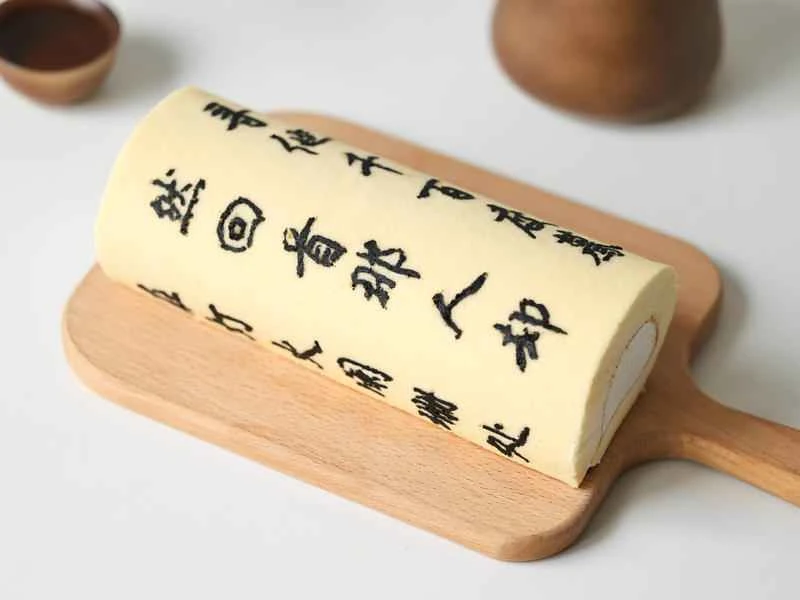
When the brushstrokes on the rice paper transform into the patterns on the cake, every bite is a poetic bloom. The cake roll, as soft as a cloud, is wrapped with rich cream, like the scattered words in regular script. Sweetness and freshness collide to create a unique charm.
Whether it's the sentiment of "peace and tranquility" during casual gatherings, the wish for "a perfect union" during festivals, or the blessing of "good fortune, longevity, and health" at a birthday banquet, this calligraphy cake roll can imbue every precious moment with poetry and a sense of ritual through its unique Eastern aesthetics.
😍😍Delicious and artistic Swiss rolls! Looking forward to seeing your creations! Please give me a "Great" rating when you submit yours. Thank you everyone! Wishing you all great wealth and prosperity, and may you eat as much as you want without gaining weight! For other delicious Swiss rolls, follow my page and search "steamed Swiss roll" in the search bar at the top.
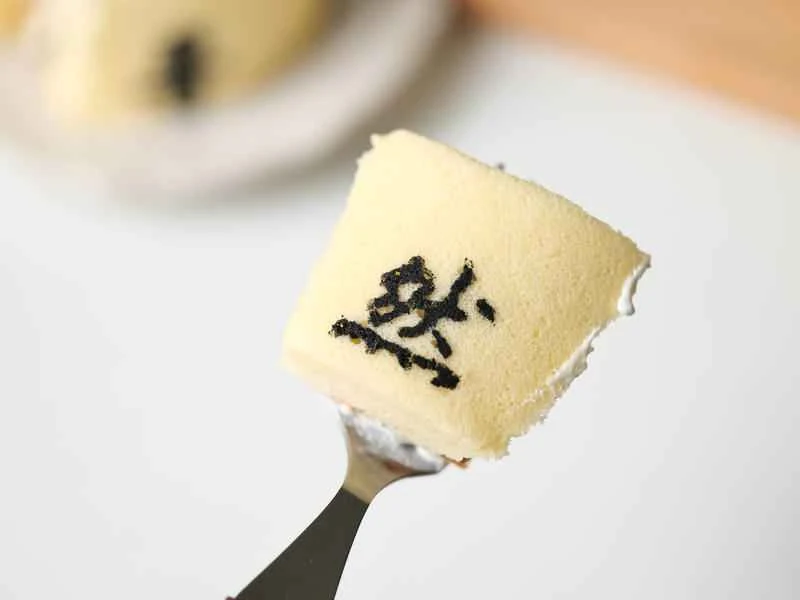
Have a bite, and you'll feel enriched by life!
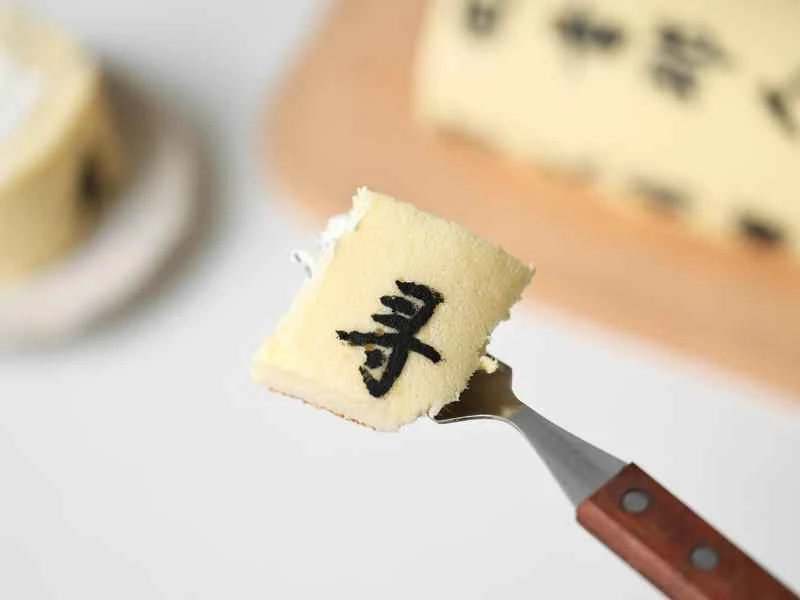
One bite per person~~
Calligraphy Swiss Roll | Tips for Eating Art
1. This cake roll isn't difficult, but writing the characters requires patience. Print out a piece of calligraphy you like, then mirror it (the characters should be reversed) so it will bake correctly. (Choose a simple font; complex fonts are not only difficult to write, but also prone to smudging. If you want the same font as mine, ask me for the document in a baking group and print it out yourself.) You can also print the mirrored font on a tablet and trace it directly. Alternatively, you can buy ready-made rubbings; search for "calligraphy hollow rubbing template" on Taobao. 2. I suggest writing only the middle 2-3 lines. When rolled up, the middle two lines look best. Writing 2 lines is easy and stress-free, but writing 5 lines requires more patience. Don't push yourself too hard. Writing is different from drawing; the lines are completely different. Calligraphy characters are smaller and more compact, and most people can't write reversed characters, or even know how to start. Therefore, mirrored calligraphy requires more patience than common painted patterns. 3. This type of cake roll isn't actually very suitable for rolling. After rolling, it's easy for some parts to stick to the parchment paper, affecting the appearance. If you're worried about not being able to handle it well, it's best not to roll it. After cutting it into pieces, stack two layers together and spread whipped cream filling in the middle. 4. Also, make sure your cake roll making technique is consistent and you can bake it to achieve a towel-like texture before making this one. Otherwise, it would be a pity if all your hard work didn't result in a towel-like texture. 5. The softness of the buttercream is related to the temperature. If the room temperature is too high and the batter feels too thin, you can refrigerate it for a while before writing. If the room temperature is too low and the batter feels too stiff, you can knead it a few times in your hands before writing.