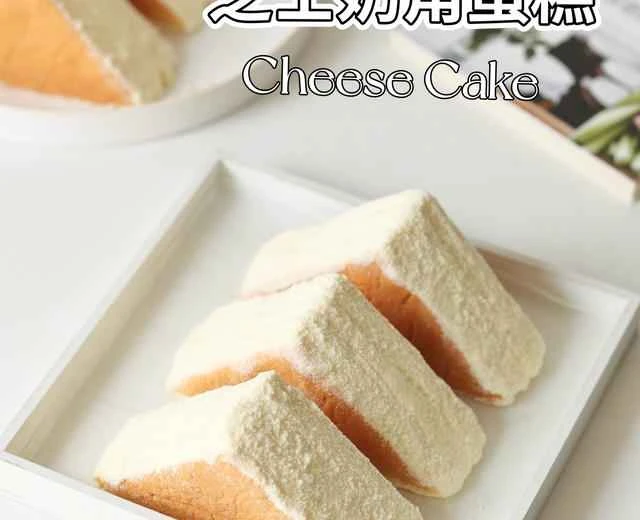
This recipe makes 8 cheese croissant cakes. The plump, white cakes are filled with silky cream cheese in the middle and coated with milk powder on the sides, giving them a rich, creamy texture that's very appealing. The cake itself is soft and fluffy; one bite reveals a smooth, silky texture with a delightful interplay of egg and milk flavors. The taste is rich, not too sweet or greasy, and the cheese flavor is just right. It's even more refreshing when chilled! Icy and cool, it melts in your mouth with just a sip—perfect for summer! Give it a try! [Links to recipes on xiachufang.com] https://www.xiachufang.com/recipe/105870925/ https://www.xiachufang.com/recipe/106715988/ https://www.xiachufang.com/recipe/106704587/ https://www.xiachufang.com/recipe/106667979/ https://www.xiachufang.com/recipe/106658344/ https://www.xiachufang.com/recipe/106637595/ https://www.xiachufang.com/recipe/106631981/ https://www.xiachufang.com/recipe/106597511/
Materials
Creamy Cheesecake Croissant | Recipe Steps for Sweet and Savory Lovers
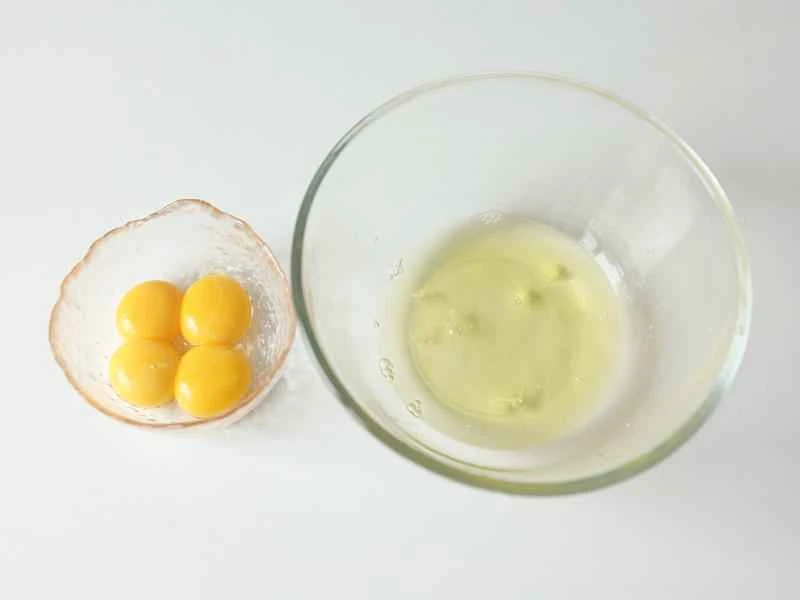
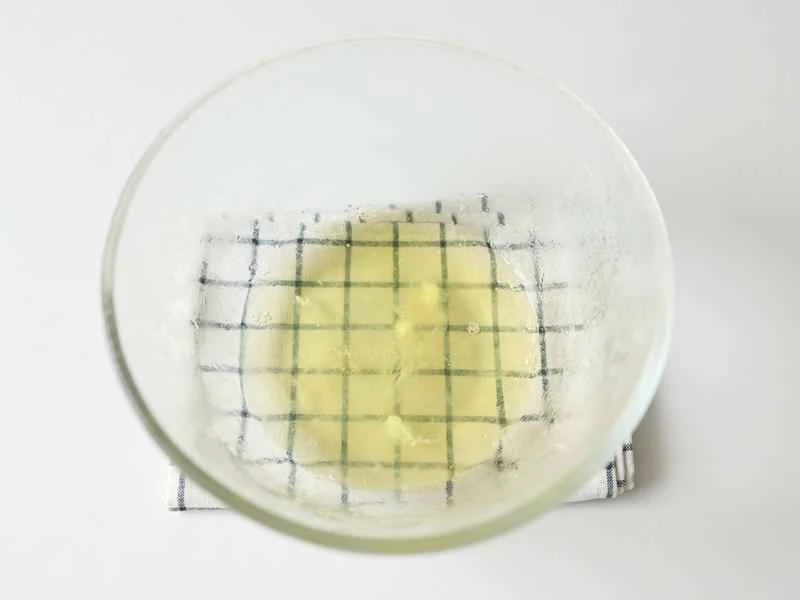
First, separate the egg whites and yolks. The mixing bowl must be completely free of water and oil; even a tiny bit of yolk will prevent it from whipping properly. Seal the separated egg whites and mixing bowl together and freeze until ice crystals form around the edges. (In summer, it's crucial to keep the egg whites at a low temperature when whipping to prevent them from becoming coarse and crumbly. If freezing isn't possible, refrigeration is also an option. You can place ice packs under the egg whites while whipping, or turn on the air conditioner.) (Use fresh eggs; the yolks are less likely to break, and the egg whites are more stable. I used eggs weighing around 65 grams each. I recommend weighing the egg whites and yolks separately; add more if the eggs are too small.)
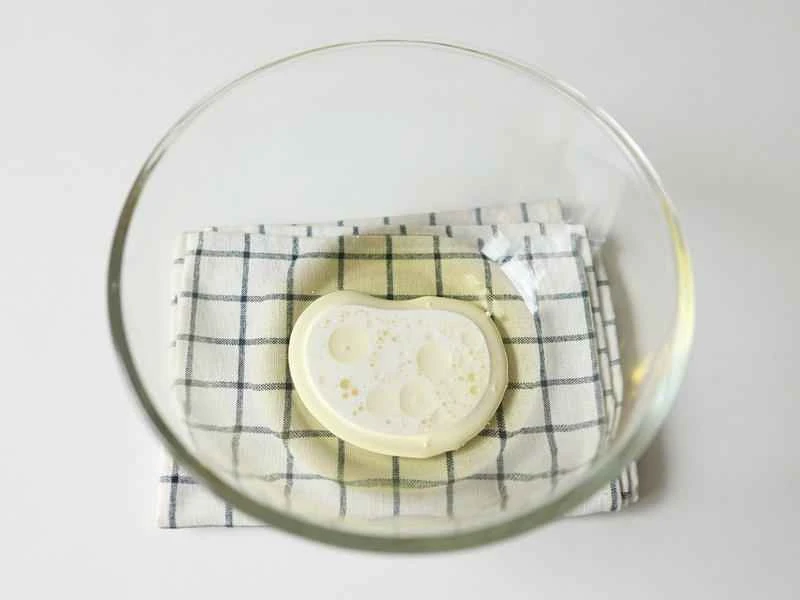
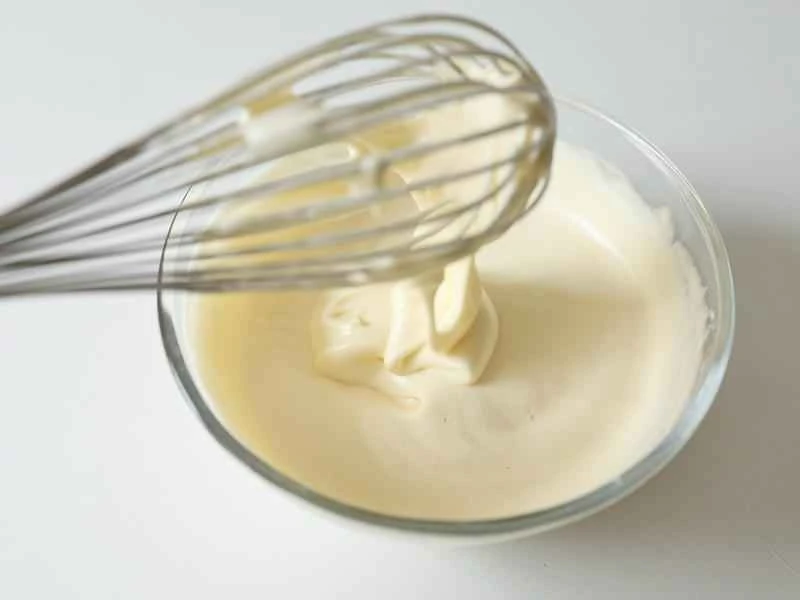
Add milk and corn oil to a bowl
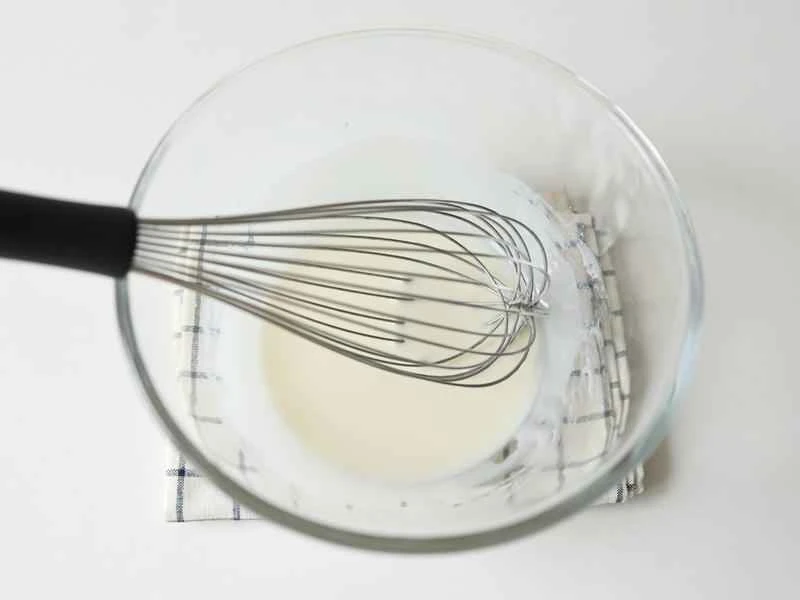
Whisk until fully emulsified.
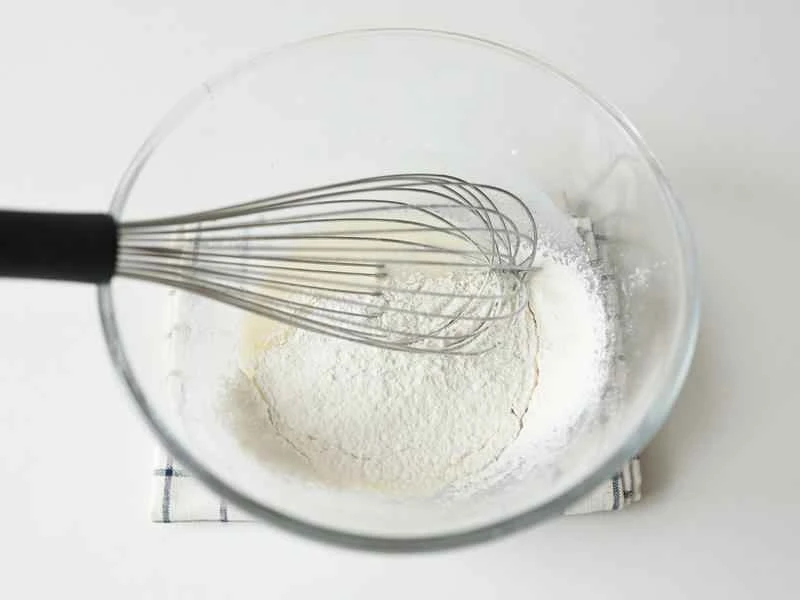
Sift in the cake flour
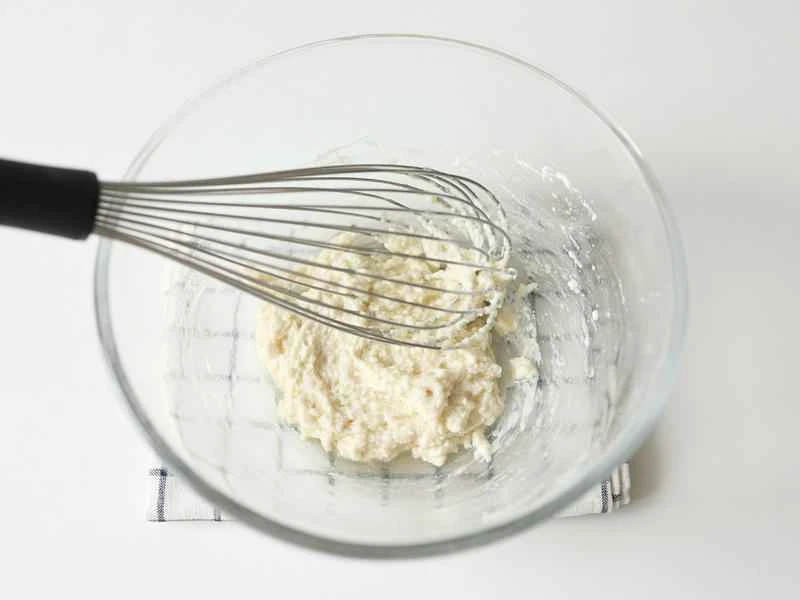
Mix well until no dry powder remains.
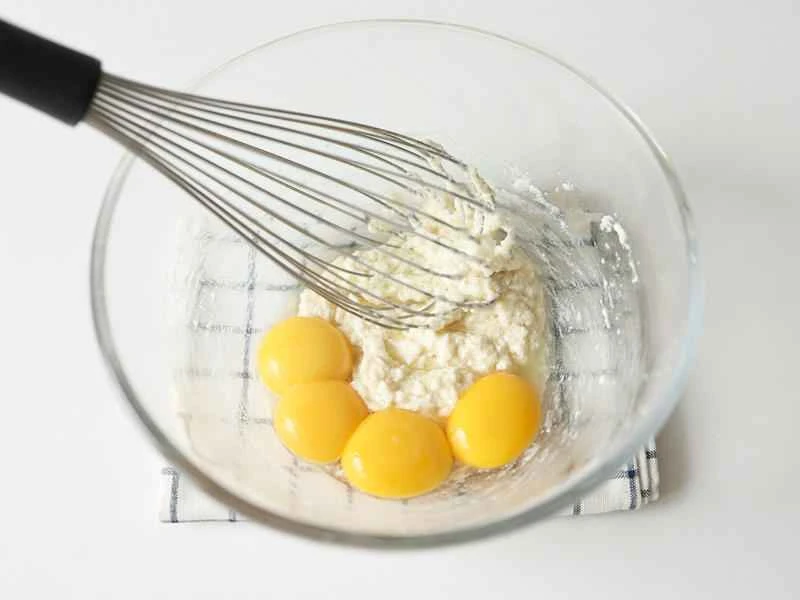
Add egg yolk
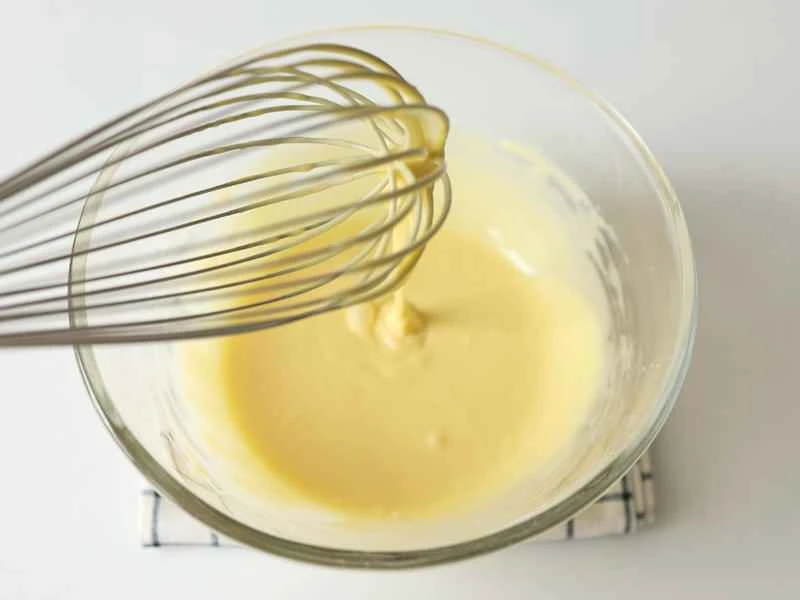
Stir again and set aside. It shouldn't be too thick; the dripping streaks should disappear.
Take the egg whites out of the refrigerator and add lemon juice.
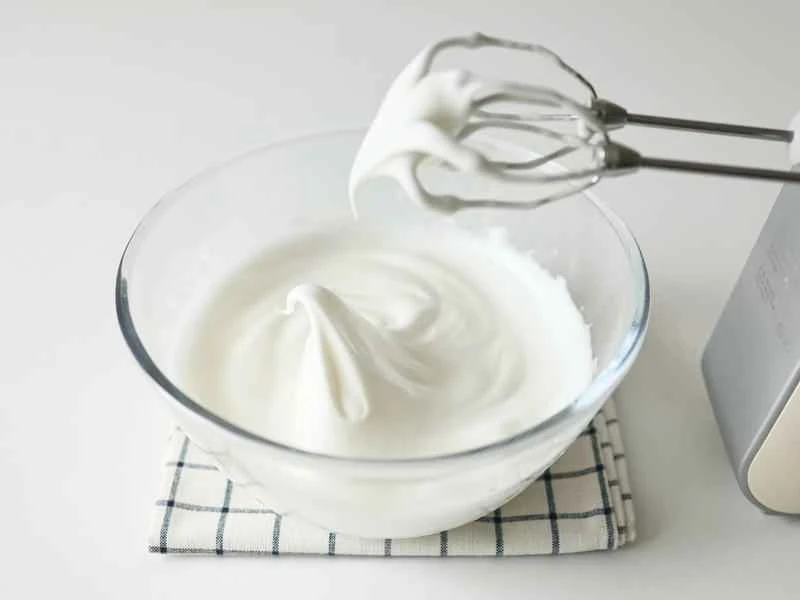
First, use an electric mixer on high speed (setting 5) to beat the egg whites, adding sugar in three batches. Once lines appear, switch to medium speed and beat until soft peaks form. Then, switch to low speed (setting 1) to smooth out the egg white bubbles for 1-2 turns, making them smaller and denser.
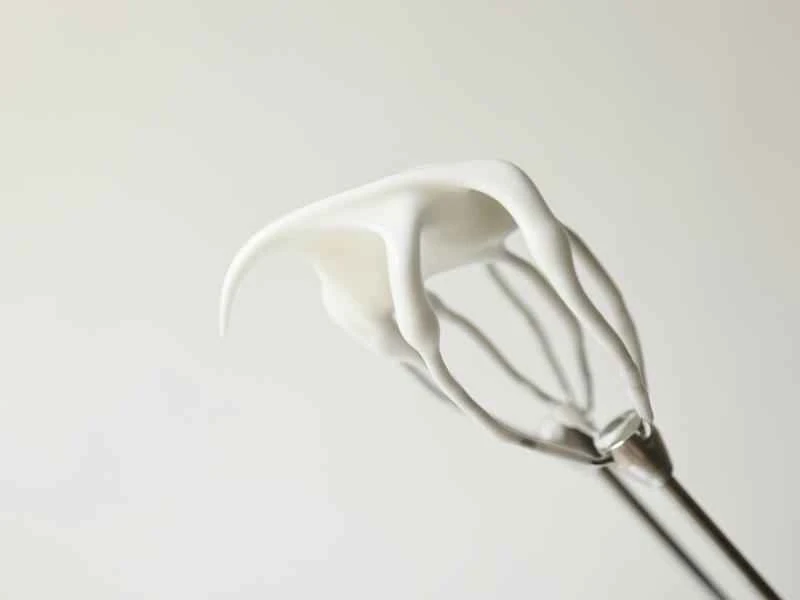
As shown in the picture, soft peaks are formed when you lift the egg whites and they form a large, curved hook. The egg whites won't drip, but they can move slightly, and there will also be hooks in the mixing bowl. Refer to the previous step's picture. (If the egg whites drip when lifted, they are too soft and haven't been beaten enough. If the hooks are small and pointed, and the range of motion is very small, they are beaten too stiff.)
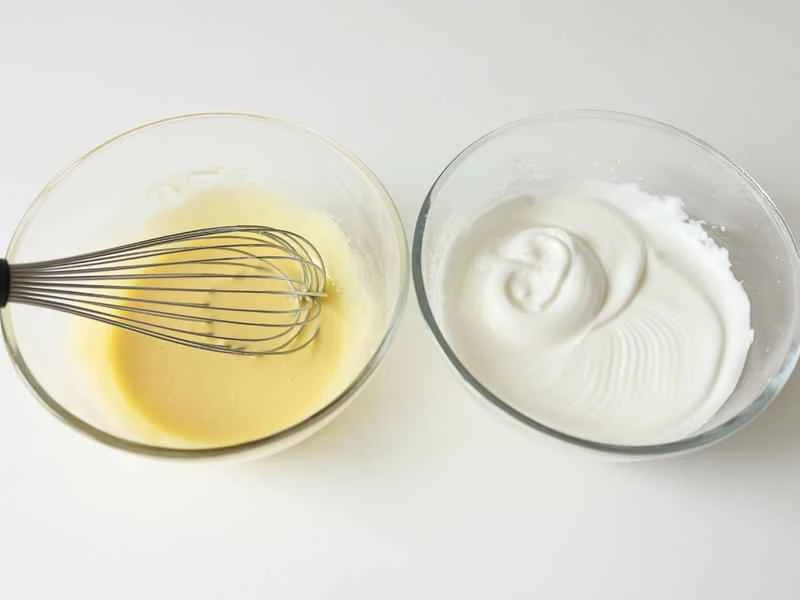
Next, mix the egg yolk mixture and the meringue.
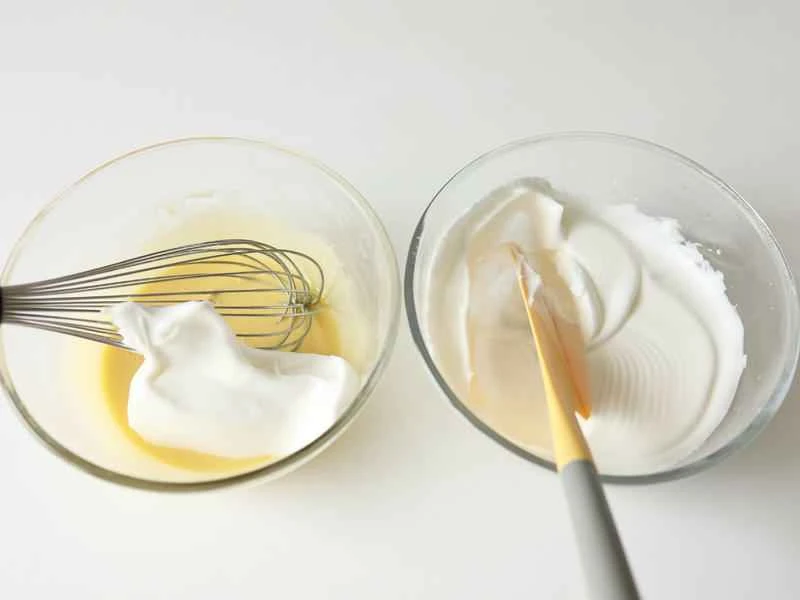
Divide 1/3 of the meringue into the egg yolk mixture.
Fold the egg mixture evenly with a whisk. It's folding, not stirring in circles, as stirring in circles can cause the mixture to deflate.
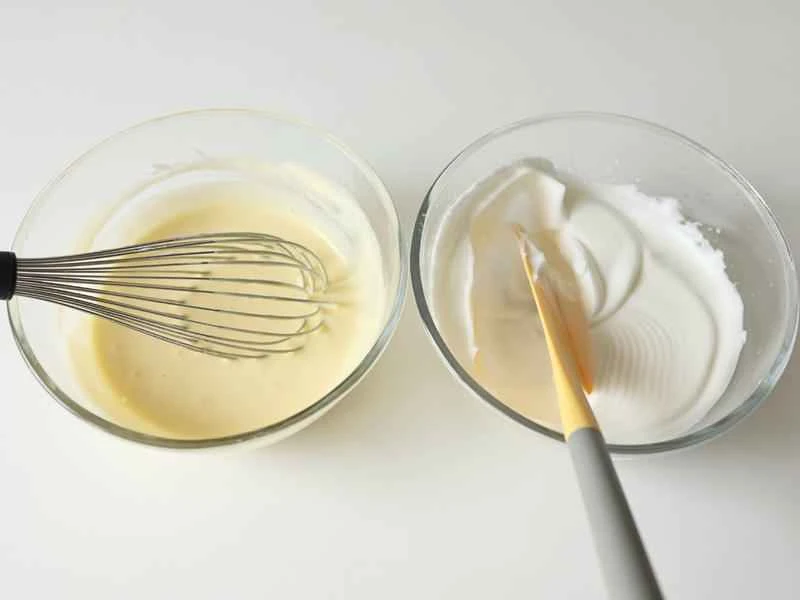
Pour it back into the meringue.
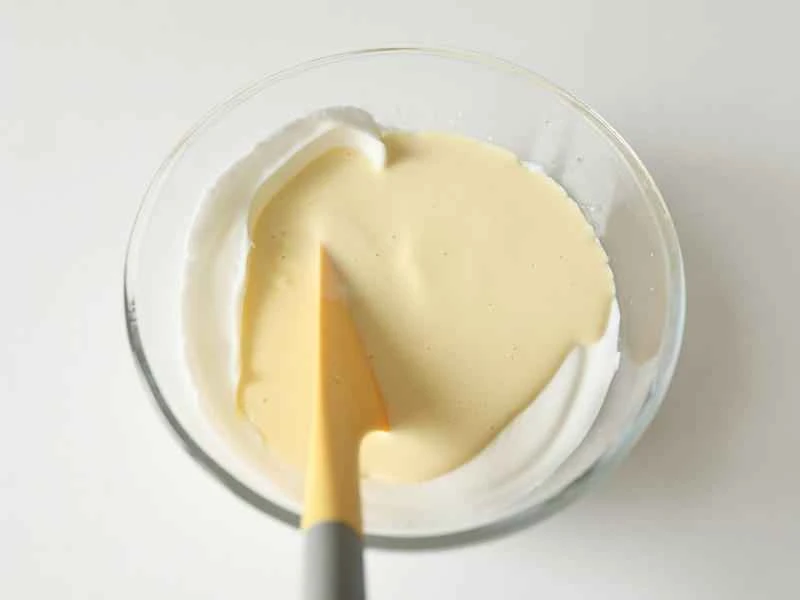
Continue mixing using a folding motion until the mixture is smooth, silky, and glossy, forming a ribbon-like consistency when lifted.
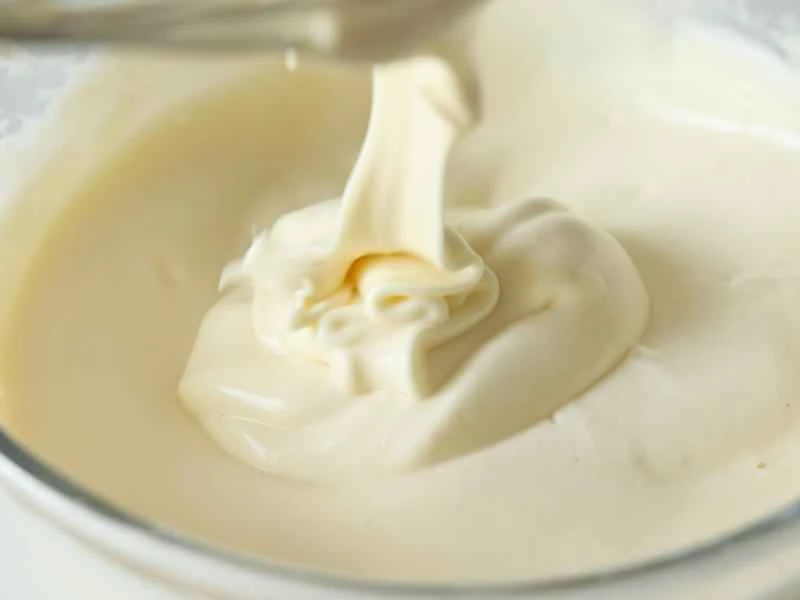
close up
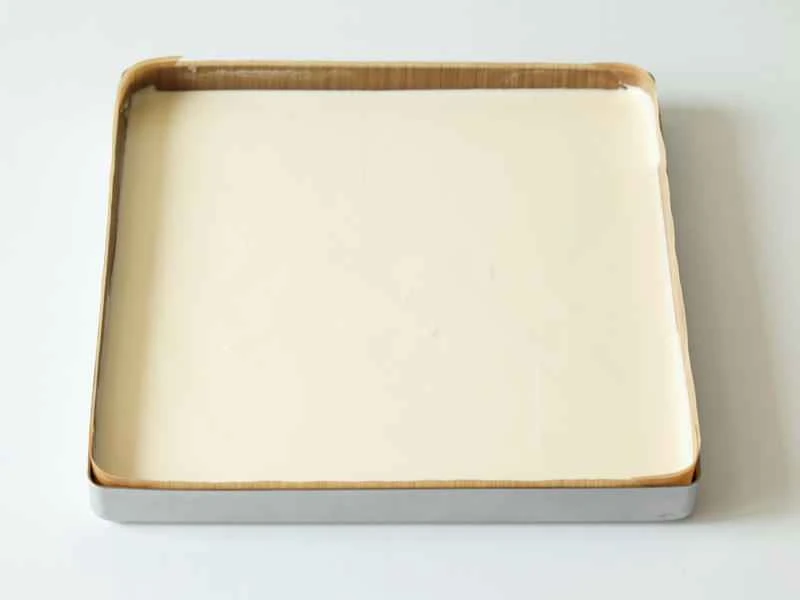
Hold the cake batter bowl about 30cm above the baking pan and pour it into the pan lined with parchment paper. This helps to release large air bubbles. After shaking to even out the surface, smooth it with a spatula and gently tap the pan to release any remaining large air bubbles.
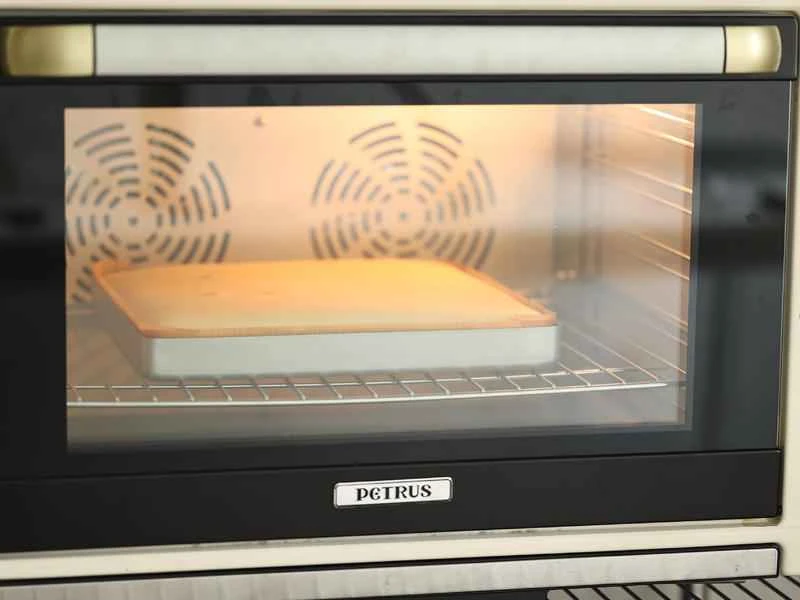
Place in a preheated oven (Petrus K85pro), 180 degrees Celsius (350 degrees Fahrenheit) for 20-23 minutes (180 degrees is the actual temperature measured by the oven thermometer). ⚠️This temperature is only suitable for my oven; it may not be suitable for other ovens. Adjust the temperature according to your own oven and experience; do not copy blindly.❌ ⚠️A 4-egg cake roll is thinner and may brown slower than a 5-egg cake roll. Keep an eye on it for the last 5 minutes and don't leave it unattended. If it's not browning well, increase the top heat by 5-10 degrees Celsius. This will help the surface set and prevent peeling. Remove from the oven when you are satisfied with the color. It's not recommended to bake it too dark, as it won't be summery enough. ⚠️For other home ovens, a reference temperature is 150 degrees Celsius (300 degrees Fahrenheit) for about 30 minutes. ⚠️For convection ovens, bake at 150 degrees Celsius for 25 minutes, then switch to 170-180 degrees Celsius for 5 minutes.
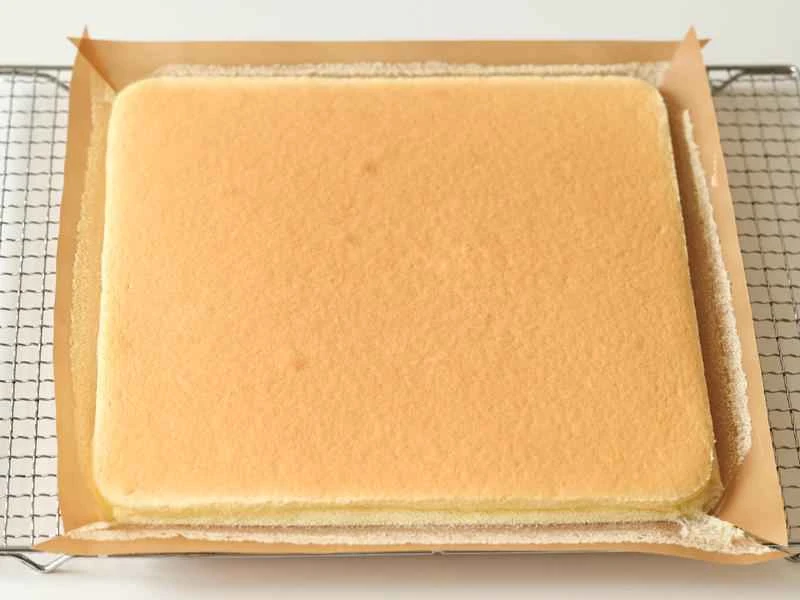
Immediately after removing from the oven, shake the pan to release the hot steam. After removing from the oven, peel off the parchment paper from all four sides and let it cool for a while.
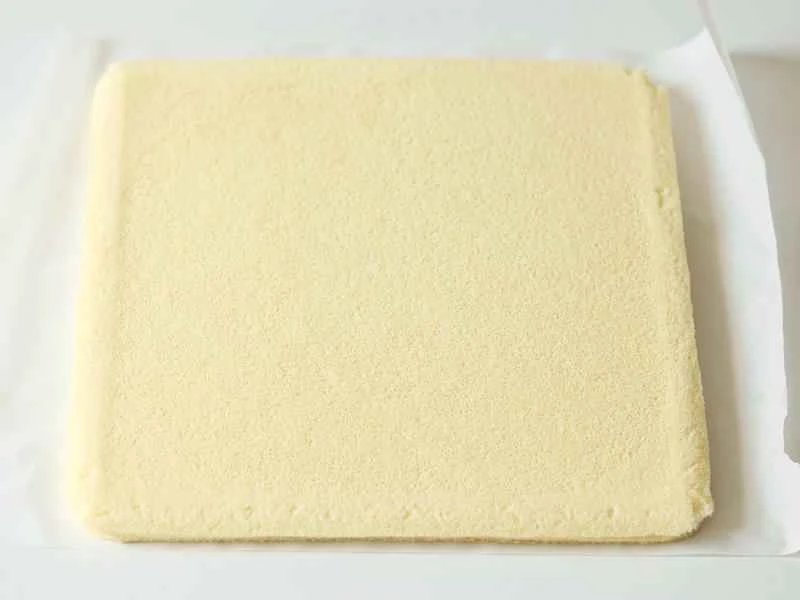
While the cake is still warm, cover the surface with parchment paper, then flip it over and peel off the parchment paper.
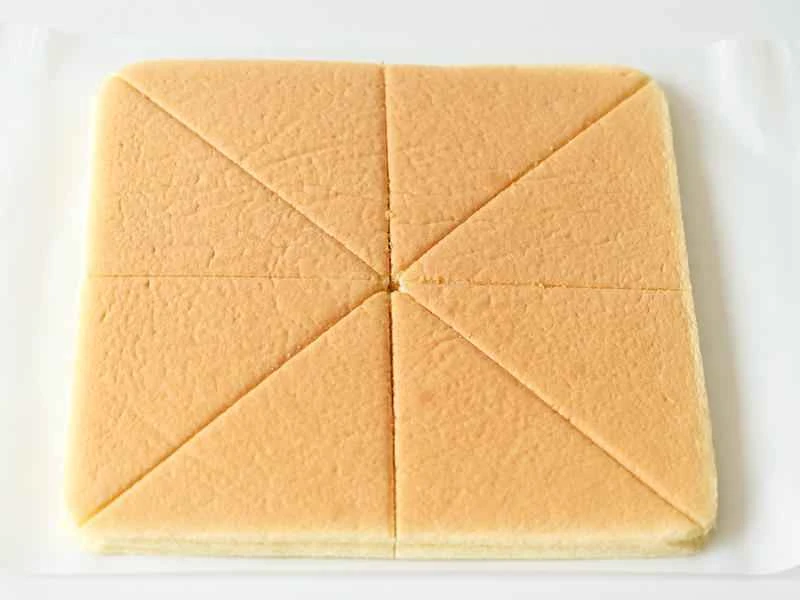
Flip it over again, draw a "米" (rice) shape, and cut it into 8 pieces.
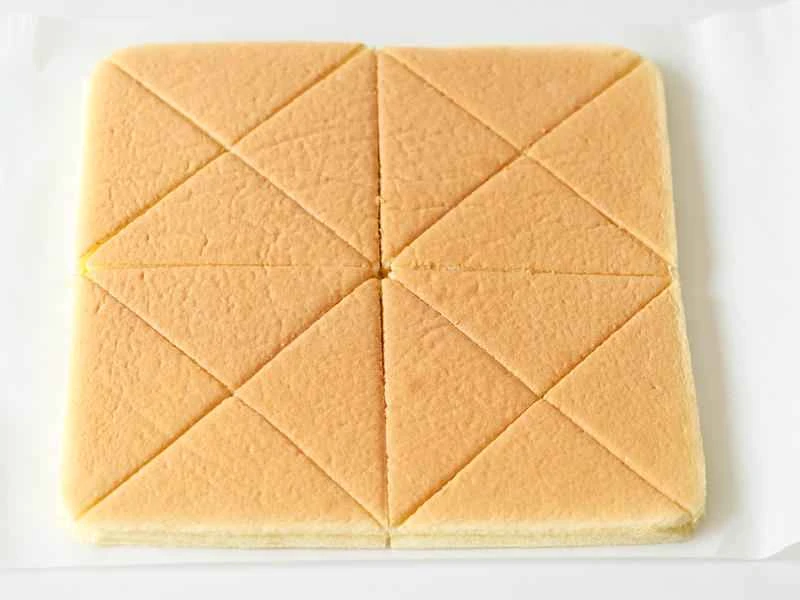
Cut 16 small pieces diagonally, and cover the surface with parchment paper to prevent drying (do not stick the parchment paper to the surface, as it may peel off or leave marks that affect the appearance).
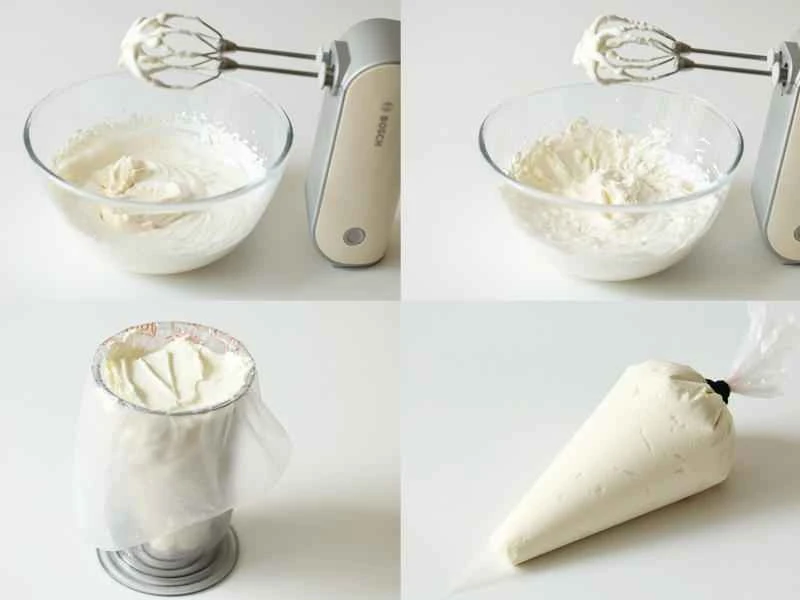
Add sugar to the heavy cream and whip until soft peaks form (about 60% whipped). Add the pre-mixed smooth cream cheese and whip together until stiff peaks form (about 90-100% whipped). Transfer to a piping bag. ⚠️⚠️In summer, when room temperature is over 30 degrees Celsius, do not whip the heavy cream directly. Freeze the mixing bowl and whisk for half an hour beforehand, then turn on the air conditioner to a temperature below 20 degrees Celsius and place an ice pack under the bottom of the bowl while whipping. Don't take chances; these steps are essential!⚠️⚠️Wear thick gloves when piping, otherwise the high temperature of your hands will cause the cream to melt quickly. Prepare an ice pack and place it on top of the ice pack after each use. Don't place it on the table, as the table is hot, and everything is hot in summer.
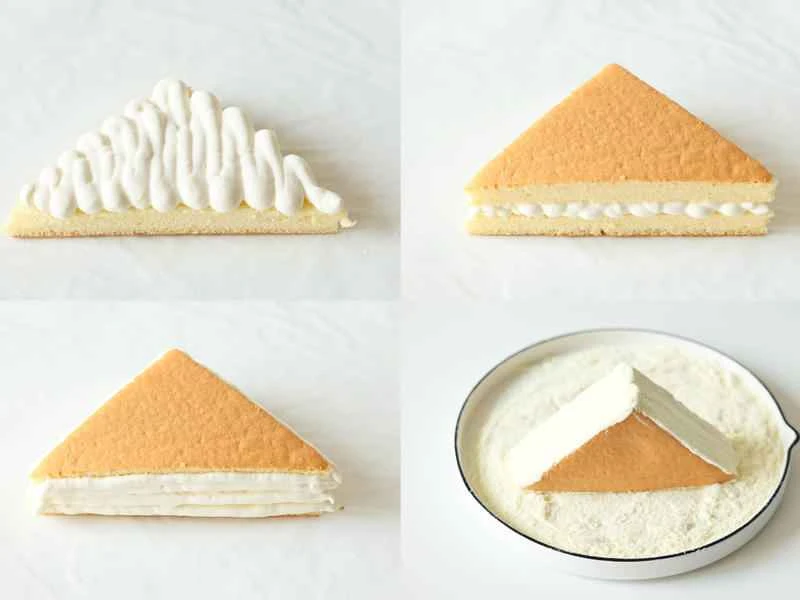
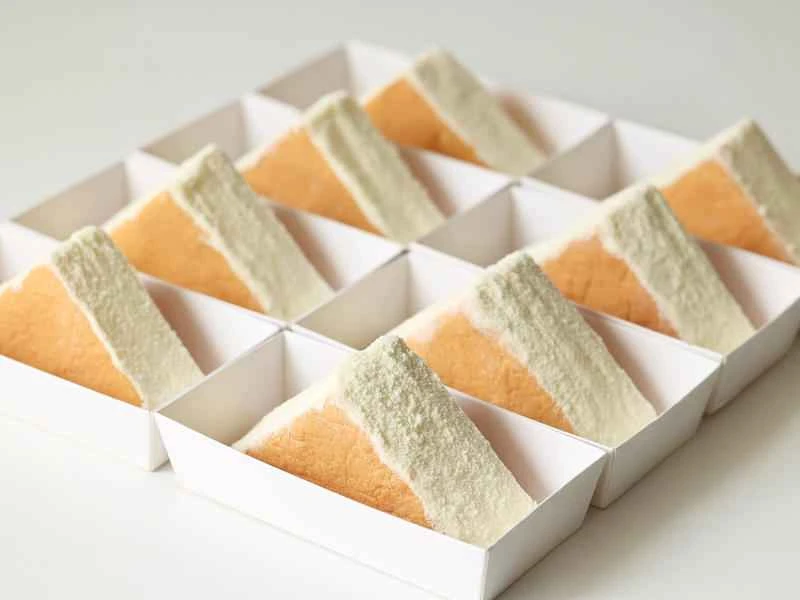
Take one slice of cake, pipe 30g of cream filling, cover with another slice of cake, pipe another 5-10g of cream on the sides, smooth with a spatula, and decorate by coating three sides with milk powder. Done.
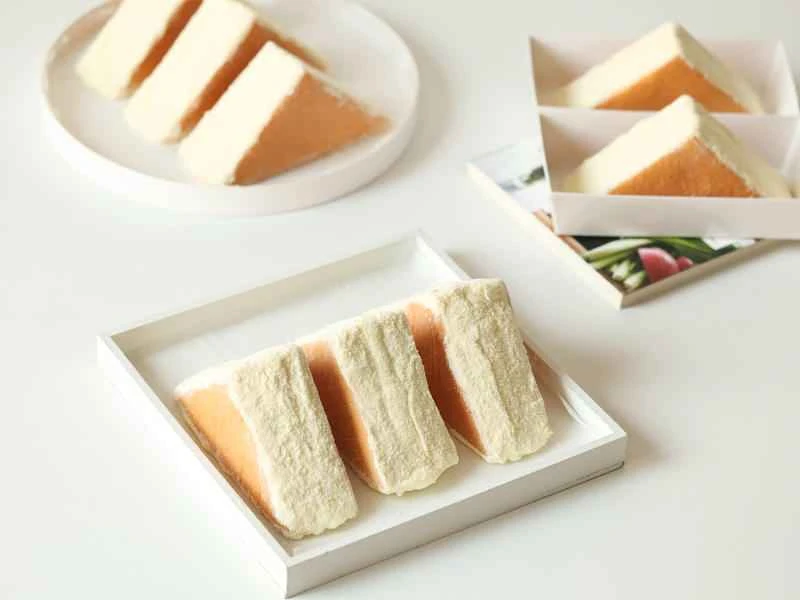
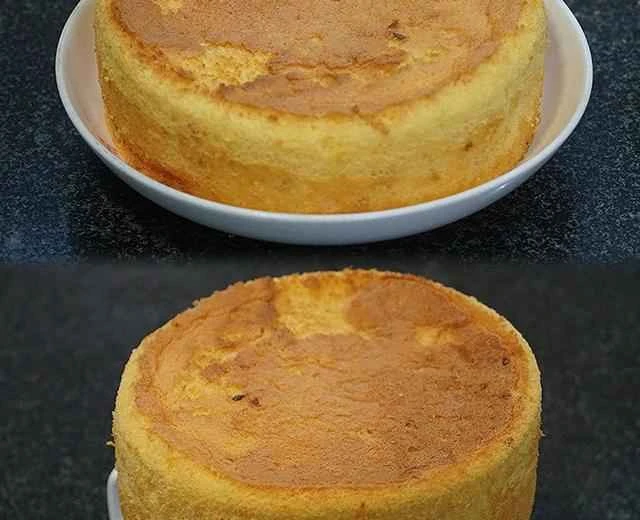
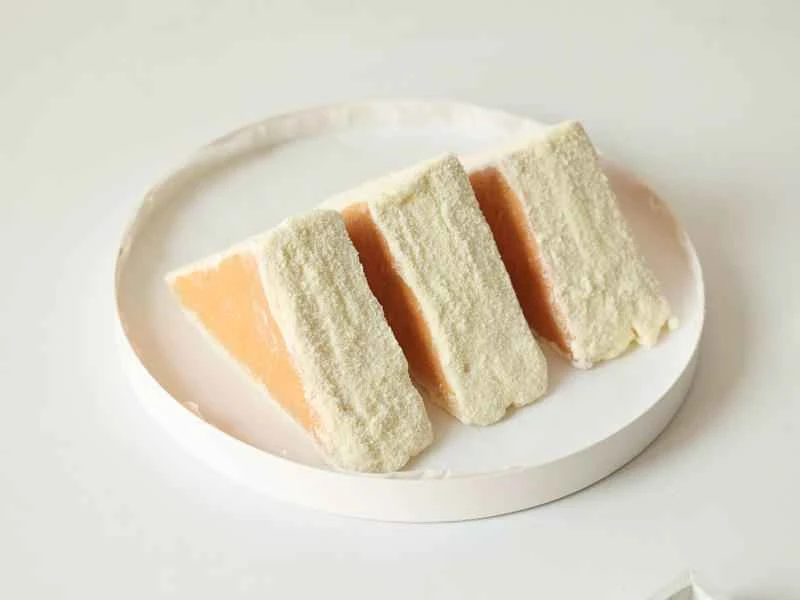
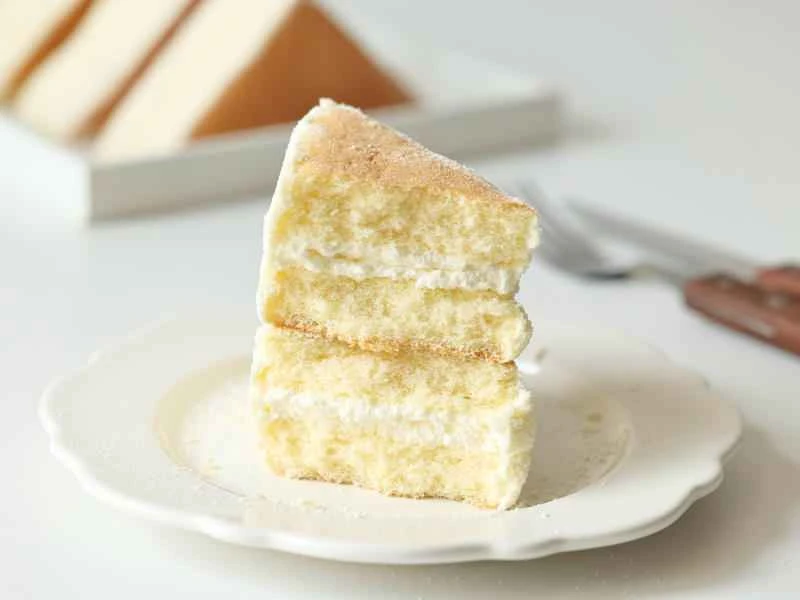
The white and plump cake is filled with silky cream cheese in the middle and coated with milk powder on the sides. It's very creamy and thick, and it looks very appealing.
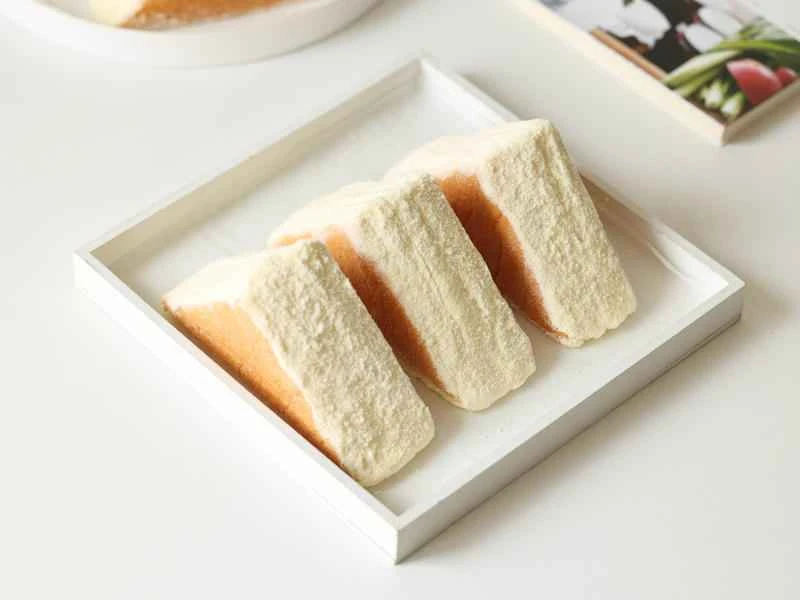
The cake is soft and fluffy; one bite reveals its smooth and silky texture, a rich blend of eggy and milky flavors, and a perfect balance of sweetness and cheesiness. 😍 It's even more refreshing when chilled—icy cold and melts in your mouth, perfect for summer! Try it now!
⚠️⚠️Storage method: Store in an airtight container in the refrigerator for 2-3 days, or freeze for over 1 month. Thaw at room temperature and eat directly; do not heat, as heating will melt the filling.
This cake is absolutely delicious! Both sweet and savory cake lovers will adore it! Looking forward to seeing your creations! Please give it a "Great" rating when you submit yours. Thank you everyone! Wishing you all great wealth and prosperity, and may you eat as much as you want without gaining weight! For other delicious cakes, follow my page and search for "cake" in the search bar at the top.
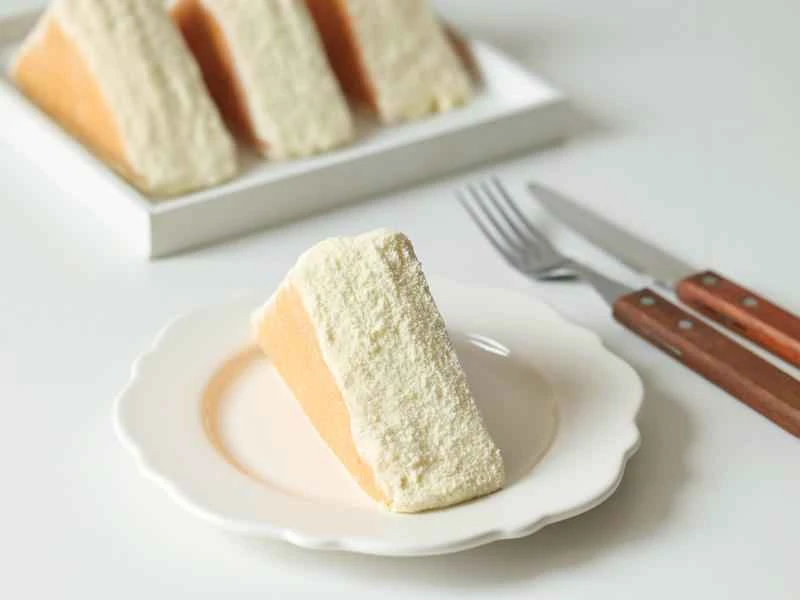
ʔ•̫͡•ʕ Let's eat first as a sign of respect.
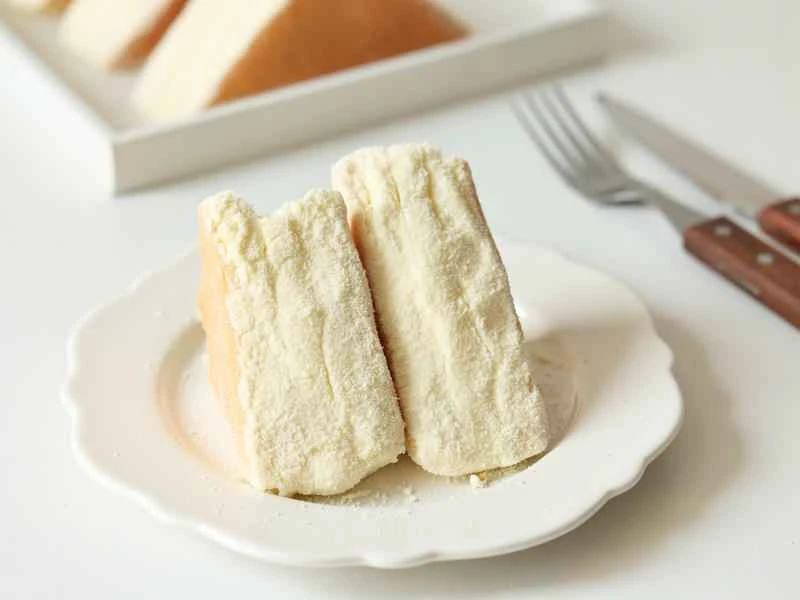
⸝⸝ ᷇࿀ ᷆⸝⸝ Break it open

◔.̮◔✧ Eat
❛˓◞˂̵✧ Eat