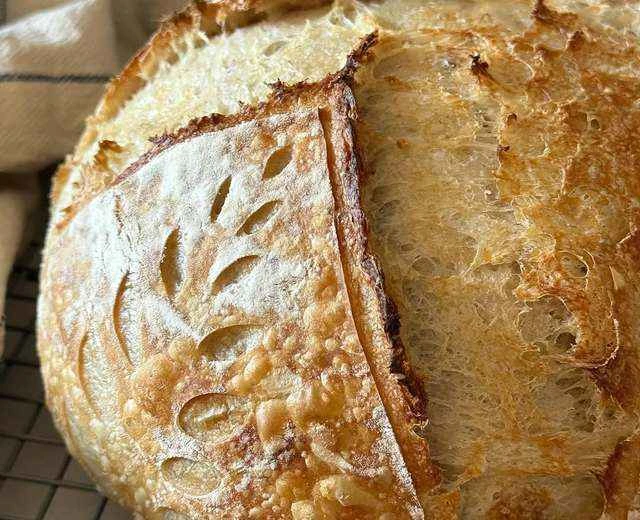
Levain sourdough bread emphasizes natural and healthy ingredients. It uses levain as a starter, a natural yeast cultivated over a long period using flour and water. Bread fermented with levain has a unique flavor with a subtle lactic acid aroma. The bread has a uniform air pocket, a crisp crust, and a soft, chewy interior. Compared to regular yeast bread, levain sourdough bread is easier to digest, offering both a wheaty flavor and a healthy taste, making it a favorite among those who appreciate quality living. Preparation time: The entire process takes approximately 24 hours, but the actual hands-on time is minimal, at most 30 minutes. Levain is French for "natural starter" or "natural seed," a symbiotic relationship between yeast and lactic acid bacteria produced through natural fermentation, used in baking bread, cakes, and other fermented dough products. Levain imparts a unique flavor, texture, and nutritional value to baked goods. ▮Lupin Acid Seed Collection Starter https://www.xiachufang.com/board/1078162420318355456/ ▮Lupin Acid Seed Discard Collection https://www.xiachufang.com/board/1078162215418245120/
Materials
Natural Lubanese Sour Seed ▪️ Step-by-Step Guide to Making French Bread (Hard European Bread)
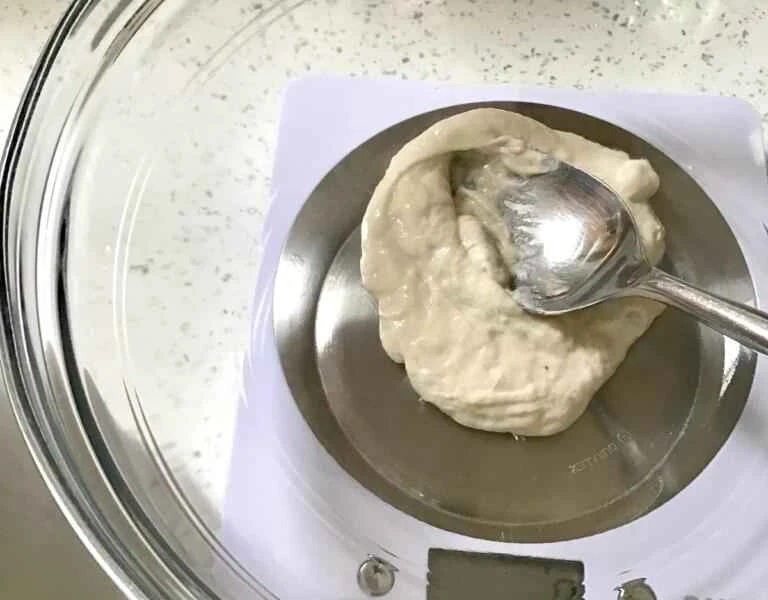
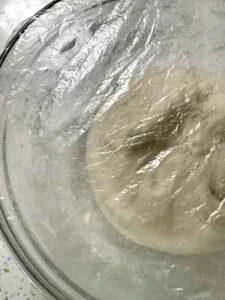
Feed all Luban sourdough starters with 30 grams of high-gluten white flour and 30 grams of water, stirring thoroughly into a thick, lumpy mixture. Do not overmix until smooth. Cover the container and place it on the kitchen countertop until the sourdough starters are active enough to be used. The activation time of sourdough starters varies depending on their activity level and kitchen temperature. My sourdough starters require 3 to 4 hours; the time will be longer if the activity level is low or the temperature is low, and shorter if it is warm. Sourdough starters stored in the refrigerator need to be taken out and brought to room temperature before feeding. Sourdough starters used daily and kept on the countertop can be fed directly on the countertop.
Once the levain sourdough is ready, you can begin kneading. Mid-afternoon or late afternoon is ideal, usually starting between 4 and 5 pm. 👉 50g levain sourdough
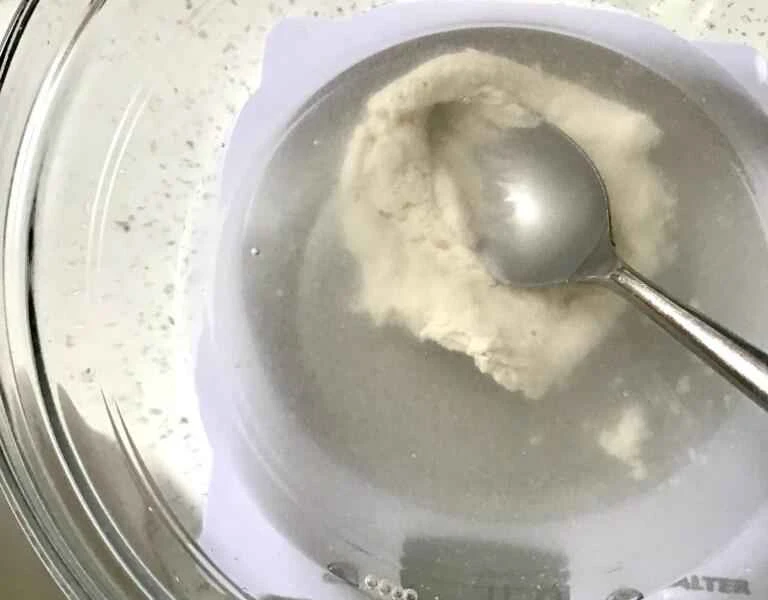
In a mixing bowl, combine 50g of krupponic acid seed with 350g of water. The water temperature does not need to be specific; cold, cool, or room temperature water is fine. 👉 50g krupponic acid seed + 350g warm water
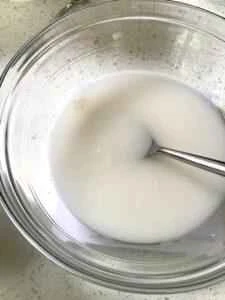
Roughly stir the sourdough and water until the sourdough separates from the bottom of the bowl.
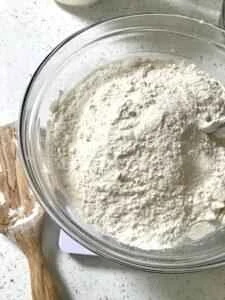
Next, add 500g of high-gluten white bread flour to the bowl: 50g of rupon starter + 350g of warm water + 500g of high-gluten flour.
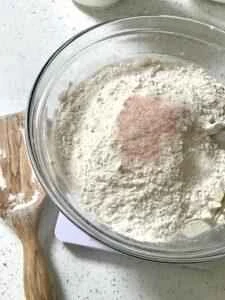
Add 4 grams of salt (the recipe calls for a small amount of salt for seasoning; you can increase the amount as desired). 👉50g ruvae + 350g warm water + 500g high-gluten flour + 4g salt
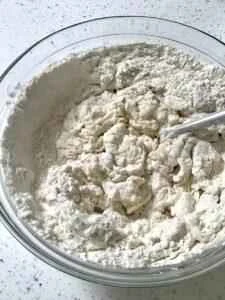
Mix all the ingredients roughly
Make the mixture slightly coarse, ensuring the flour and water are well combined.
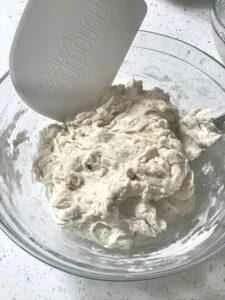
For the first rough mixing, a large spoonful is usually used, but you can also use your hands, depending on your preference.
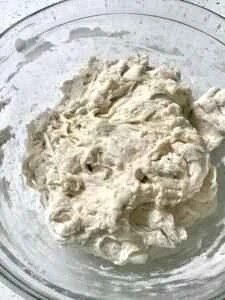
Next, use a silicone spatula to clean the rim of the bowl, making sure the ingredients are roughly mixed.
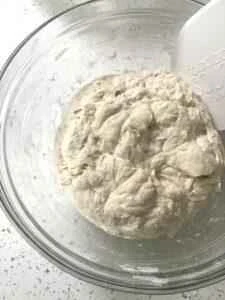
Cover the bowl with a shower cap or other lid and let it sit on the kitchen counter for about an hour. No precise timing is needed; a longer time is fine. ⚠️Note: This process is called "hydration" or premixing, and is the first stage.
After 1 hour, uncover the bowl, take a small handful of dough, lift it from one side of the bowl and fold it to the other, rotating the bowl repeatedly, up to 20-25 times, until the dough is formed into a smooth ball. This strengthens the structure and activates the gluten. ⚠️ Only the first time requires multiple stretching and folding; subsequent times will require fewer stretching and folding to form a ball, no need for 20-25 times. The dough will be most sticky at this point, but it will become less sticky over time.
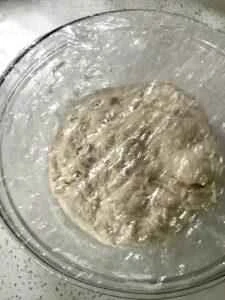
Cover the bowl again with the same lid and place it on the kitchen counter. Over the next few hours, perform the pulling and folding motion 2 to 4 times, without fixed intervals, the key is to complete enough repetitions, for a total of 4 times.

The dough will not rise or expand during this stage. Stop stretching and folding the dough until it forms a ball, indicating that the dough has been properly processed.

After completing the final steps, shape the dough into a firm ball, cover it with a lid, and leave it on the counter overnight. This is called "primary fermentation." The ideal temperature is 18-20 degrees Celsius, and the fermentation time is 8-10 hours. Lower temperatures will result in longer fermentation times, so allow it to ferment for several hours. Higher temperatures may cause the dough to over-ferment; please refer to the tips and FAQs for prevention methods.
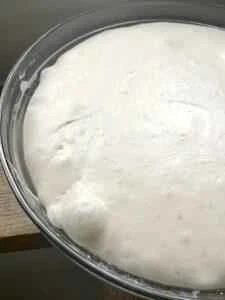
The next morning, the dough should have noticeably risen and increased in size in the bowl, at least doubling in size, with a smooth, slightly raised surface. The dough has a good structure and doesn't need many air bubbles; it just needs to rise.
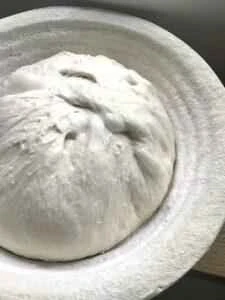
Now, take out the proofing basket, and even if it has been processed before, sprinkle it with rice flour. Make sure to sprinkle flour thoroughly on all parts of the proofing basket, including the sides, to prevent the dough from sticking.
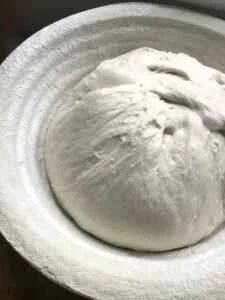
Place the dough in the proofing basket and perform a final round of stretching and folding until it forms a beautiful dough ball. The dough should be elastic and have a structure you can feel. Don't worry about using too much force, but don't be too gentle or tense either. Following the steps to create a firm dough will ensure it springs back even when sat on and bakes well. The goal is to create tension within the dough to keep it spherical and stable in the center of the bowl. Lift the dough ball and place it smooth-side down in the proofing basket. Gently move the dough to one side, sprinkle rice flour on the sides and top, and sprinkle with parchment paper to prevent sticking.
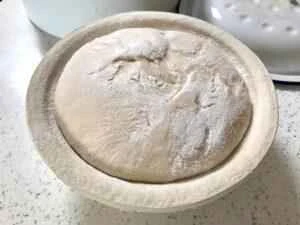
Cover the proofing basket again with a shower cap or lid and refrigerate for at least 3 hours, and no more than 24 hours; the longer the proofing time, the richer the flavor. I usually proof it for 10 hours. If you are at work or out all day, you can refrigerate it and bake it when you return. This is usually called "final proofing".

Next, you can start baking in a preheated oven or a cold oven; I bake all my bread in a cold oven, which is counterintuitive but works. If you choose to preheat the oven: preheat the oven to 220 degrees Celsius (425 degrees Fahrenheit for fan-operated ovens) / 230 to 240 degrees Celsius (450 degrees Fahrenheit for non-fan-operated ovens). Once the oven is preheated, remove the dough from the proofing basket from the refrigerator and line an enamel baking sheet with parchment paper. Place the baking sheet over the proofing basket, invert it, and pour the dough into the baking sheet.

At this point, you should have a nice dough dome that holds its shape and has a concentric flour ring pattern left by the proofing basket on the surface.

Make a slit in the top of the dough using a bread scorer or a clean razor blade.
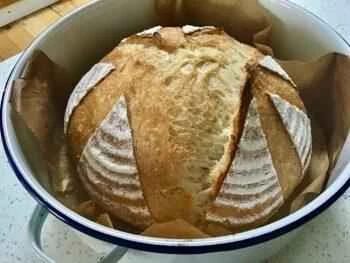
Cover and place the baking tray in a cold oven. Set the oven temperature to 220 degrees Celsius (425 degrees Fahrenheit for fan-operated ovens) / 230-240 degrees Celsius (450 degrees Fahrenheit for non-fan-operated ovens), set a 55-minute timer, and keep the lid on the oven throughout the entire baking process.
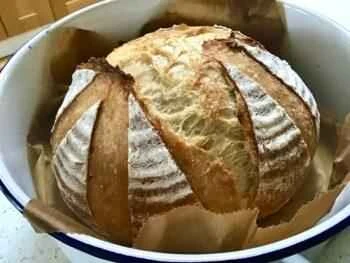
Let the bread bake in the oven: Don't peek, don't turn the oven on or off, and resist the urge to check.
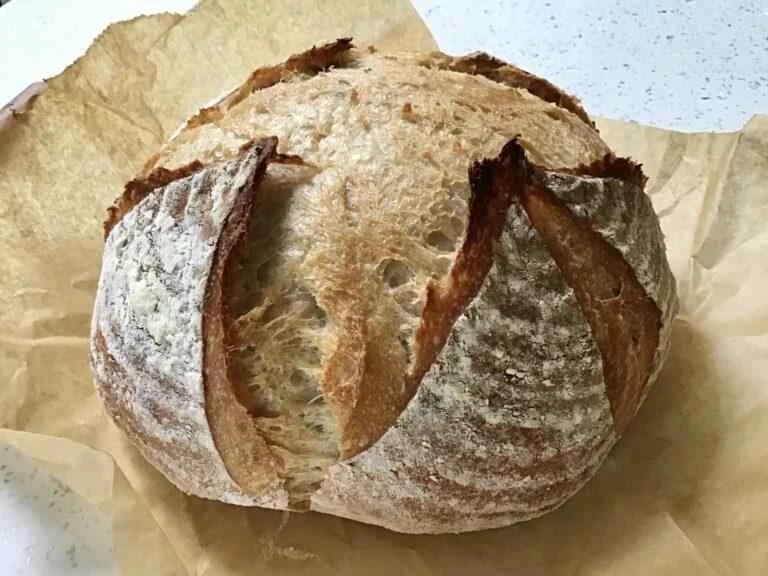
After 50 or 55 minutes, remove the entire baking tray from the oven. Carefully remove the bread, tilting it while wearing gloves, and peel off the parchment paper from the bottom (you can save it for later). Then, place the bread on a wire rack to cool. Let it cool for at least an hour before slicing. Slicing it too early, while the inside of the bread is still cooking, will cause the steam to fill the pores, making the bread sticky.

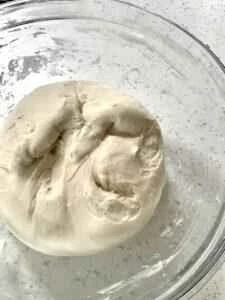
For sticky dough, wet your hands, then lift the dough in the middle and slam it down repeatedly 5-6 times.

Shape the dough into a claw shape, and while rotating it, gather the dough to get a smooth, non-sticky dough ball.
Natural Lubanese Bread ▪️ A Step-by-Step Guide to French Bread (Hard European Bread)
After the designated baking time, if you want the bread to be a darker color, or if you feel the bread is too light, you can remove the lid and bake for another 5 to 10 minutes; I prefer the color to be achieved by baking it covered the entire time. There is no need to preheat the baking tray when preheating the oven. Preheating is also unnecessary when using a cast iron Dutch oven or other heavy cookware. Bake as instructed; if the bread is light or yellowish when you remove the lid, put it back in the oven for another 5 to 10 minutes to brown it further.