I've discovered that my motivation for making things myself is to save money, haha. Several of my recipes reflect this. The rye bread sold at the supermarket here costs 14.8 yuan each—it's delicious but doesn't keep you eating much. Making it yourself is healthier and more economical, though it takes time and effort, lol. [Make sure to read the tips after reading the recipe before you start!]
Materials
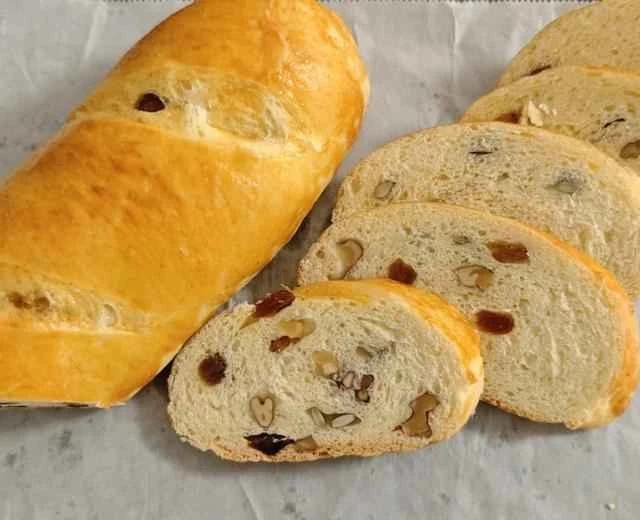
Xinjiang-style nut-filled hard bread, super detailed recipe steps~
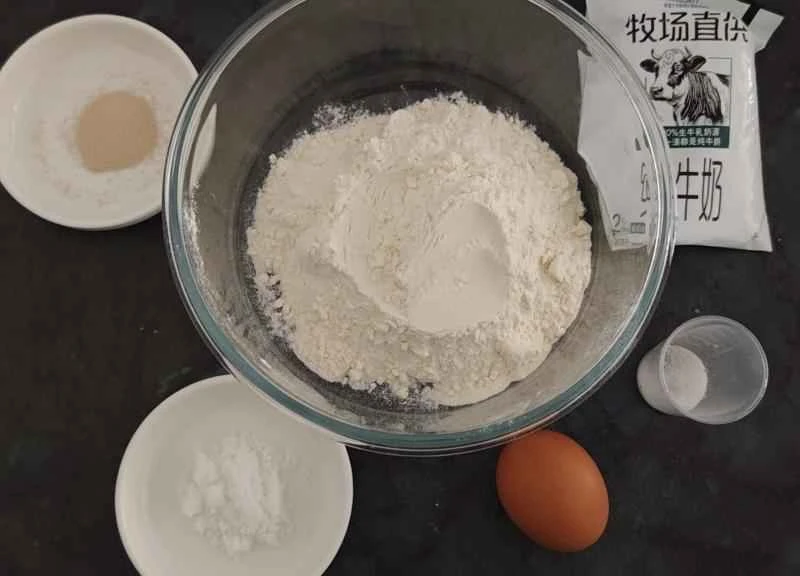
Prepare the materials
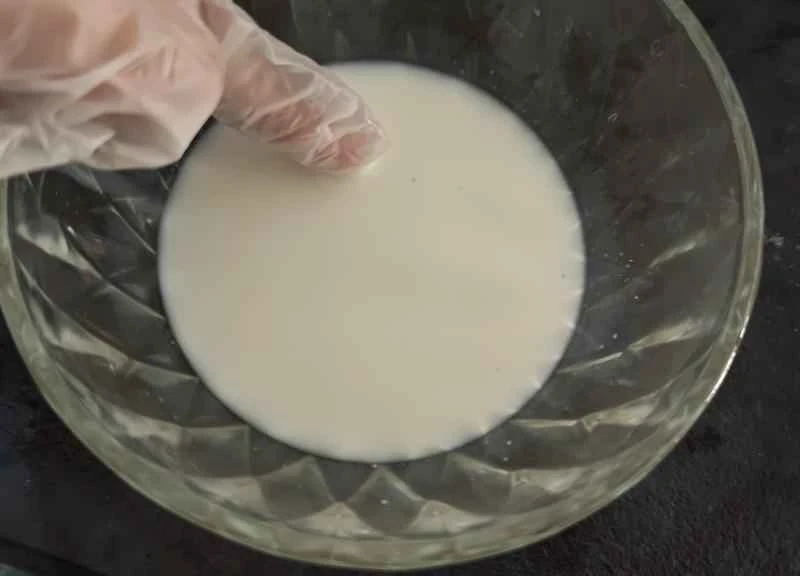
Add sugar and salt to milk and stir until dissolved (you can use less milk, mainly to dissolve the salt and sugar; you can add more when kneading the dough if needed, to avoid making the dough too soft).

Add eggs and stir. If you don't like the eggy smell, you can omit the eggs; it won't affect the flavor at all. Alternatively, add some lemon juice to remove the eggy smell. White vinegar is not recommended; it's better not to add eggs at all.
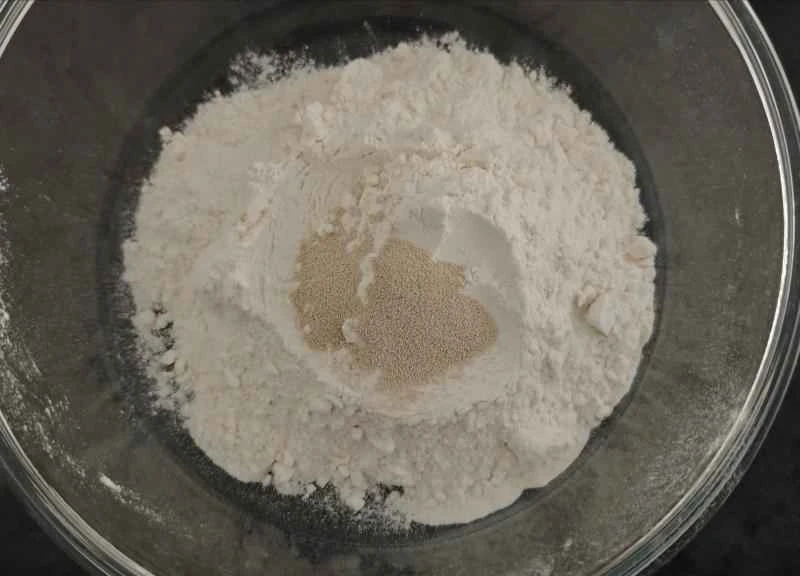
Sprinkle yeast into the flour and stir to mix thoroughly.
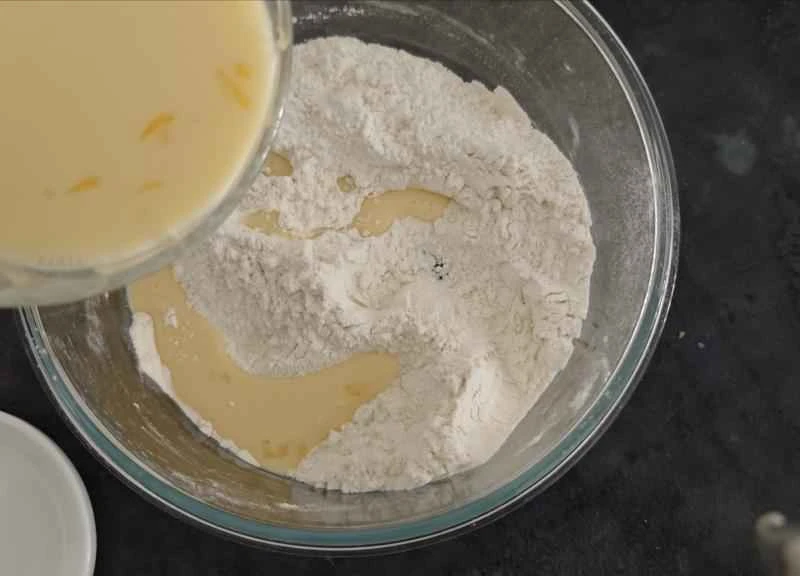
Pour the egg and milk mixture into the flour slowly, stirring constantly. The dough should be firm, not soft. If it's too firm, you can add more milk later.
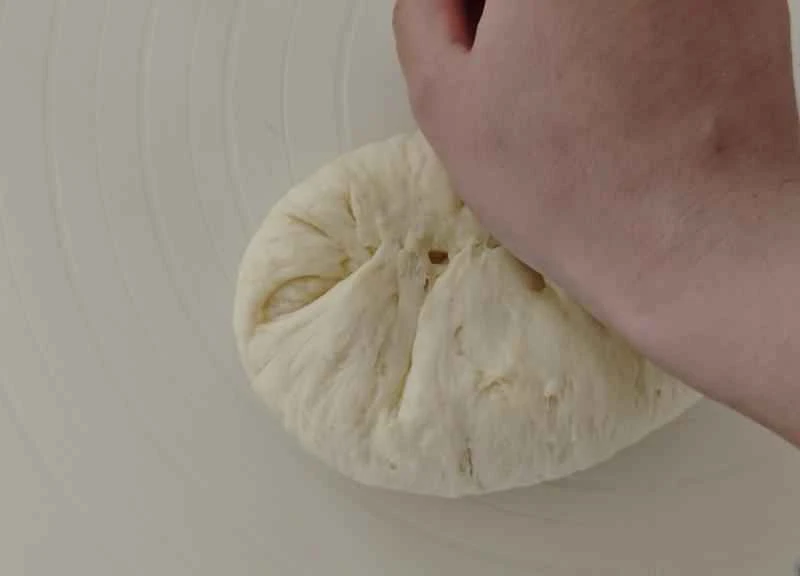
Melt the butter, or melt it with your body heat by applying butter to your palms. Continue kneading for two minutes to fully incorporate the butter into the dough. At this point, check the dough's texture; if it's too soft, knead it a few more times. It doesn't need to develop a gluten window.
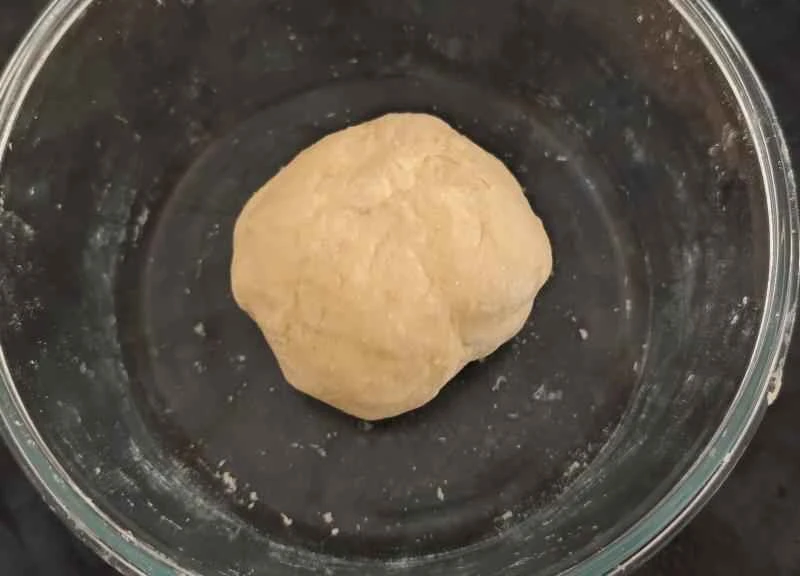
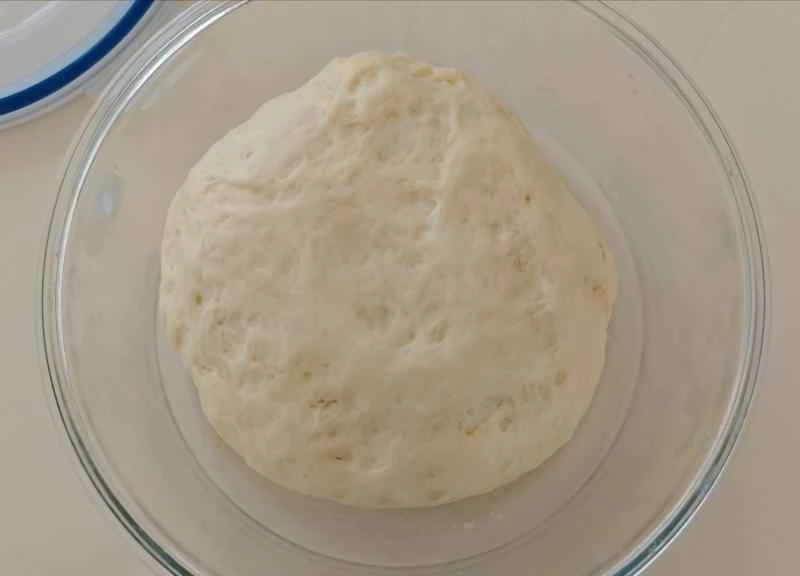
Knead it into a stiff dough
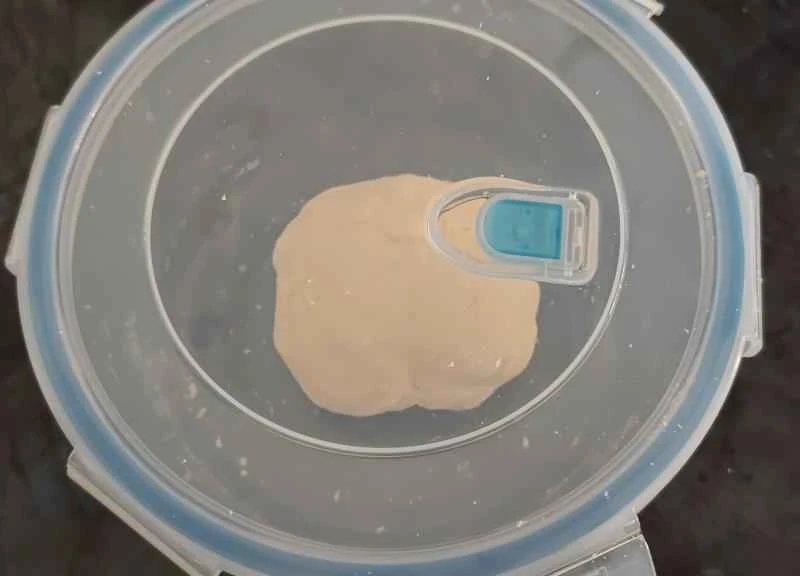
Tighten the lid, leaving no vent, or cover it with a damp cloth.
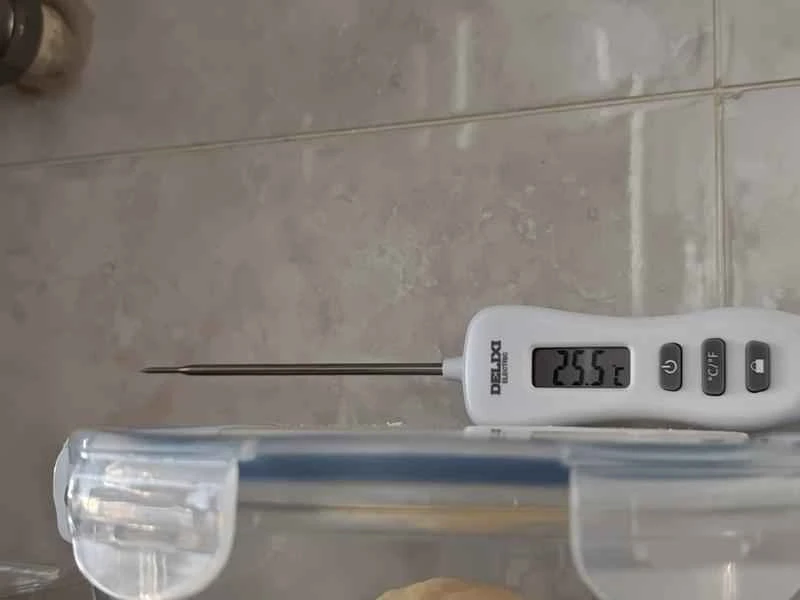
Let the dough rest and proof at room temperature for about an hour. The time is not fixed and may vary depending on your home temperature. The key is to see the dough at least double to 2.5 times its original size. For reference, in winter, my temperature is 25.5°C under the heating. For refrigerator or oven proofing, see the tips below.
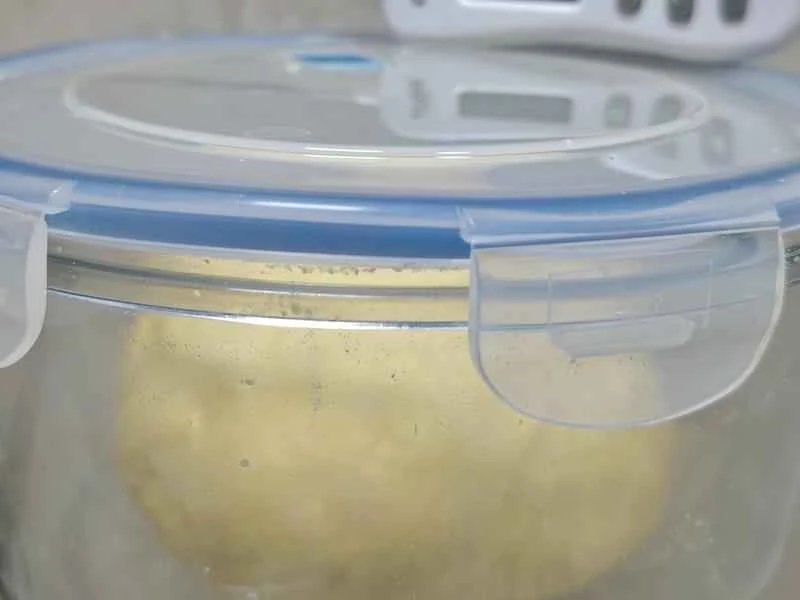
Observe the dough's condition during the proofing process. This is after 1 hour; you can see the dough has increased in size.
Isn't it obvious?
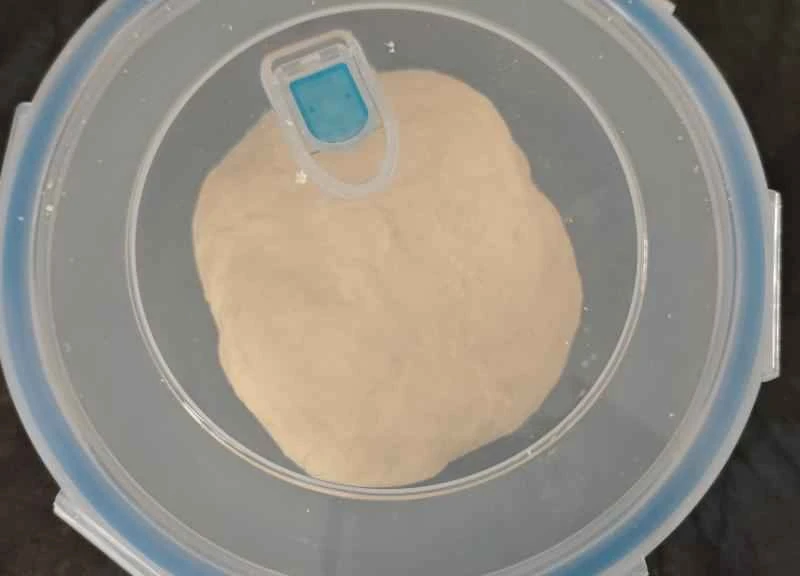
Let it rest for another half hour, then compare the results.
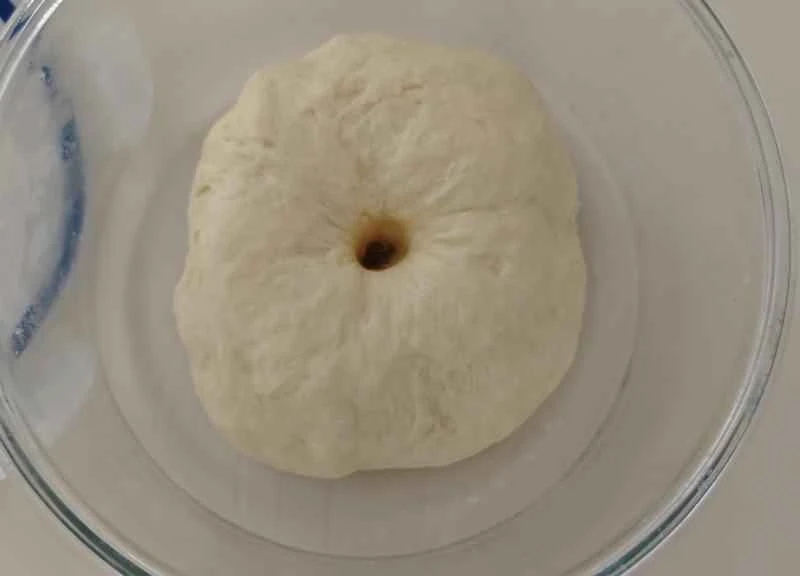
If you poke a hole in it and it doesn't bounce back, it means it's ready.

Take the dough out and gently press it to release the air. Do not knead the dough at this point. Stretch it into a rectangular shape and roll it out with a rolling pin.
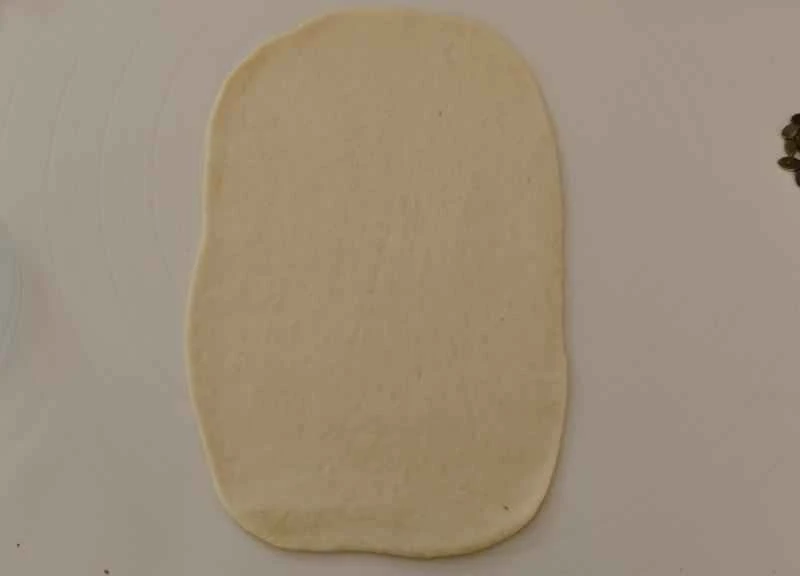
The dough is very elastic. After rolling it out, you can gently stretch the four corners to make it as uniform in length and width as possible.
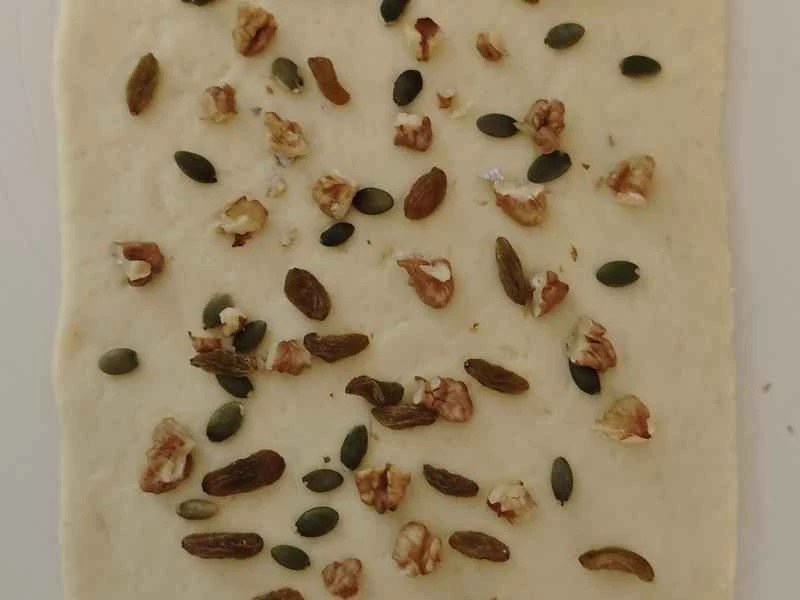
Sprinkle the nuts evenly onto the dough, pressing them down gently without applying too much pressure. Keep the nuts tucked into the dough, leaving space around the sides and bottom.
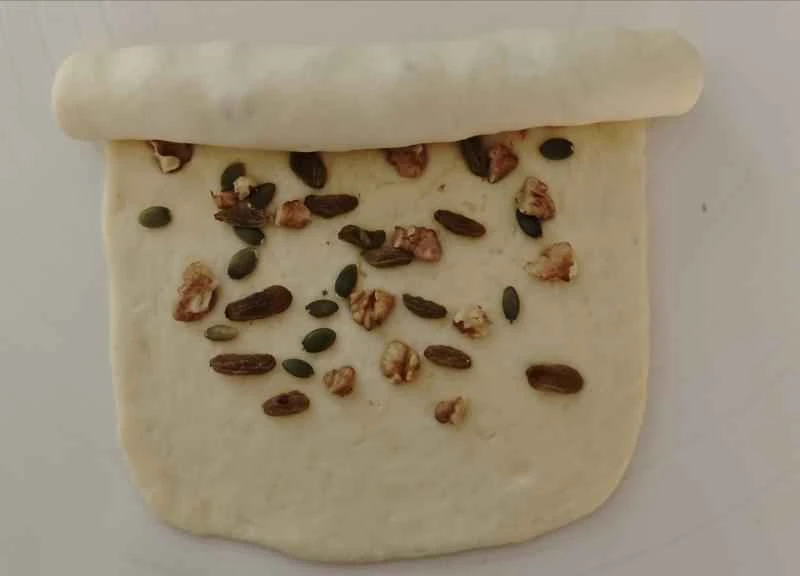
Roll it up from top to bottom
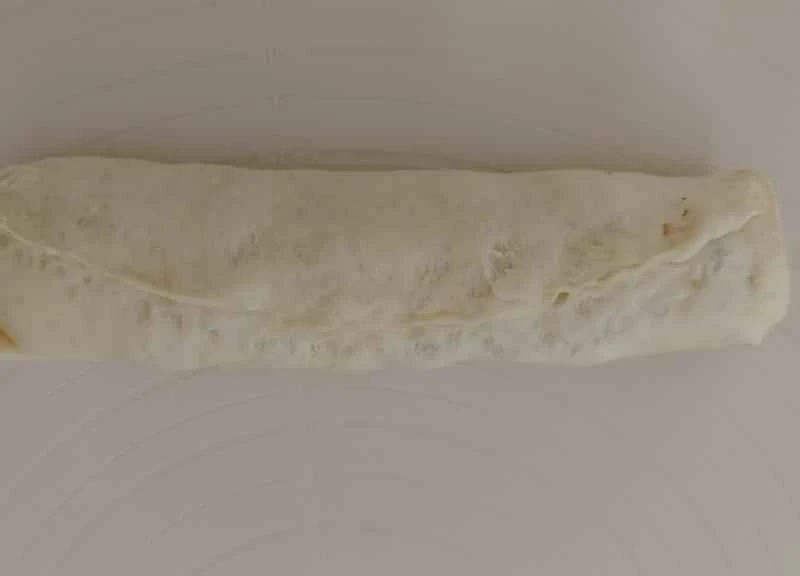
Pinch the sides and the horizontal edges together to seal.
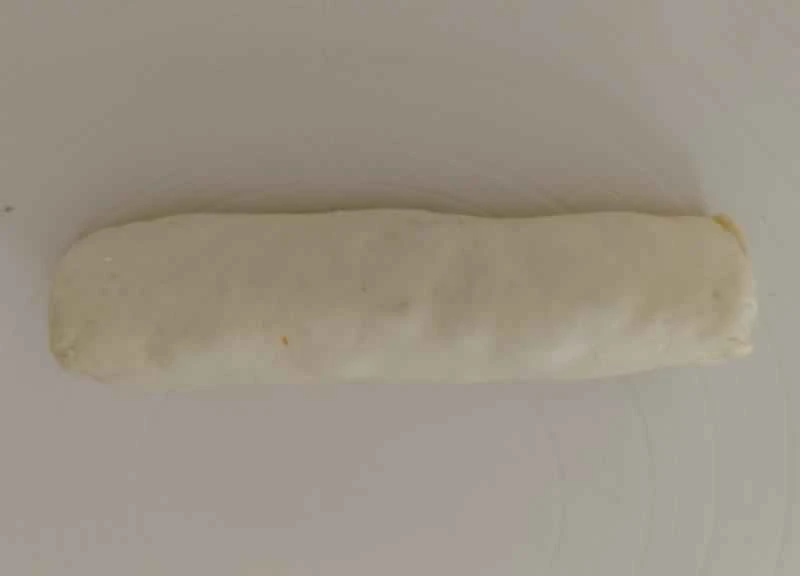
Turn it over and reshape it to complete.
Prepare for the second resting period, which should last about an hour. The resting time depends on the state of the dough.

Cover the dough with a damp cloth and let it rise.

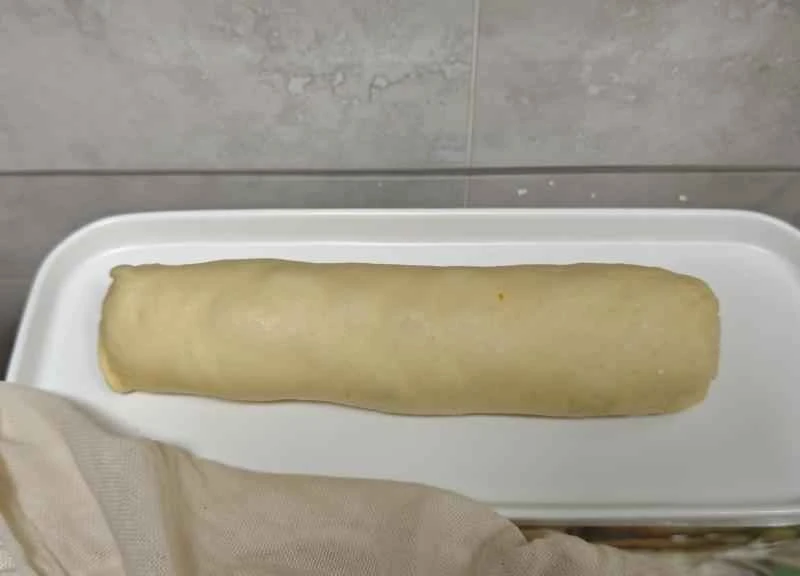
The second proofing should be done when the dough has increased to 1.5 times its original size, the surface is smooth and not wrinkled, and it springs back slightly when pressed. Meanwhile, preheat the oven to 150°C (300°F) for about 10 minutes.

Make a few slits on the surface of the dough with a sharp knife, then beat an egg yolk into an egg wash (you can add lemon juice to the egg wash to remove any fishy smell).
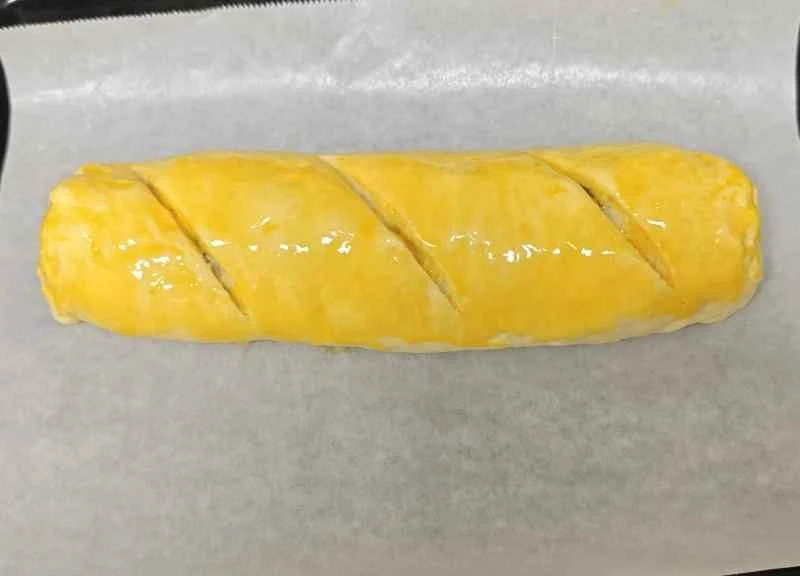
Use a brush to coat the bread with the egg mixture.
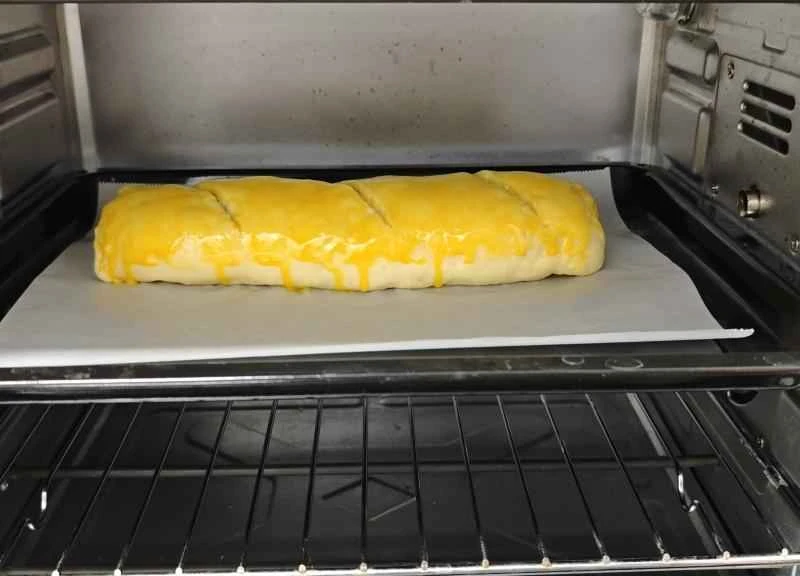
Once the oven is preheated, line it with parchment paper, place the bread on the middle rack, and bake at 150°C (300°F) for 50 minutes.

It's baked! The egg wash is glossy and shiny, and the bread crust hasn't collapsed (bake it a little longer if you like it a golden brown color).

How to tell if bread is done without cutting it open: Listen to the sound when you tap the crust. A crisp sound means it's done; a dull sound means it's soft inside and needs to be toasted a little longer.
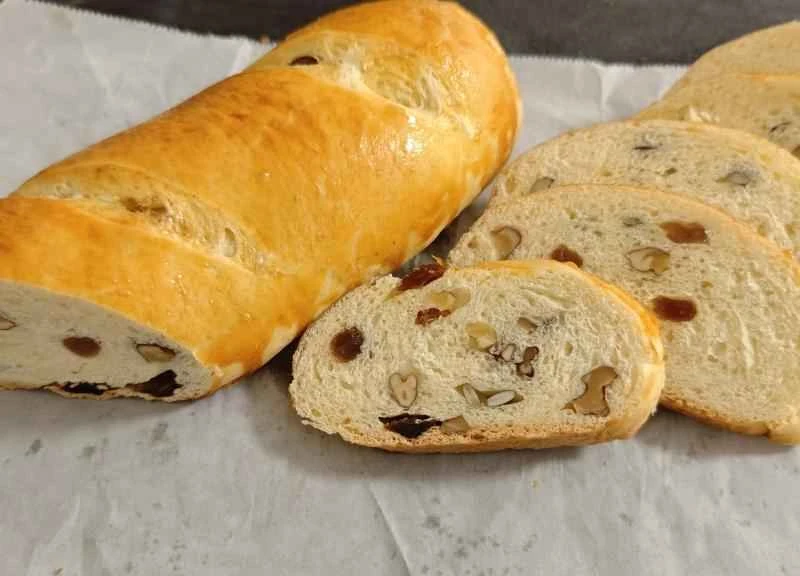
Cut it open and check. The cut surface is dry and doesn't crumble, the air pockets are uniform in size without large holes, the nuts are firm and don't fall out, and the bread has a chewy texture—that's what a successful bread looks like.

Delicious as a breakfast sandwich or with jam!
Xinjiang-style nut-filled rye bread, super detailed tips~
1. This recipe makes one loaf of rye bread. Adjust the quantities proportionally. 2. Because rye bread is a hard bread, you must use high-gluten flour or bread flour. Choose flour with high protein content and gluten strength. 3. Skim milk is also acceptable, but it will lack the richness of fat. You can increase the amount of butter by 10%, as butter is concentrated milk fat and won't affect proofing or bread shaping. 4. Substitutes for butter: ① You can use an equal amount of corn oil/sunflower oil, but this will also reduce the creamy flavor significantly. ② According to research, olive oil is also acceptable, but reduce the amount by 10%, otherwise it will be too rich. ③ As a last resort, you can use an equal amount of lard, but the flavor will be very strong. 5. This recipe is for sandwiches and is basically unsweetened. If you want to eat it plain, increase the amount of sugar and use a high-sugar-tolerant yeast, not regular yeast. 6. If proofing fails, there are several possibilities. Check them yourself: ① Yeast activity has deteriorated. Check if it's within the expiration date and if it became inactive due to being left exposed. ② The temperature is unsuitable. You can choose between two methods, ab: a1. Oven with a fermentation function: Turn on the fermentation function, place a bowl of water to increase humidity, put the dough on the middle rack, cover with plastic wrap or a damp cloth, and let the dough ferment until it doubles or triples in size; a2. Oven without a fermentation function: Preheat to the lowest temperature of 40 degrees Celsius for one minute, place the dough on the middle rack, place a bowl of hot water in the middle rack, and replace the hot water when it cools down, repeating this process until the dough doubles or triples in size. b. Refrigeration: Refrigerate at 4-6 degrees Celsius overnight (8-12 hours), until it doubles in size. After removing it, let it come to room temperature for half an hour before handling; ③ Insufficient yeast; ④ Too much salt, or direct contact with the yeast; ⑤ Fermentation time too short; ⑥ The environment is too dry, causing the dough to directly contact the air during fermentation, evaporating moisture and forming a hard crust on the surface; ⑦ Insufficient kneading, resulting in the lack of gluten development. 7. Observe the bread's condition while baking in the oven. Every oven is different. I've seen other bloggers and content creators write recipes, and many comments say that some breads are still not cooked through after 40 minutes at 180°C; others are perfect after 40 minutes at 200°C; some are burnt on the outside but still soft on the inside; and some collapse after cooling for a while... There are all sorts of situations. My suggestion is to use a lower heat setting, between 145 and 150°C, for 40 minutes first. Then take it out and check its condition. Tap the bread to check its firmness and the browning of the surface and bottom. If necessary, put it back in the oven and adjust the time to continue baking for a while. My oven is 38L with six heating elements, and it comes out perfectly after about 50 minutes at 150°C. If you want a darker crust, you can increase the temperature appropriately. If the surface is burnt but the bottom is not yet browned, cover the bread with aluminum foil and continue baking. 8. Storage method: Consume within 3 days: Store in a cool, dry place in a freezer bag; Consume within one week: Store in the refrigerator in a freezer bag; Consume within one month: Store in the freezer in a freezer bag; The key is to isolate it from air and prevent moisture. When taking it out of the refrigerator or freezer, there is no need to thaw it. It is best to put it in the oven to crisp it up again, bake at 140° for about 5 minutes. 9. I will add other information as I think of it or when I make it again.