Try making a dairy-free toast using the equipment and ingredients you have on hand. This recipe uses a liquid starter: a starter dough makes the bread softer and slows down staling, and preparing a liquid starter is the easiest part. The recipe makes one 450g loaf. You can make it even without a mold. After the first rolling and shaping, round the loaf and wait for the second rise.
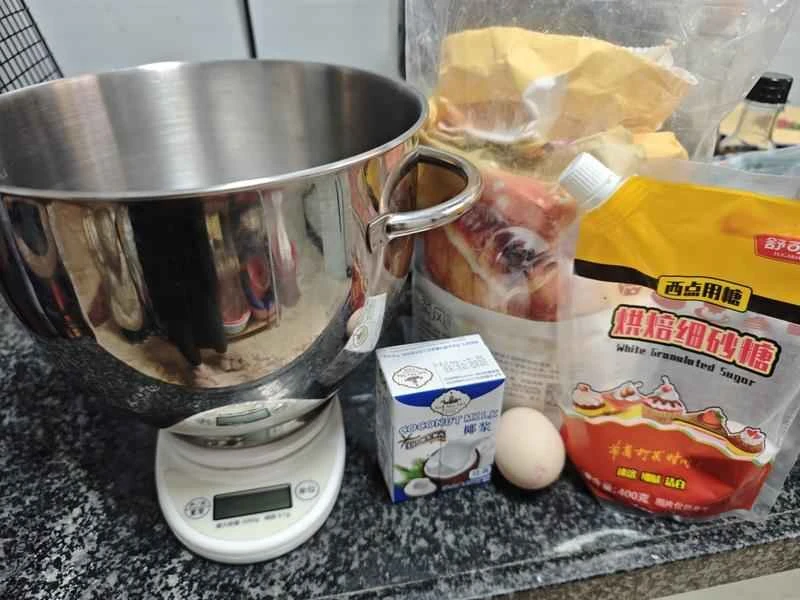
Materials
Steps for making coconut oil toast (liquid starter version) (dairy-free)

Prepare the starter the night before by adding water, flour, and yeast to a measuring cup or other container, stirring well, letting it stand for half an hour to an hour, and then refrigerating it.
The next day, take the starter out of the refrigerator and prepare to make the main dough.
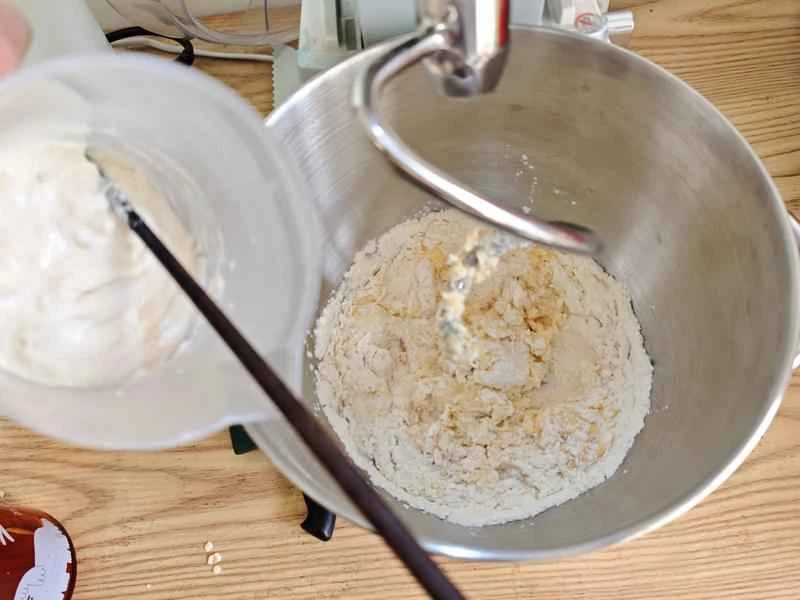
Add all ingredients for the "Main Dough" except coconut oil, along with the "Liquid Starter," to the stand mixer. Start mixing at low speed (speed 4), and once no dry flour remains, switch to high speed (speed 5 or 6).
Mix for about 10 minutes, until the dough and the sides of the bowl are smooth. Tips: Pay attention to the state of the dough during this step. If it doesn't form a ball, it may be because there is too much liquid. Don't worry if it doesn't form a ball at first; observe patiently. If it still doesn't form a ball after 5 or 6 minutes, add some flour.
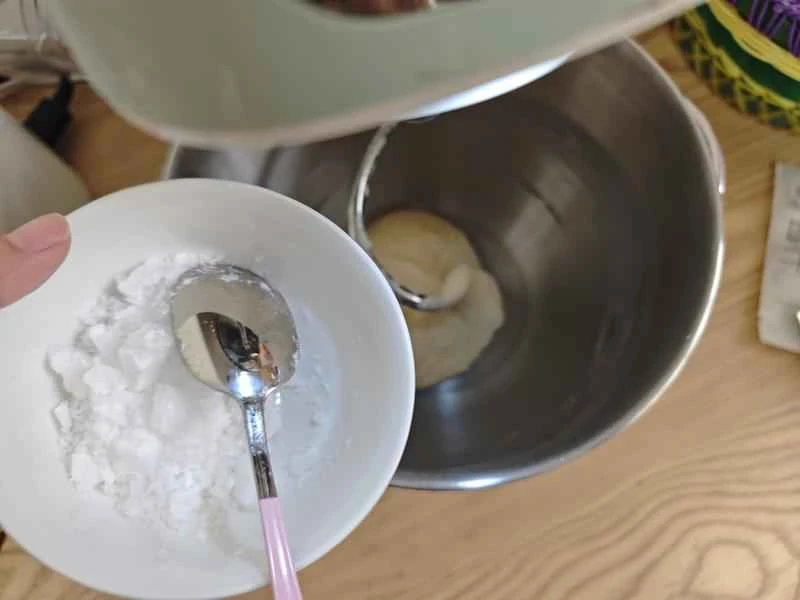
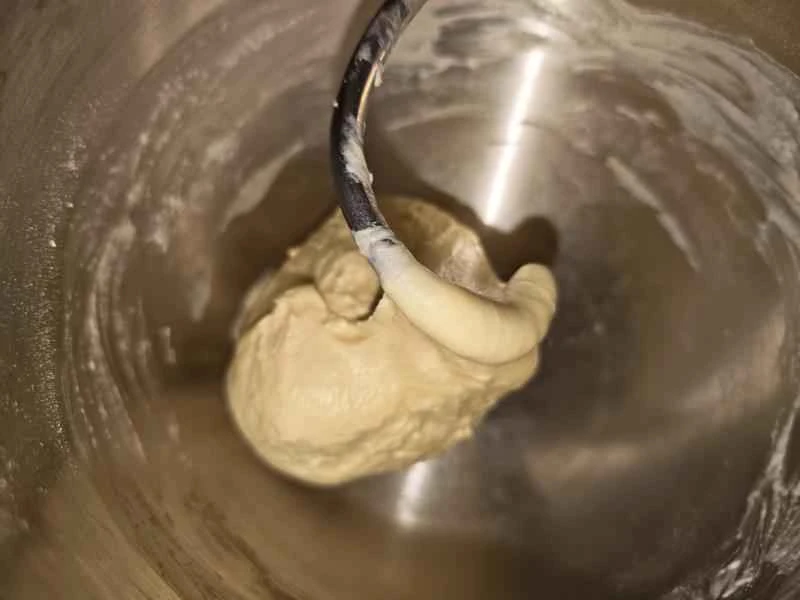
Add coconut oil and continue beating on speed 5 or 6 for about 5 minutes. Note that coconut oil is liquid above 25 degrees Celsius, and liquid oil is inconvenient for mixing dough. If making this in summer, it is recommended to refrigerate the oil for a while before using it. (It is also not recommended to freeze it too hard, otherwise it will be very difficult to extract the oil.)
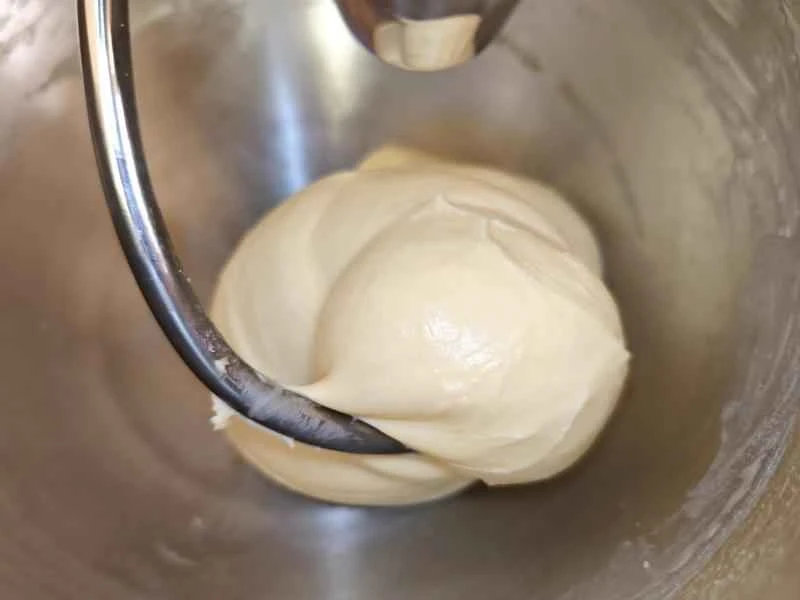
Knead until the dough is smoother and more elastic.
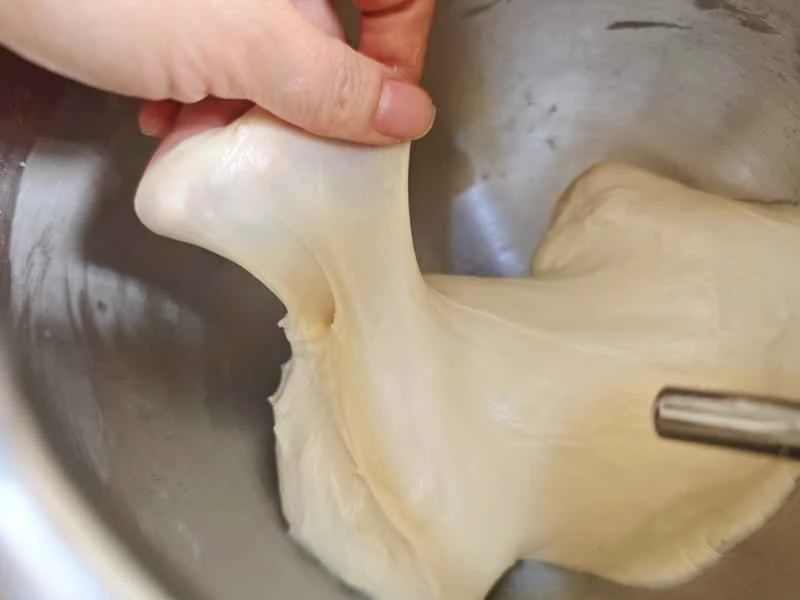
Test the elasticity of your finger with oil; it should be able to stretch a thin, non-tearable membrane.
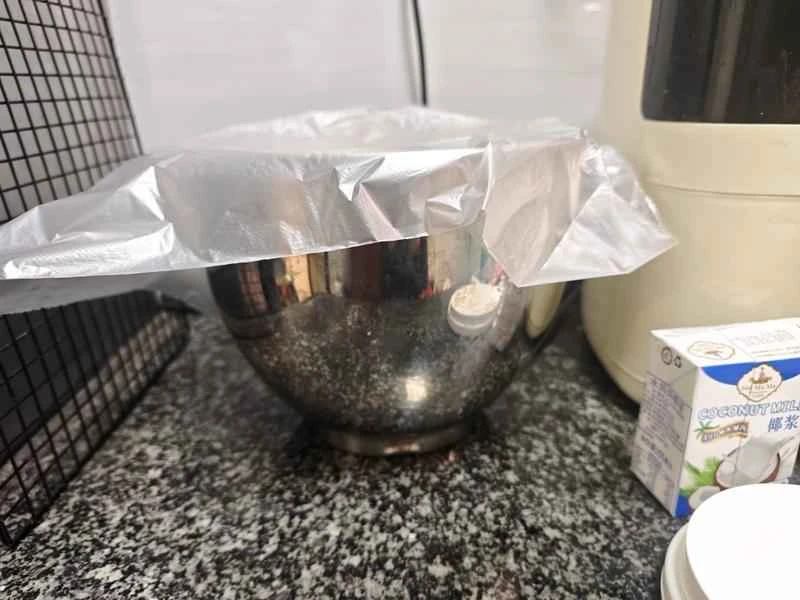
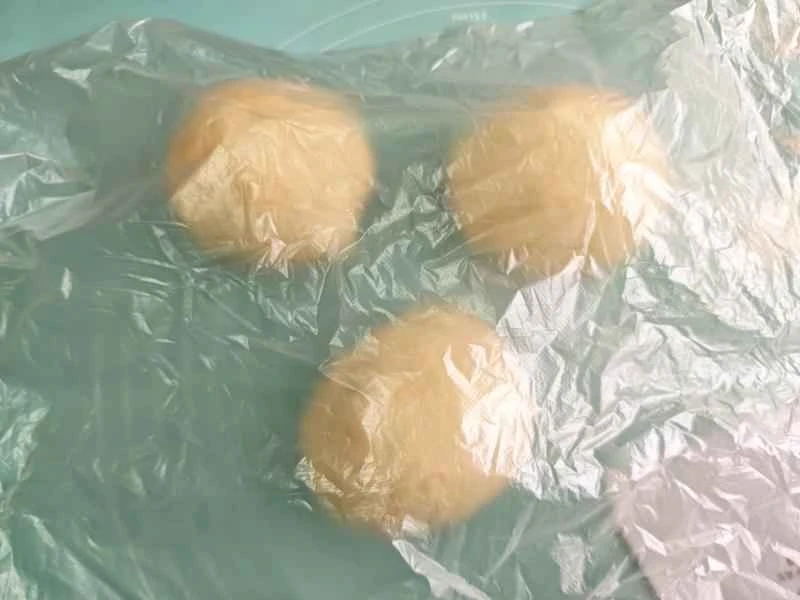
Transfer the mixing bowl to a warm place to ferment. At room temperature (25 degrees Celsius), this takes approximately 50 minutes to 1 hour. In summer, when room temperature is higher, the fermentation time will be shorter. (It needs to ferment twice; this is the first fermentation.) Those who prefer a more refined approach use a dedicated fermentation box or fermentation chamber. I'm lazy, and my home stand mixer's mixing bowl isn't very big, so I usually just take the mixing bowl directly to the fermentation area...
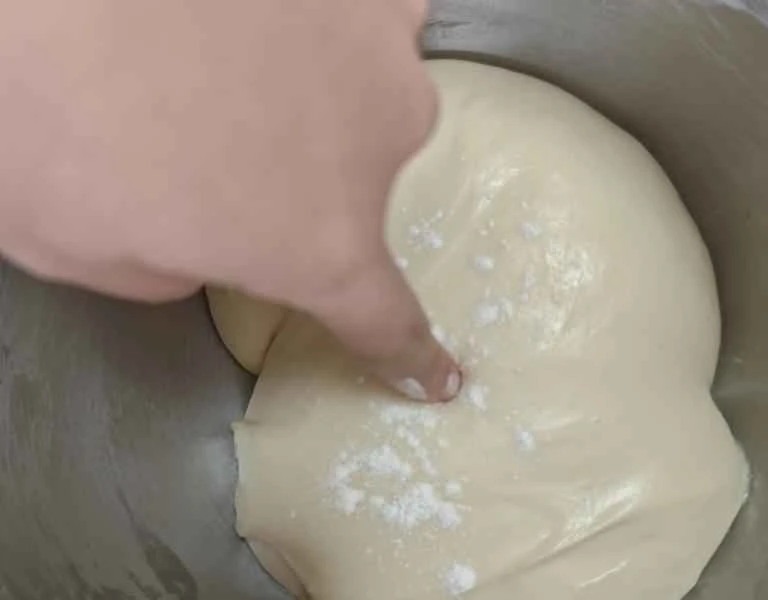
Let the dough rise until it doubles in size; when you poke it with a floured finger, it should spring back slightly.
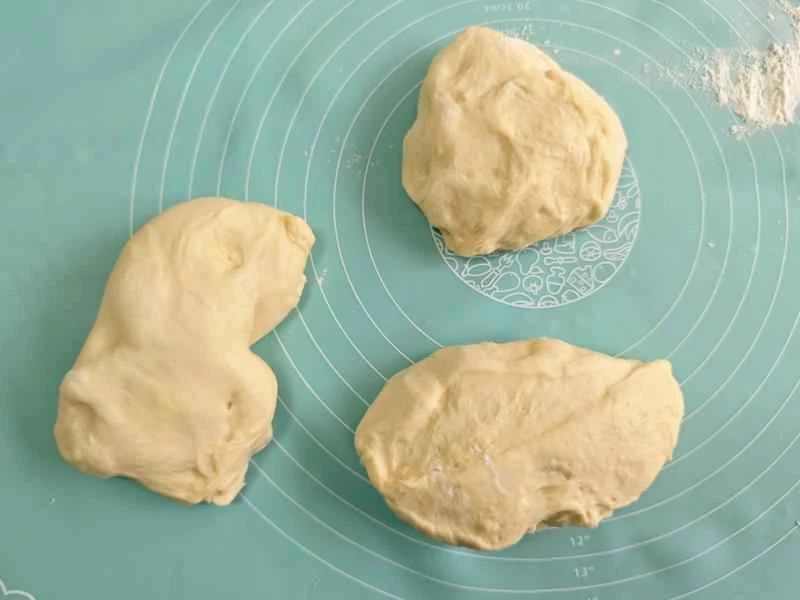
Take out the dough and divide it into 3 equal portions using a scraper (you can weigh it on a kitchen scale; each portion is about 170g).
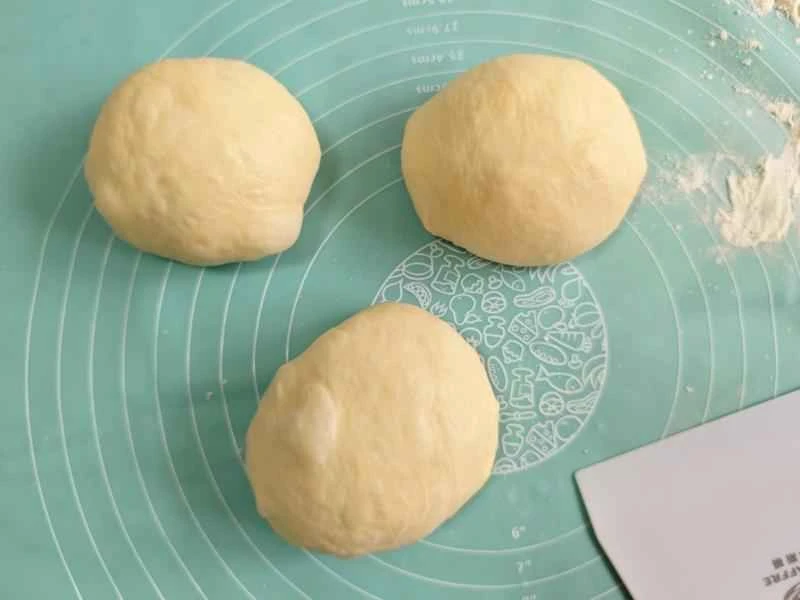
Dust your hands with flour, knead the dough into a ball, and gently pat the dough with your palms to remove any large air bubbles.
Let the dough rest for 5 minutes. The rested dough is easier to roll out.
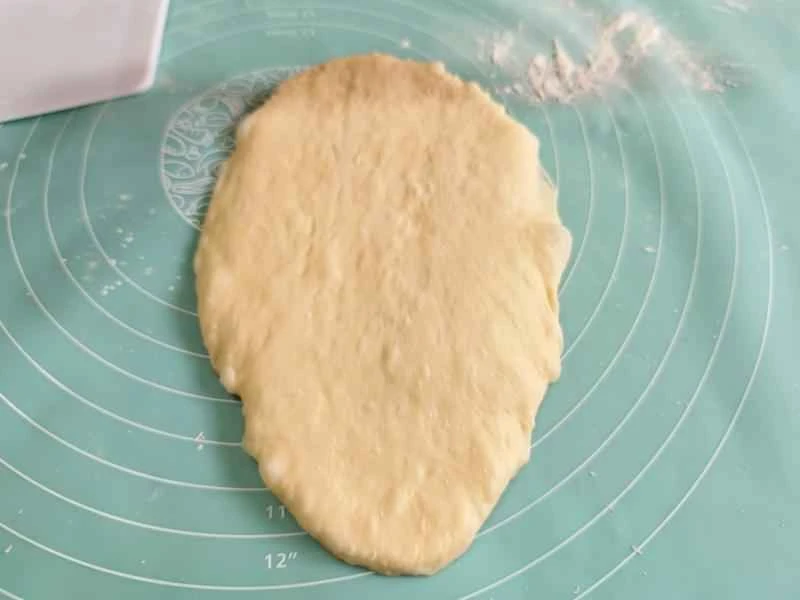
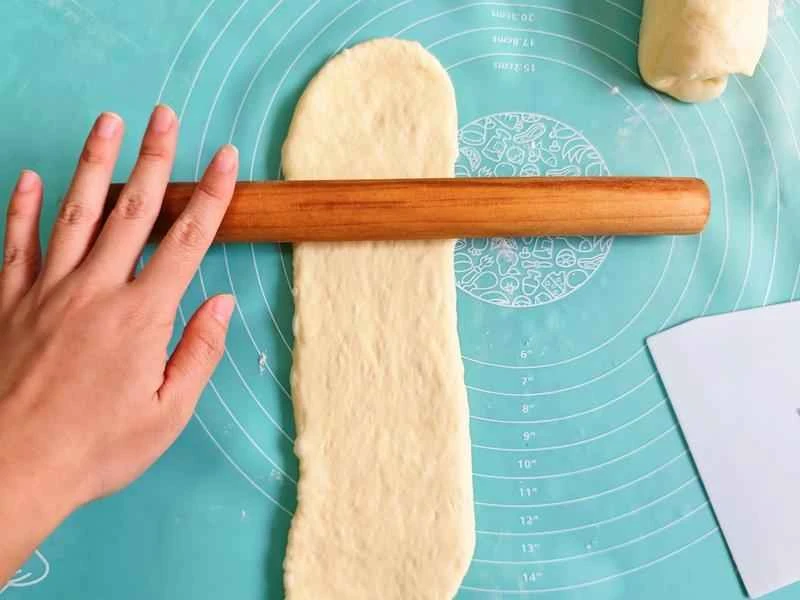
First rolling and shaping: Use a rolling pin dipped in flour to roll the dough into a long shape, as shown in the picture. Don't roll it too hard to avoid tearing the gluten. Press down any large air bubbles along the edges. (I lost my rolling pin for deflating air bubbles, so I had to use a regular one; it looks a bit ugly, but it doesn't matter.)
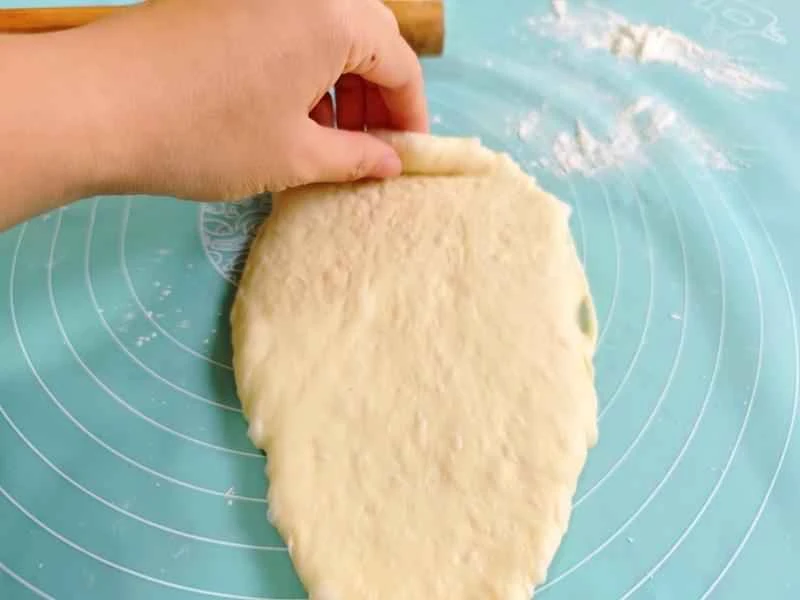
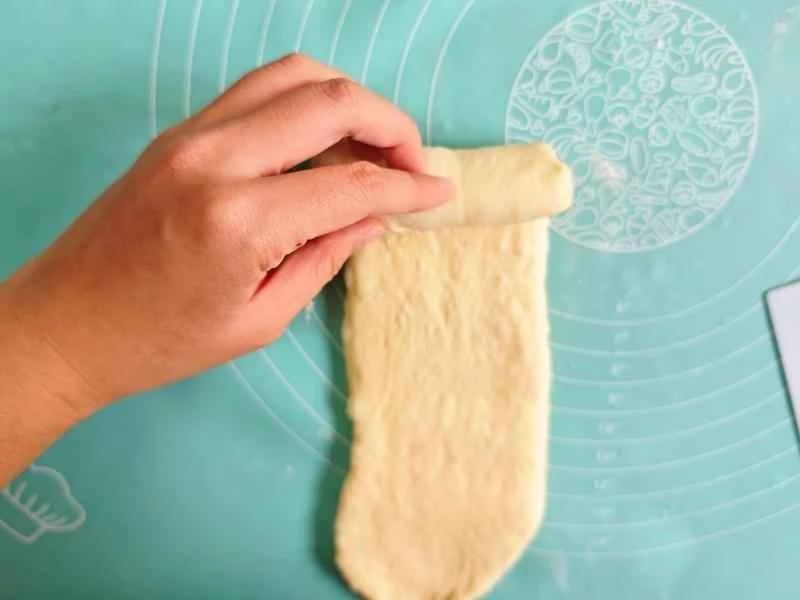
Gently roll up the dough from the top, using a scraper if it's too sticky.
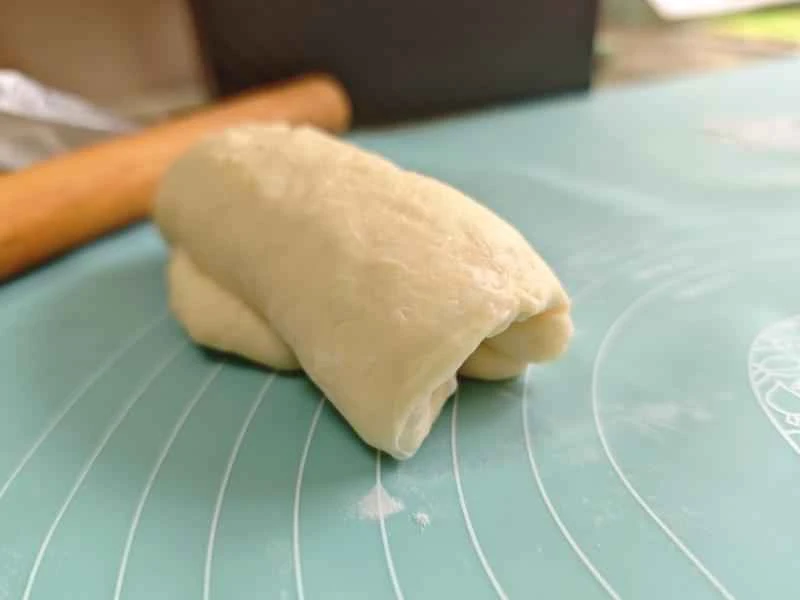
This is roughly what it looks like after it's rolled up.
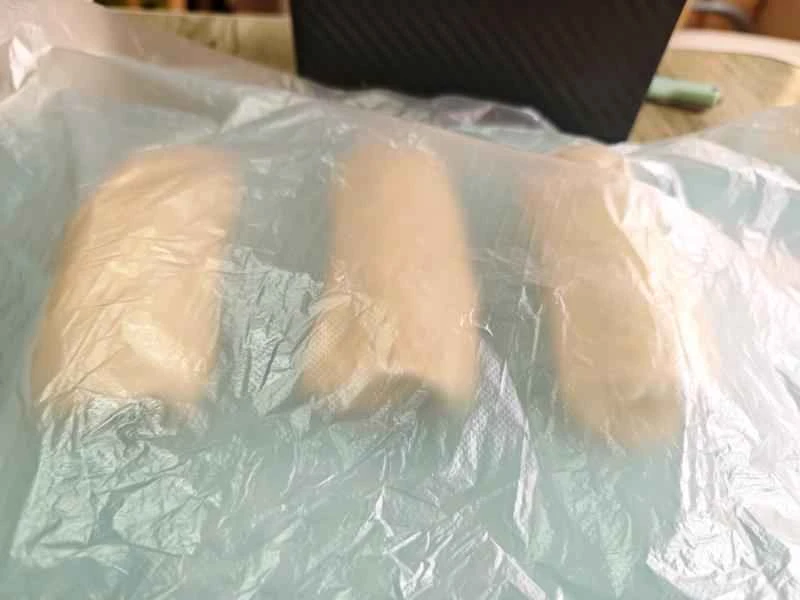
Roll up the three dough balls one by one, and then let them rest for 5 minutes.
Second rolling: This time the dough is more extensible and has fewer air bubbles. Roll it out as long as possible without breaking the gluten, usually up to 20cm long.
Still, start rolling from the top.
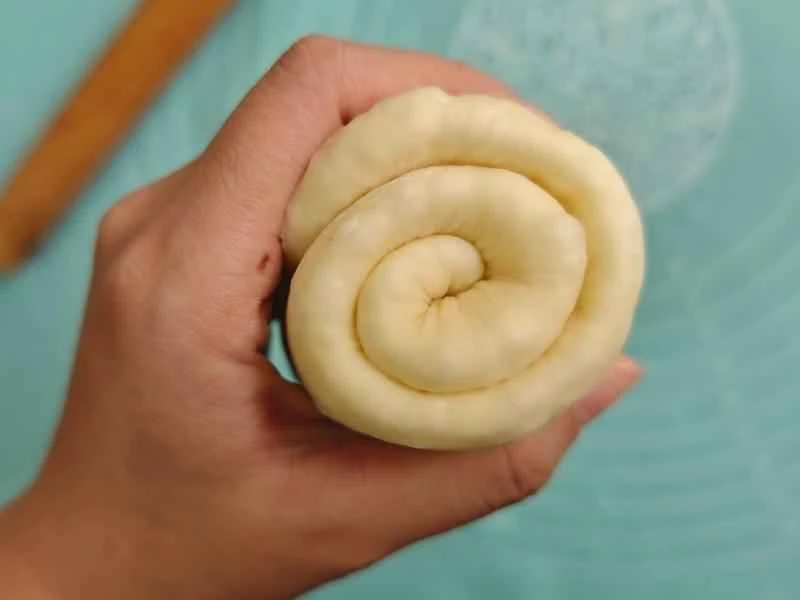
This is what the rolled-up side looks like.
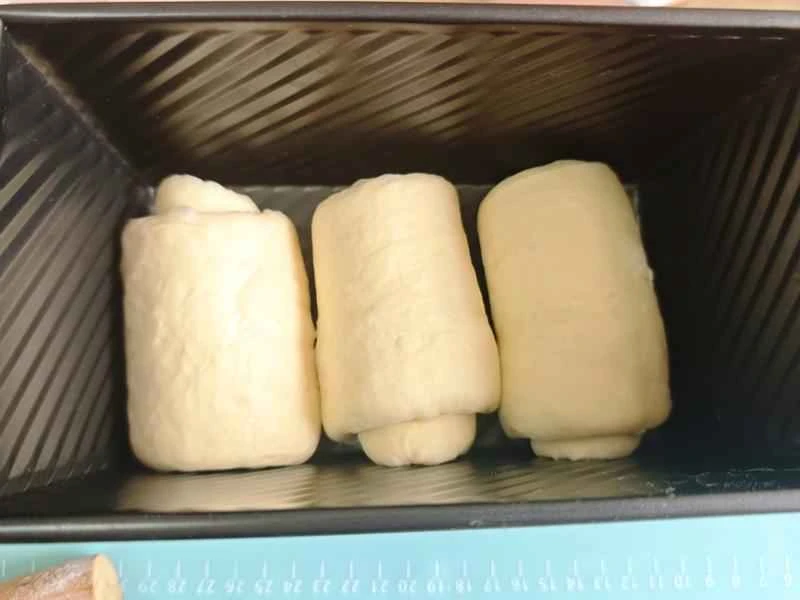
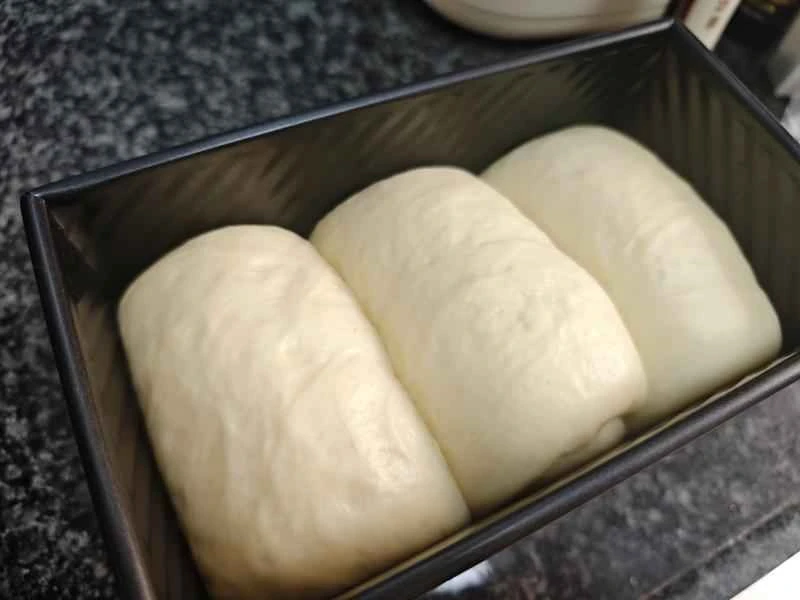
Once rolled up, put them directly into the loaf pan. All three were rolled up and lined up in a row.
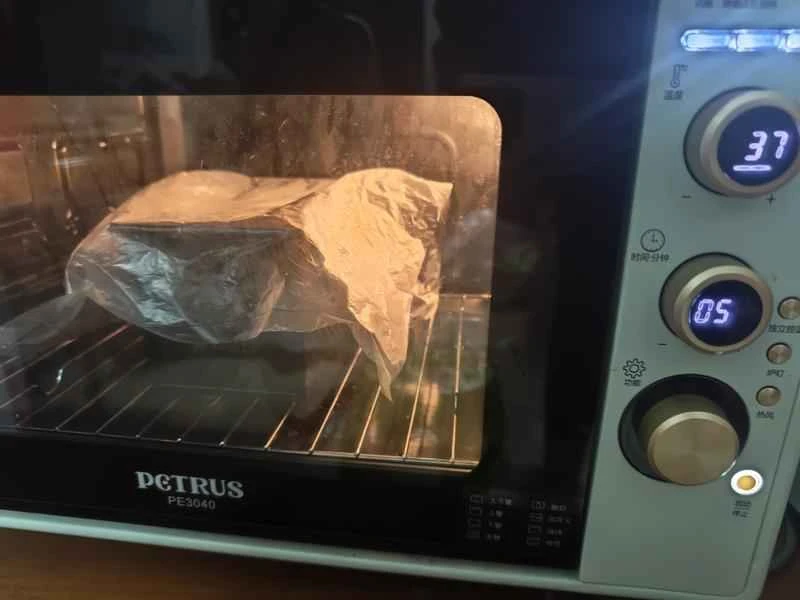
Cover with plastic wrap for the second proofing, which should take about 40 minutes. The temperature should not be lower than the temperature of the first proofing. Proofing time is not fixed and depends on the ambient temperature and proofing method. The picture shows the oven's proofing mode. Initially, I set it to 37 degrees Celsius, but it didn't feel enough, so I increased it to 40 degrees Celsius (each oven's temperature is different, so adjust according to your own oven).
Once the dough has risen to 80% full, remove it from the oven and preheat the oven to 160 degrees Celsius (top heat) and 190 degrees Celsius (bottom heat).
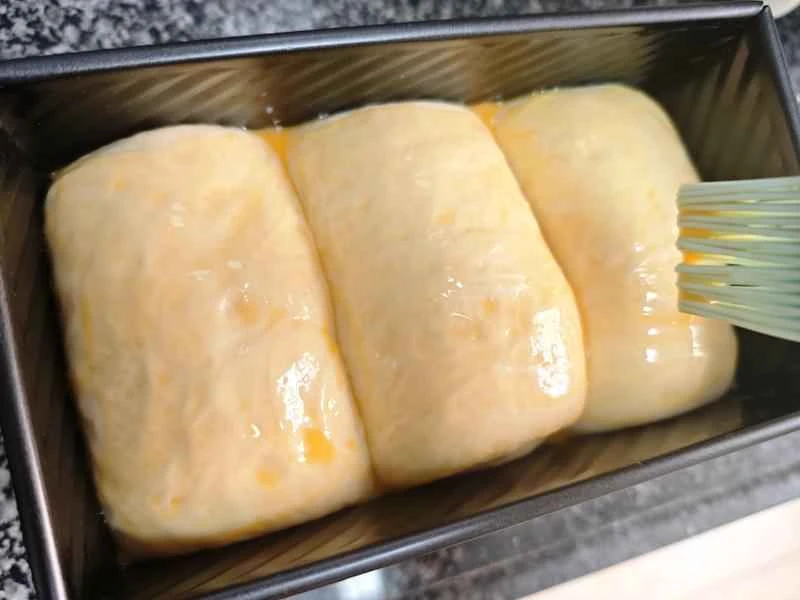
If you have any leftover egg wash from the ingredient addition step, you can use it to spread on the toast. Skip this step if you don't have any.
Bake in the oven at 160°C (top heat) and 190°C (bottom heat) for 30 minutes. (Adjust baking time according to your own oven!)
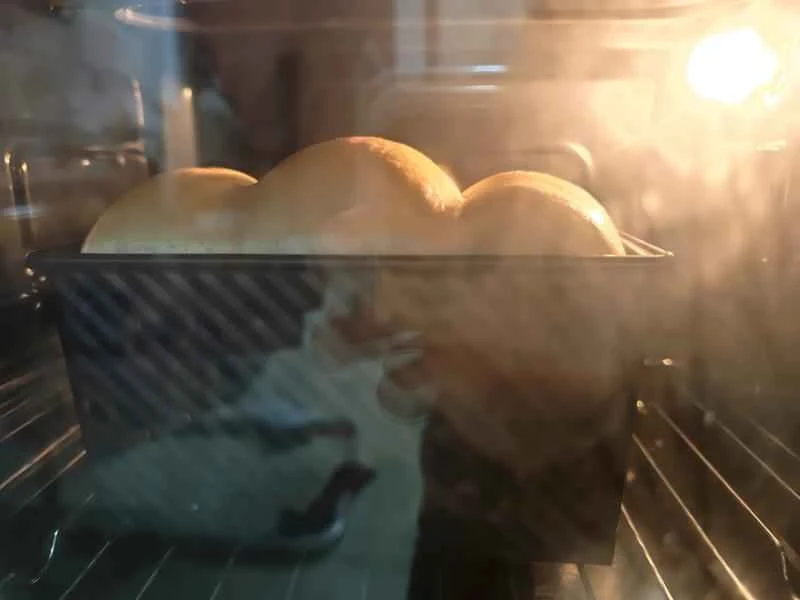
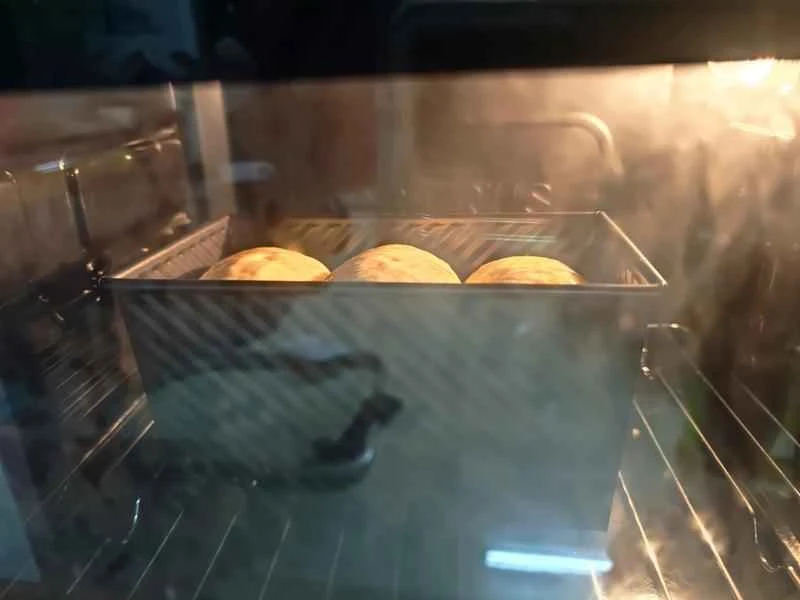
After baking for 10 minutes, it's showing promising growth. Tip: If the top gets too dark, cover it with aluminum foil immediately.
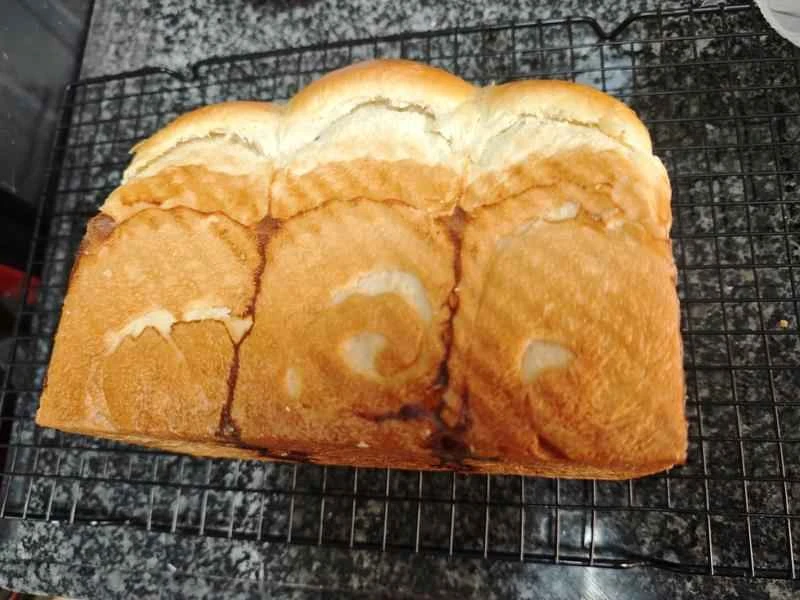
Out of the oven! Here's the final look. Let it cool before enjoying! (The darker marks are from too much egg mixture running to the bottom. It doesn't affect the taste.)
Tips for making coconut oil toast (liquid starter version) (dairy-free)
It smells delicious, just as good as toast with milk! Teacher Ma promised me that I wouldn't eat dry, oil-free toast anymore... (hard-crusted bread with a wheat flavor doesn't count). Wishing Chef Yang good health and happiness every day!