
This is a cocoa and nut European-style bread recipe that I really love. The sweetness and the amount of nuts were gradually increased from the initial 30 grams of nuts and 20 grams of sugar to the current recipe. After comparing different tastes, I finally settled on a soft European-style bread recipe that perfectly suits my personal taste. The moisture content was also determined after several adjustments based on the amount of nuts. The Polish starter used results in a very soft internal texture and a rich, sweet flavor. It's great as a tea snack or as a main dish for breakfast. I'm recording the details here for anyone who might find it helpful!
Materials
Steps for making cocoa and nut European bread (Polish starter)
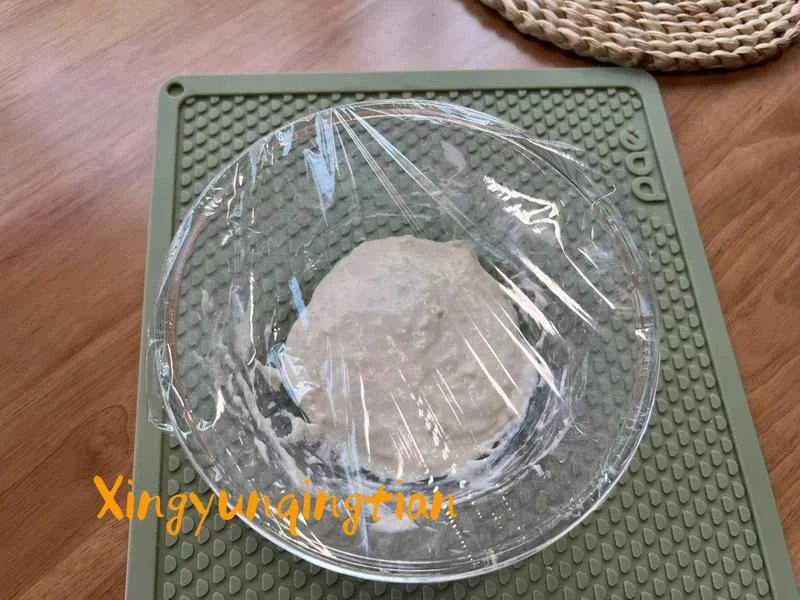
Mix all the ingredients of the Polish starter until there is no dry powder, then seal it and let it ferment.
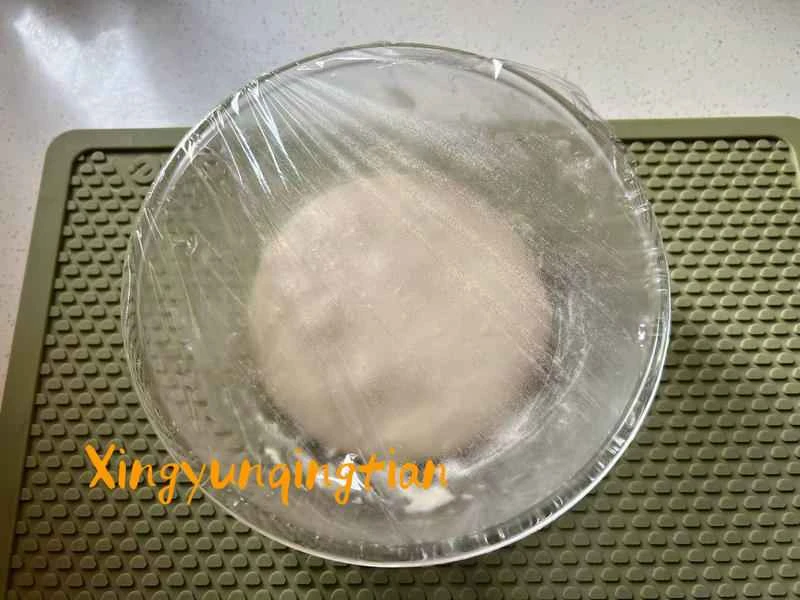
The dough has noticeably expanded, and the internal structure has developed a honeycomb-like appearance, indicating the end of fermentation.

Add all the ingredients for the main dough, except the butter, to the mixing bowl, and also add the poolish to the stand mixer bowl. The stand mixer has a mixing speed range from low to high; mix for 6 minutes until the machine automatically stops, then add the butter. Add the nuts during the last 2 minutes of mixing (you should crush the walnuts beforehand) to better incorporate them into the dough. Once the kneading is complete, gently knead any remaining nuts from the mixing bowl into the dough by hand.
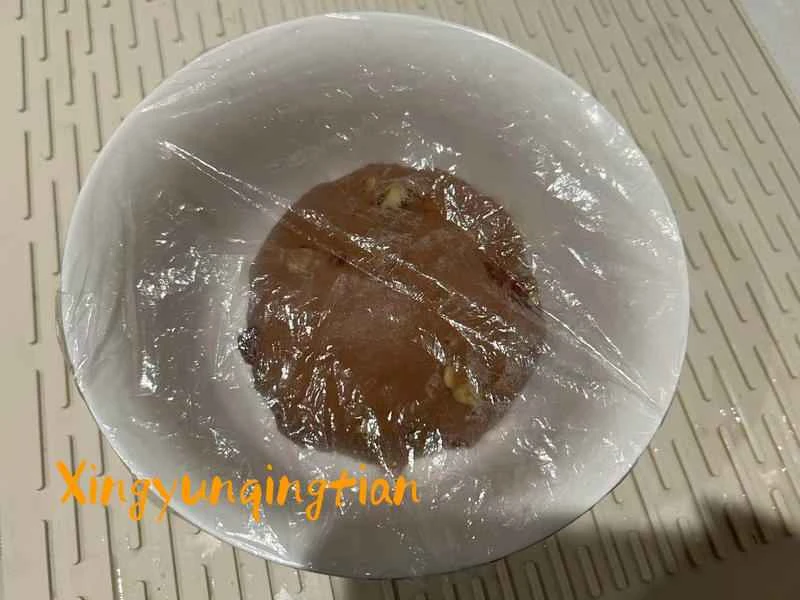
Seal it and let it ferment (this time I used the refrigerator to ferment overnight, but you can also ferment it at room temperature). I personally feel that bread fermented in the refrigerator is larger and rises better.

The dough fermented successfully when I woke up in the morning (it fermented successfully if you poke it with your finger and it doesn't spring back).

Pour the dough onto a work surface and press it down to release the air without kneading. Divide the dough into two equal portions (or three equal portions).

Loosen the seal for 15 minutes

Simply roll it into a long strip (the shaping technique is explained in more detail in the video on the cover). You can also roll it shorter and thicker, making it plumper after baking, which is more convenient for spreading cheese and sauces on breakfast sandwiches. Rolling it into a long strip and slicing it into smaller pieces is more convenient for use as a tea snack. You can also shape it into a circle and make a slit on the top. You can make it into various shapes according to your personal preference without affecting the taste of the finished product!

After secondary fermentation to 1.5 times its original size, the embryo is sieved and divided.
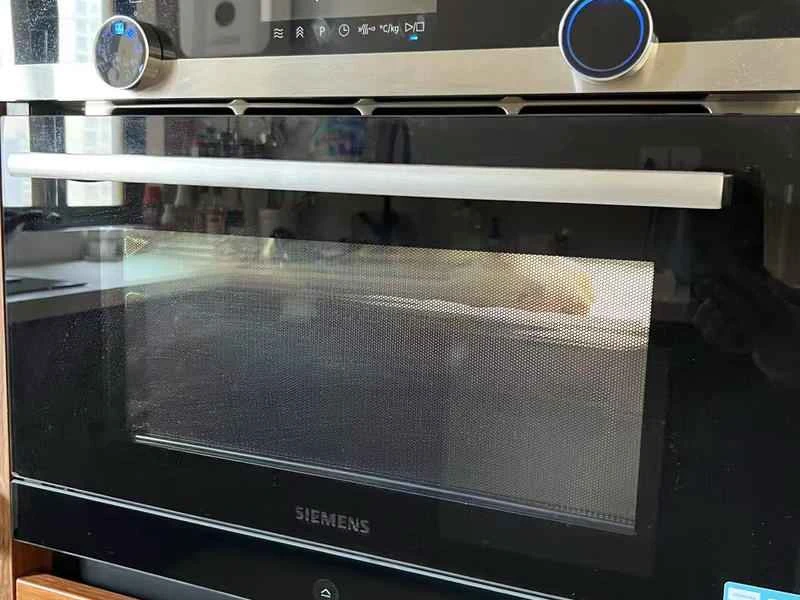
Place in an oven preheated to 190 degrees Celsius for 5 minutes, then bake at 180 degrees Celsius for 24 minutes (each oven is different in size and temperature, so the specific baking time should be adjusted according to the specific situation of your own oven).

Take pictures to document the moment the bread came out of the oven! One loaf filled the basket!

It has a sweet and soft texture, and it's also great for making a cup of coffee or as a snack!
Tips for making cocoa and nut bread (Polish starter)
The dough's moisture content needs slight adjustment based on the amount of nuts, as the nuts will absorb some moisture from the dough! Whole wheat flour can also be used instead of the Polish starter; adjust according to your preference. The baking temperature is for reference only and needs to be adjusted according to the size and characteristics of your own oven!

![100 Baking Projects [039] Recipe for Red Velvet Chocolate Bars](/upload/20260210/ee6bfb2c449045.webp)