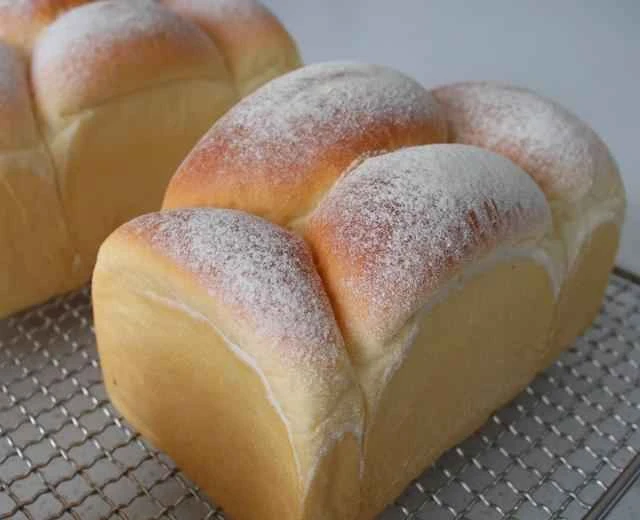
Cave Cheese Toast 🍞 This super soft toast is made by toasting the edges as thin as possible, allowing it to absorb the unique rich aroma of cave cheese. Homemade unsweetened custard is mixed with the cheese, creating a wonderful interplay of wheat and cheese flavors. Every bite offers a perfectly smooth and comforting texture. You absolutely must try this unique flavor hidden in everyday toast!
Materials
Just the right amount of warmth | How to make this toast that's so delicious you'll be hooked

Weigh all the materials beforehand; this will prevent you from getting flustered while working. This is especially helpful for beginners; preparing the materials beforehand is essential.
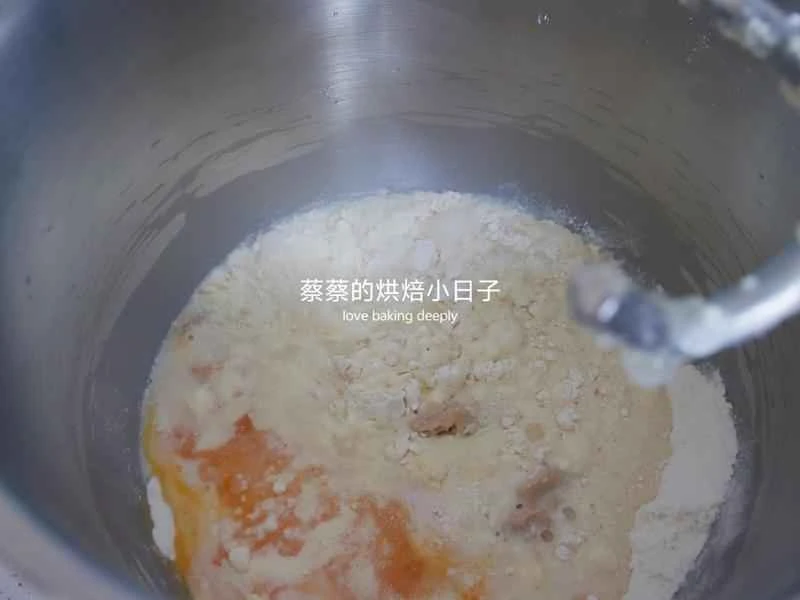
Except for the butter and salt, put all the other dough ingredients into a stand mixer and knead. This is a brioche sweet dough, which is quite easy to knead. If you are a beginner, you can reserve a little milk beforehand.

After kneading to the extended stage, add butter and salt and knead until fully developed.
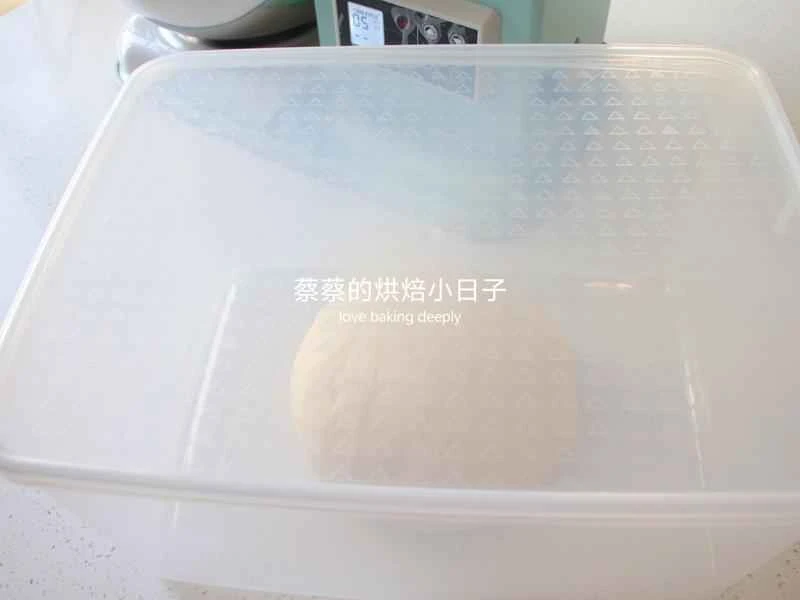
Roll the kneaded dough into a ball and place it in a proofing box. Cover and let it rise in a warm place at 25-28 degrees Celsius. Let it rise until it is about 1.5 to 2 times its original size, or until a hole poked with a floured finger does not shrink back or collapse.

While the dough is fermenting, prepare the filling. First, make the oil-free custard sauce by mixing milk, granulated sugar, and egg yolks together until roughly combined.

Add the cake flour, mix well, and then sift it once.

Pour everything back into the small saucepan, turn on the lowest heat and heat while stirring until it reaches a thick and smooth consistency.

After it has cooled slightly, add the softened cream cheese at room temperature.

Mix everything thoroughly until smooth, and the resulting filling will be incredibly delicate.

Put it into a piping bag and refrigerate until needed.
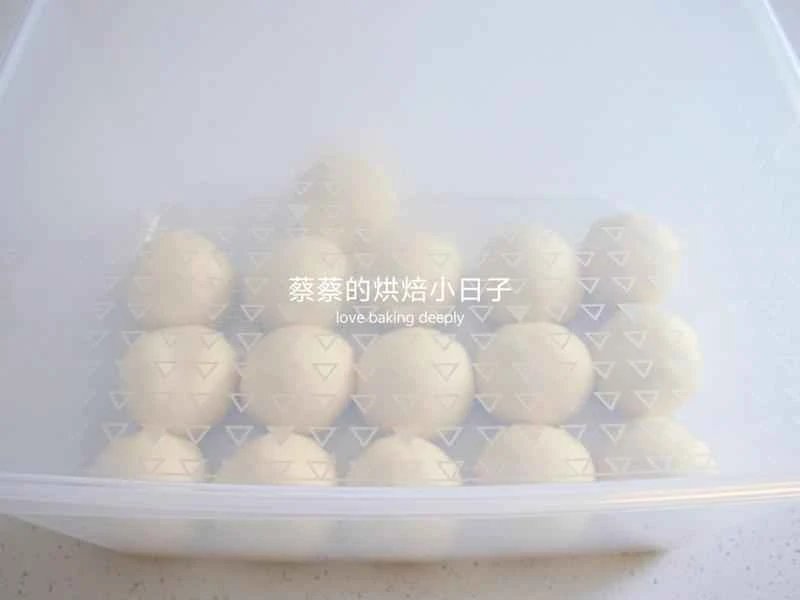
After the first rise, deflate the dough, gently pat and press out any large air bubbles, and divide it into 16 portions (this makes enough for four 250g loaf pans, with four portions in each pan). Round each portion, cover, and let rest for 15 minutes in an environment of 25-28 degrees Celsius.
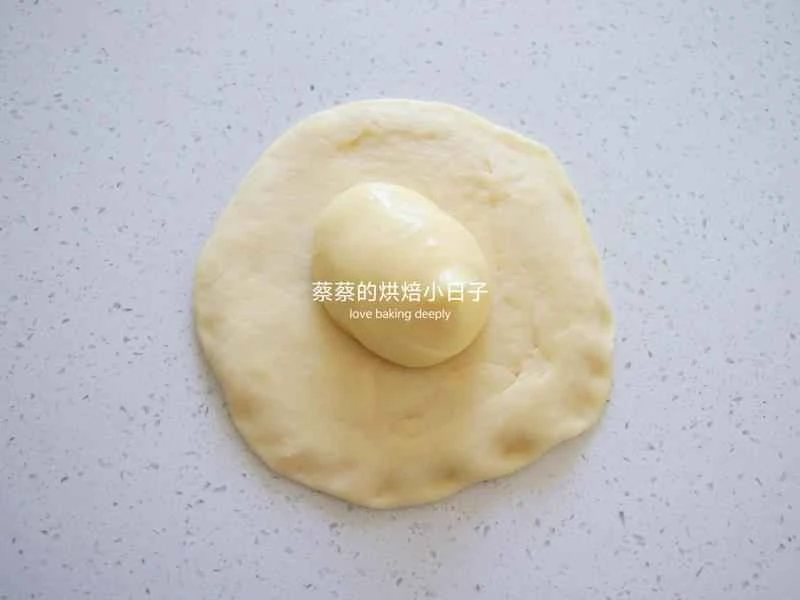
Take a relaxed dough ball, roll it into a round sheet, thinner around the edges and thicker in the middle, and squeeze in the prepared filling.
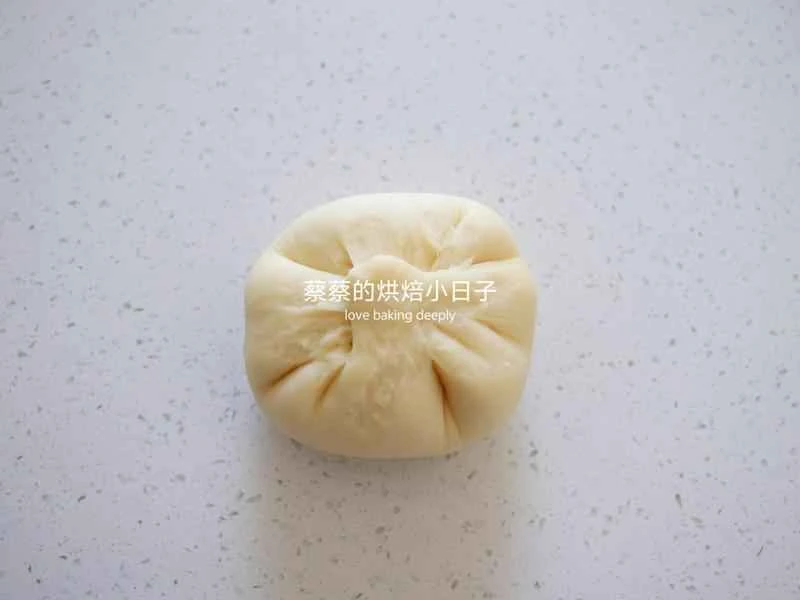
Lift the dough and pinch the seam closed. Be careful not to let the filling touch the seam, otherwise it will be difficult to seal. Pinch the seam closed a few more times and try to make it as tight as possible. Press down the small tail to prevent it from bursting out during baking.

Then gently roll it into a small cylinder.
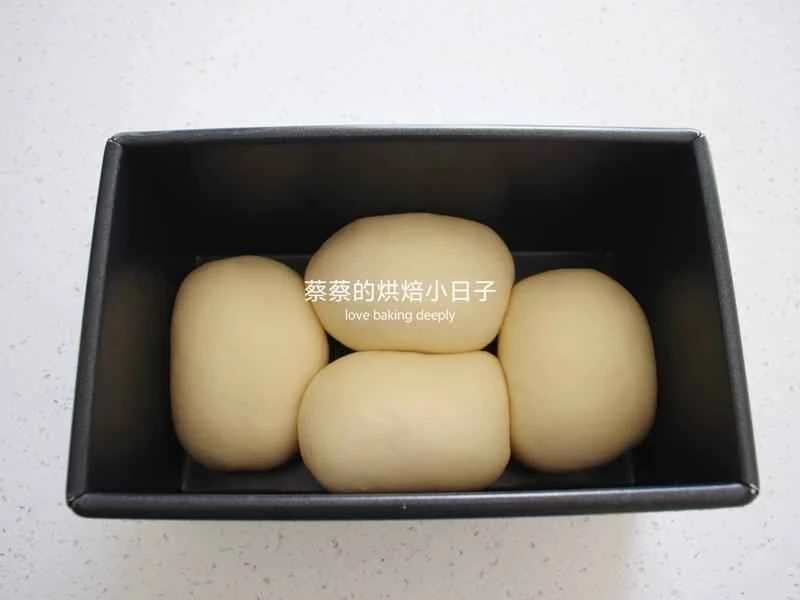
Place the dough into a 250g loaf pan, with 4 dough balls in each pan, one on each of the two sides and one at the beginning and end.

After shaping all the pieces, place them into the molds and begin the second proofing. I proofed them in a fermentation box at 33-35 degrees Celsius and 80% humidity. If you don't have a fermentation box, you can use an oven for the second proofing. If your oven doesn't have humidity control, you can place a bowl of warm water inside to maintain humidity.
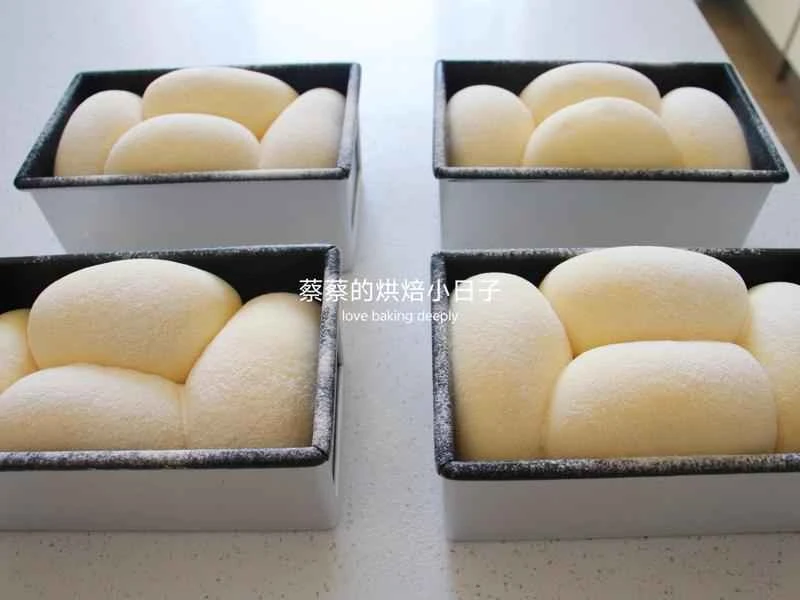
Ferment until the dough fills about 90% of the mold or slightly above it. The key is to observe that the dough surface is smooth and elastic, and it slowly springs back when lightly pressed. Sprinkle a thin layer of high-gluten flour over the fermented dough.

Place in a preheated oven at 170°C (top heat) and 190°C (bottom heat) for 35 minutes. The time and temperature are for reference only and should be adjusted according to your oven.

Baking in progress~
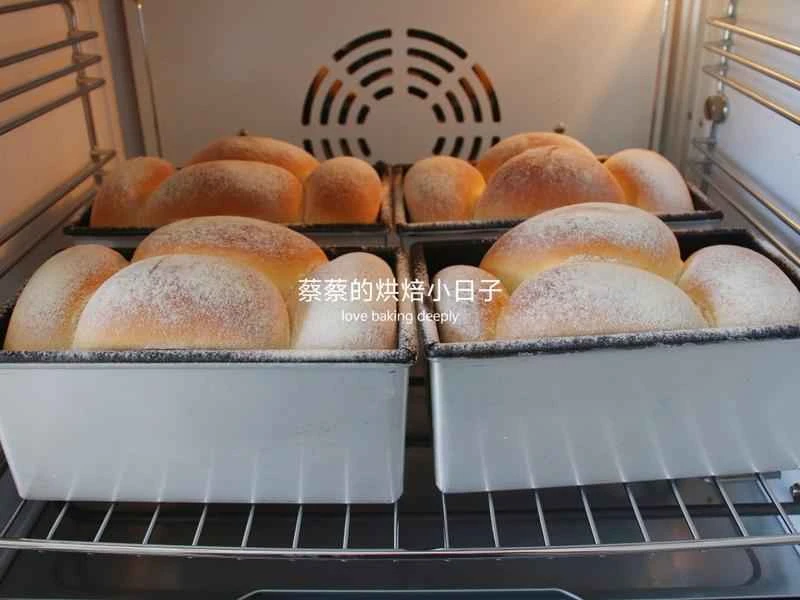
They're done baking and ready to serve!
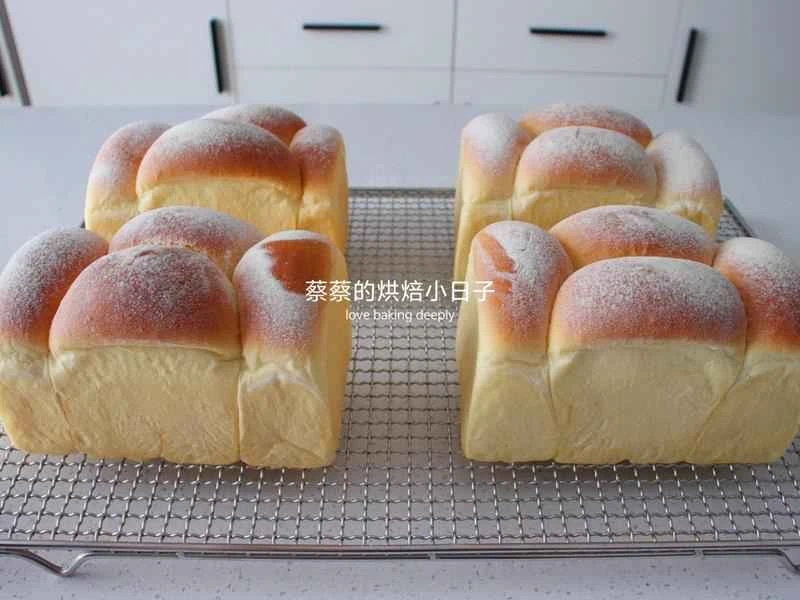
After baking, unmold and place on a cooling rack to cool. When it has cooled to a slight residual temperature, pack it into bags and seal for storage.

Toast the edges of the bread slightly thinner and softer, then top it with rich cheese for a wonderfully smooth and moist texture.
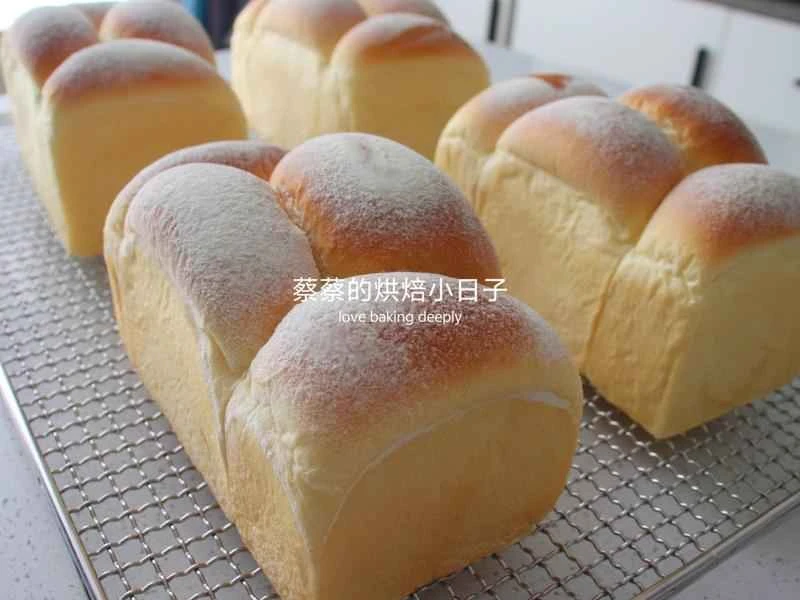
The plastic surgery was super simple, but it turned out really well!

The bread is as soft as cotton wool.

The refreshing custard sauce, paired with cheese, is not greasy at all.

It's incredibly soft when you tear it apart to eat. This is the cross-section. It's an adorable cave toast. Come and check it out!
Just the right amount of warmth | Tips for making this toast so delicious you'll be hooked
Many friends have asked: "I followed the recipe exactly, why is mine too wet? Why is mine too dry? Why...why..." Making bread requires flexibility in adjusting the liquid content of the recipe. Flour absorbs water differently, and the climate and humidity vary from north to south. You must observe the dough's consistency and add liquids accordingly—this is a well-worn topic! Homemade yogurt is thicker than store-bought. If using thinner yogurt, remember to reserve some and add it as needed, observing the dough's consistency. Adjust the time and temperature according to your own oven. Large and small ovens differ significantly, and even two identical ovens from the same brand will have temperature variations.