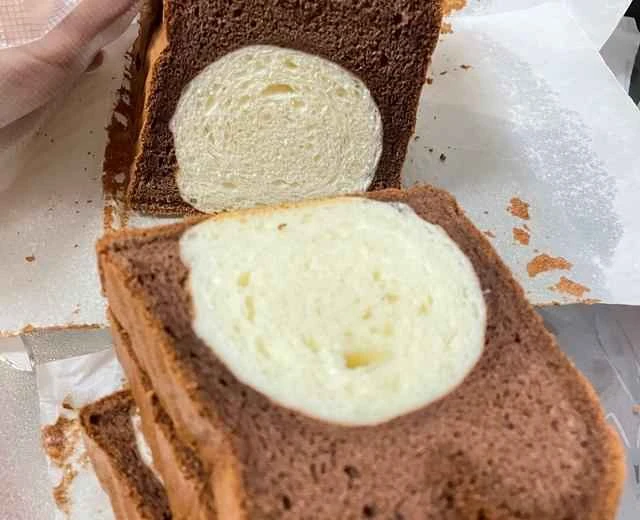
My colleague made it once and I was quite amazed after trying it. I asked her for the recipe, made a few modifications, and have made it countless times since: Chocolate Diamond Toast Cake, Coconut Pandan Toast Cake, Matcha Toast Cake, Earl Grey Tea Toast Cake... Every time, it makes my cousin, who lives 400 kilometers away, drool. She wants me to record a whole video to teach her, which is a bit difficult 😂 I can only try to record the process as detailed as possible~ This is my first recipe for her 😬 This recipe makes two Diamond Toast Cakes~
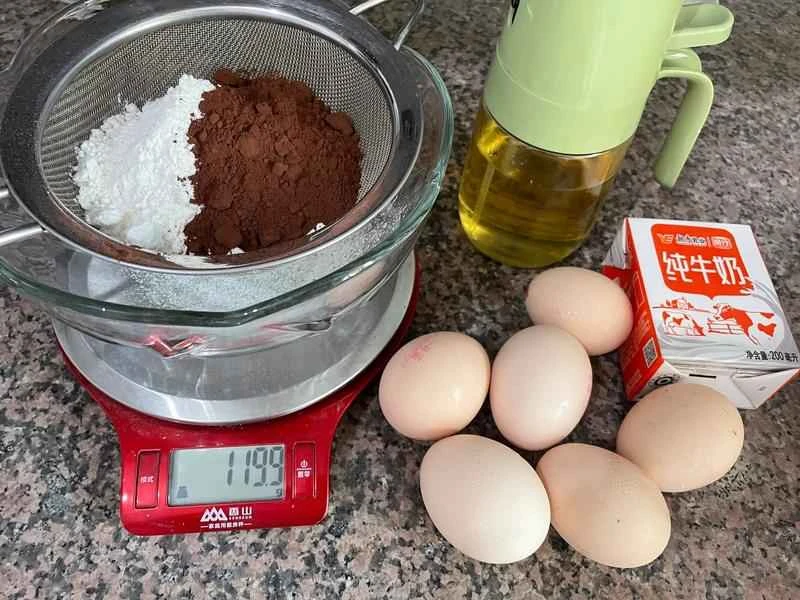
Materials
How to make Golden Diamond Toast for baking beginners
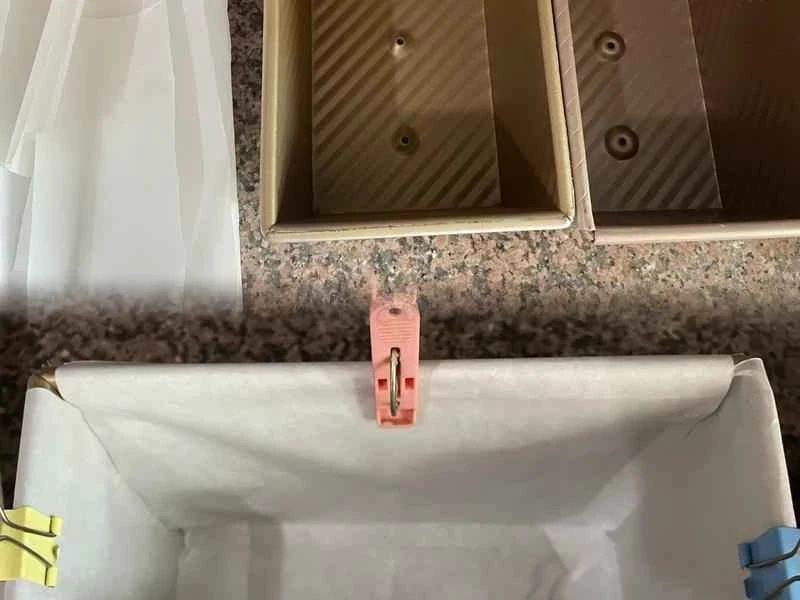
If you have the means, buy parchment paper for your loaf pan. If not, do what I did: cut the paper yourself and then use clips to hold it in place. It's best to do this in advance, as it can be quite time-consuming.
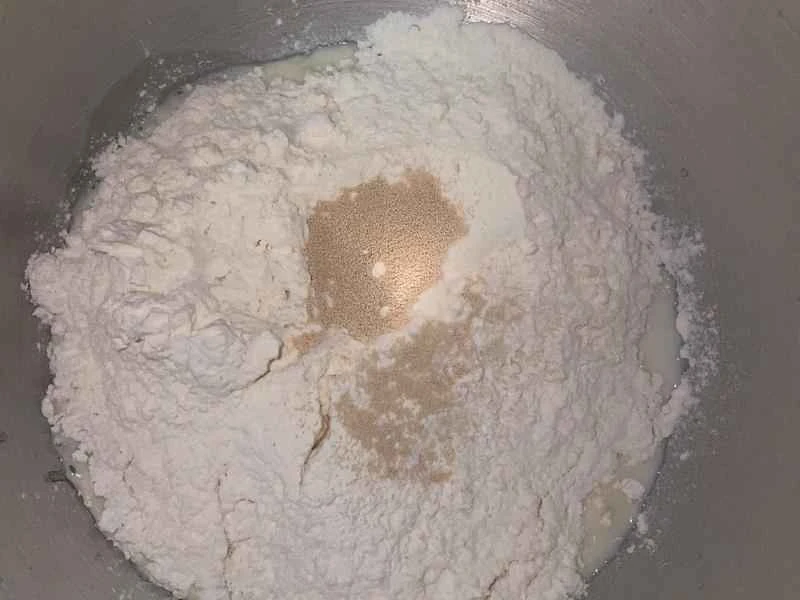
For the bread dough, except for the butter and salt, add the ingredients to the stand mixer in the order listed. Start on low speed and mix until combined. Then, on medium speed for five minutes, add the butter and salt. Increase the speed a little more and mix for another 10 minutes. It doesn't need to be kneaded until it forms a membrane; just knead until the surface is smooth.
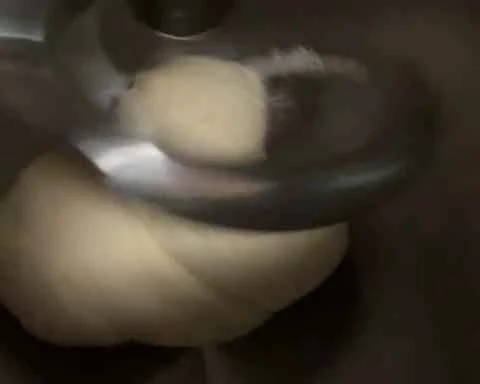
Just keep stirring. If it sinks, then speed up the stirring; you can even lift the bottom up.
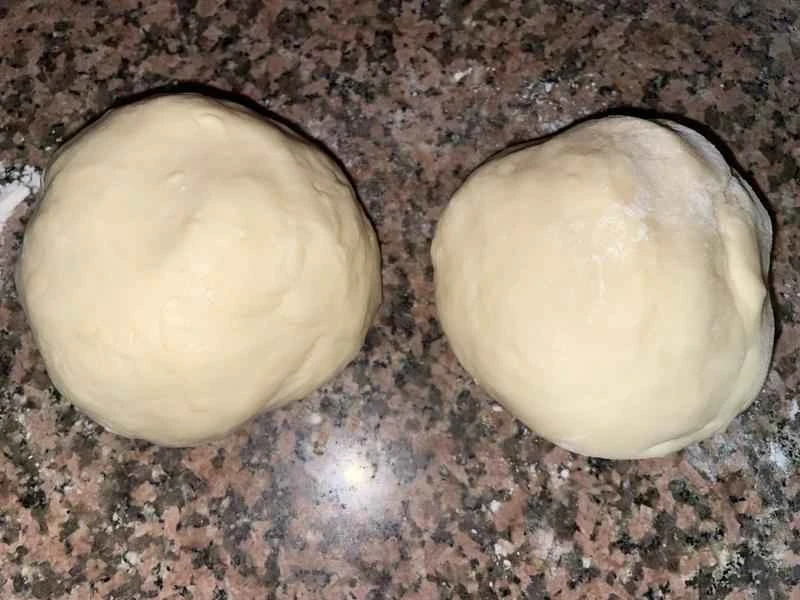
Divide the dough into two equal portions, each weighing approximately 240 grams, and let them rest for 10 minutes.
While the dough is kneading and proofing, you can prepare the cake ingredients.
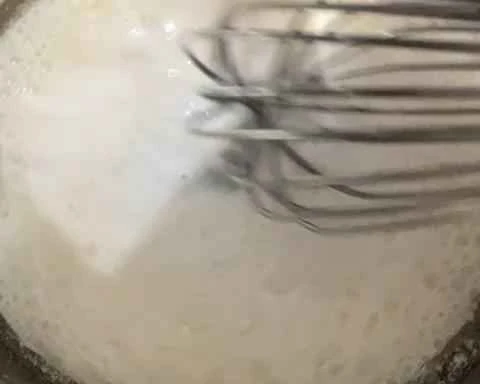
Whisk the corn oil and milk together until smooth.
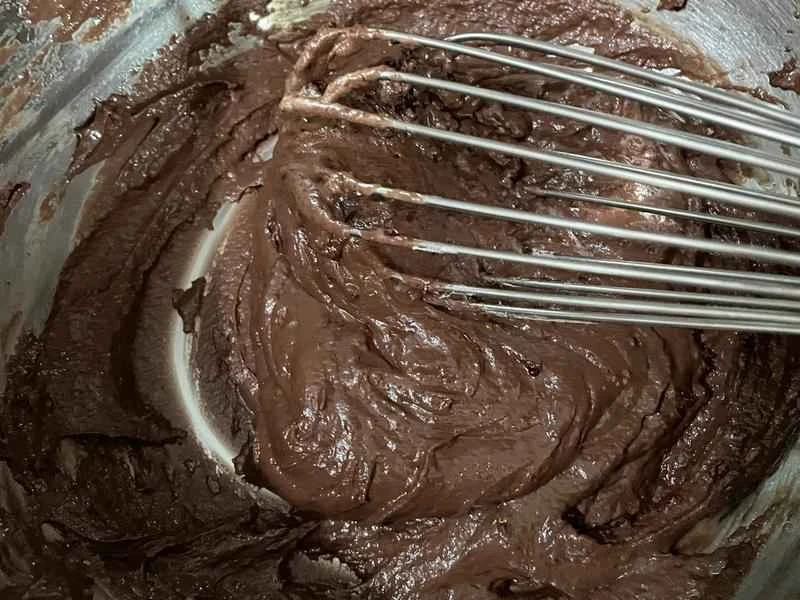
Add the sifted cake flour and cocoa powder, and continue beating until fully combined.
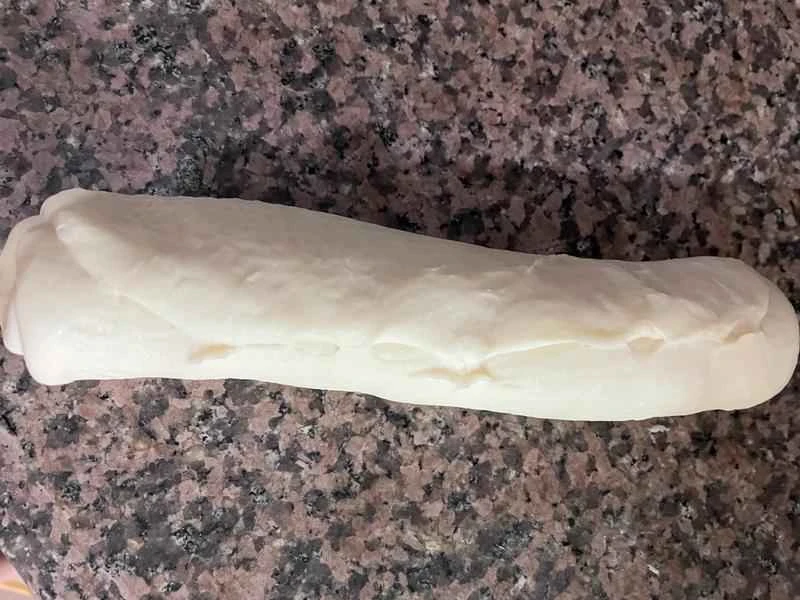
Once the egg yolk batter is ready and the dough has risen, roll the dough into a rectangle, slightly shorter than the length of the loaf pan. Roll it up and pinch the ends to seal.
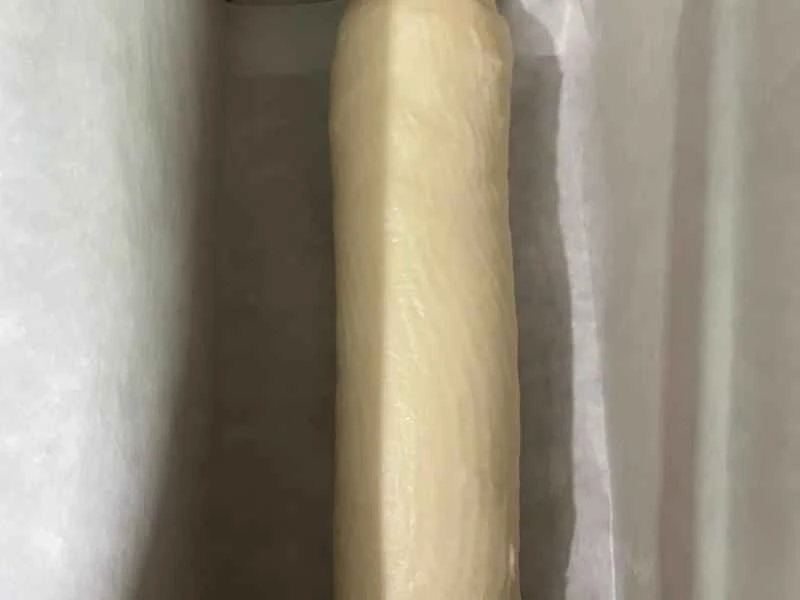
Place the loaf seam-side down in a loaf pan lined with parchment paper, and put both loaves in the oven together. You can use the proofing mode and bake for no more than 20 minutes. If the weather is hot, proofing will be too fast, so you can skip the proofing mode.
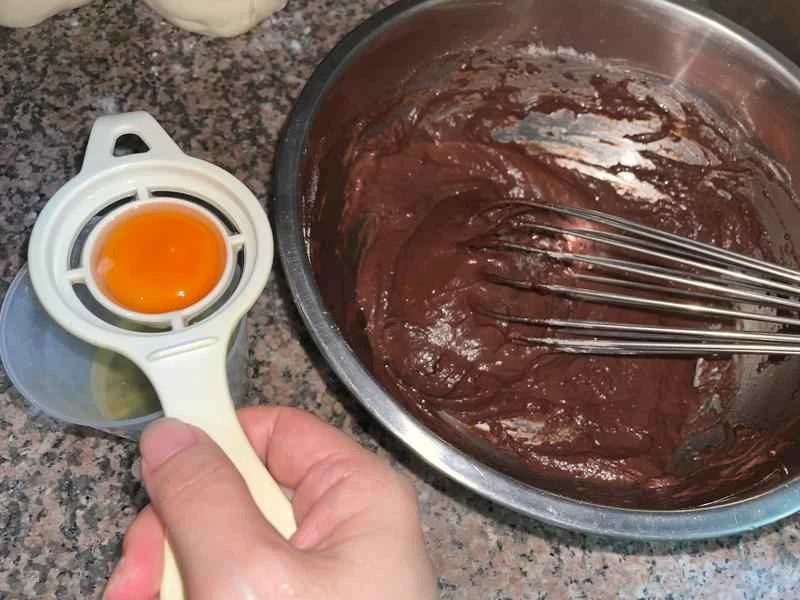
I'm using the reverse egg method to make the cake base, and I'm only now separating the egg whites and yolks. I'm separating them one by one because I'm afraid that if a yolk accidentally falls into the egg white, I'll have to separate them all. If one yolk is separated badly, only one will be wasted. Put the egg whites in a large, oil-free, and water-free bowl, and pour all the egg yolks into the bowl from step 7. Whisk until smooth.
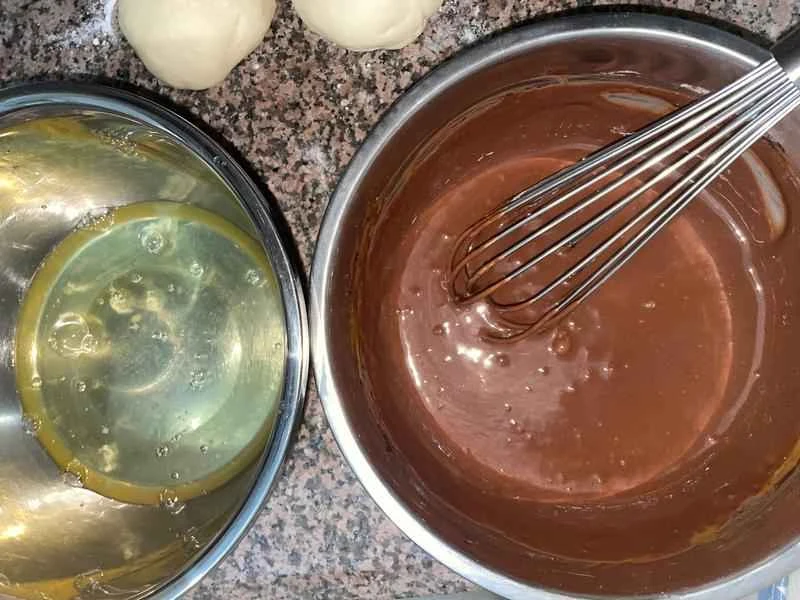
The one on the right is the beaten egg yolk mixture.
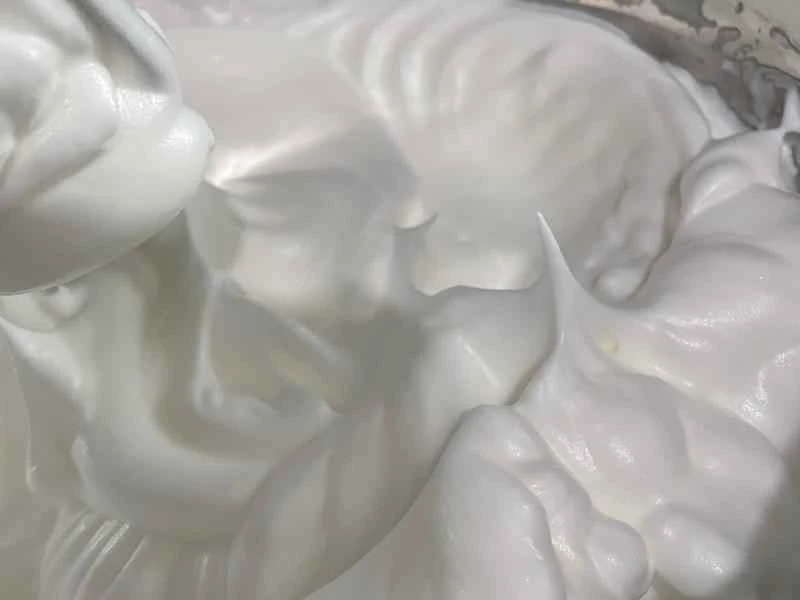
Next, whip the egg whites. Add a few drops of white vinegar or lemon juice to the egg whites, turn on the electric mixer and whip for about ten seconds. You can add the granulated sugar in three batches. 70 grams of sugar isn't very sweet, because you need to neutralize the bitterness of the chocolate, so you'll need slightly more sugar than other flavors. I added all 70 grams of sugar at once and kept whipping. Start at high speed, and when you see a glossy sheen, reduce the speed, stopping occasionally to check the consistency of the egg whites. When you see stiff peaks forming, the egg whites are ready.
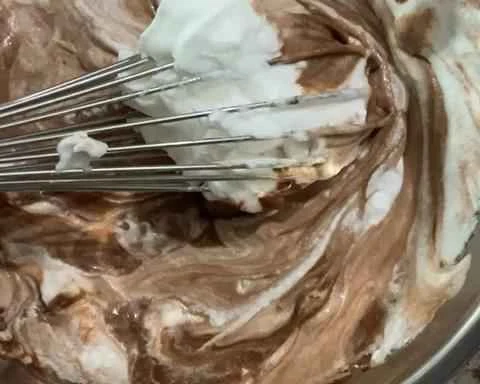
Add about 1/3 of the egg whites to the egg yolk mixture. You can use a silicone spatula to fold it in gently, like you're stir-frying vegetables. I mixed it directly with a whisk. Once the egg whites are whipped to stiff peaks, they won't deflate no matter how much you stir.
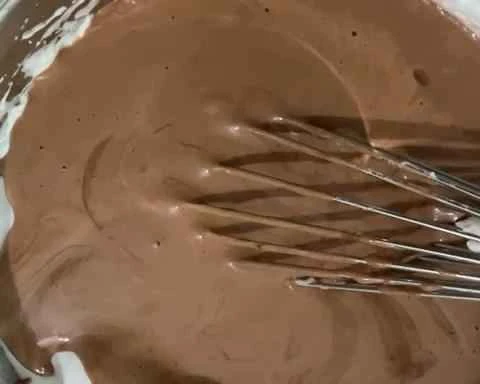
Pour the mixed egg yolk batter into the remaining egg white mixture and continue to fold until well combined.
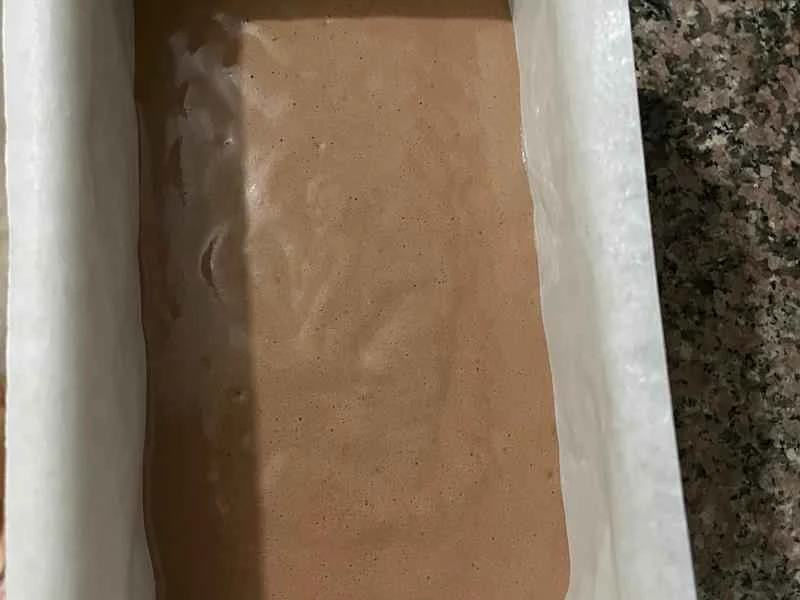
Once the cake batter is well mixed, remove the loaf pan from the oven. Preheat the oven to 170°C (top heat) and 175°C (bottom heat) (if you can't adjust the top and bottom heat separately, bake at 175°C for 30 minutes first, then at 170°C for 15 minutes), and bake for 45 minutes. Pour the cake batter into the loaf pans containing the bread dough, about 330 grams in each pan. Tap the loaf pans on the table a few times to release any large air bubbles.
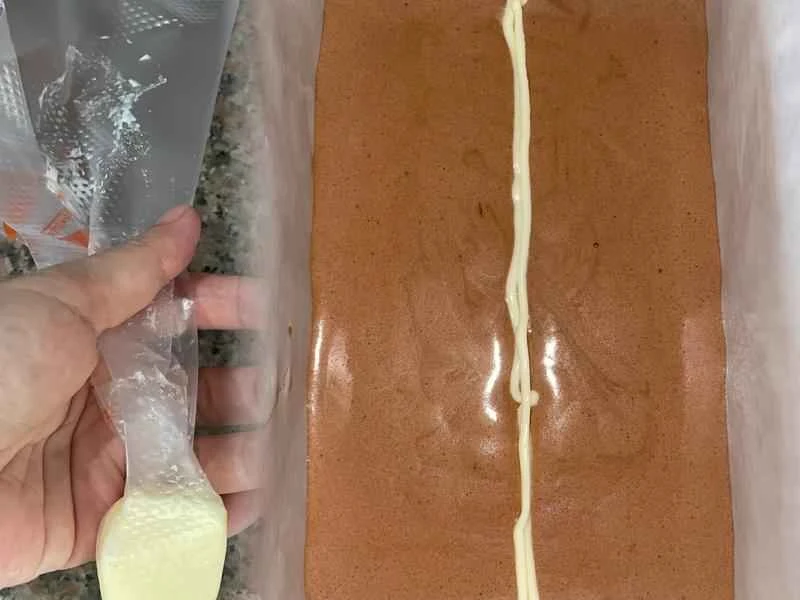
Cut a small piece of butter beforehand and put it in a piping bag. Hold it in your palm from time to time to soften it. Once it's softened to the consistency of toothpaste, cut a small opening at the sealed end. The opening can be slightly larger; mine was cut too small, and the butter lines I piped were crooked to create nice, large cracks, preventing the cake from bursting into irregular shapes and affecting its appearance. This way, you don't need to open the piping bag to cut the opening during the process to achieve large cracks. Opening the piping bag during the process can cause the finished cake to shrink significantly (don't ask me how I know 😂).
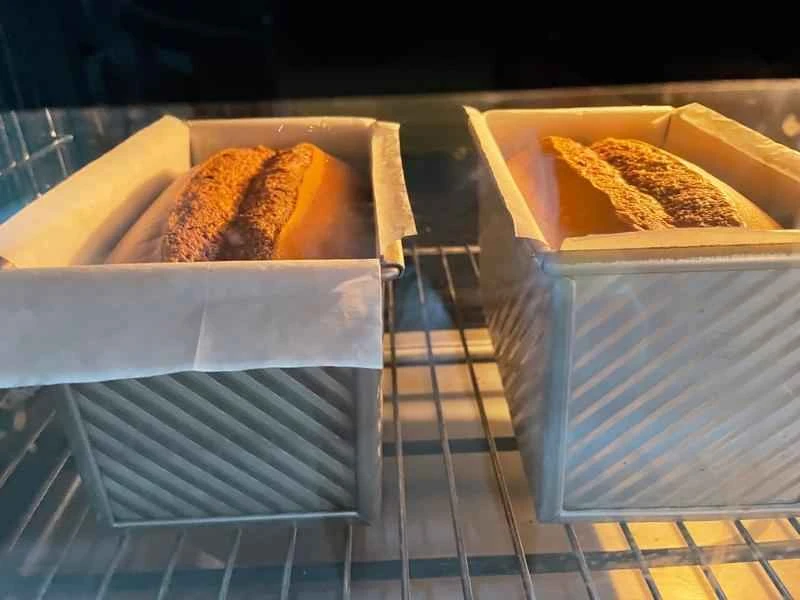
After preheating, place the loaf pan on the lower rack of the oven. This is what it looks like after about 20 minutes of baking; the cracks in the middle are quite regular.
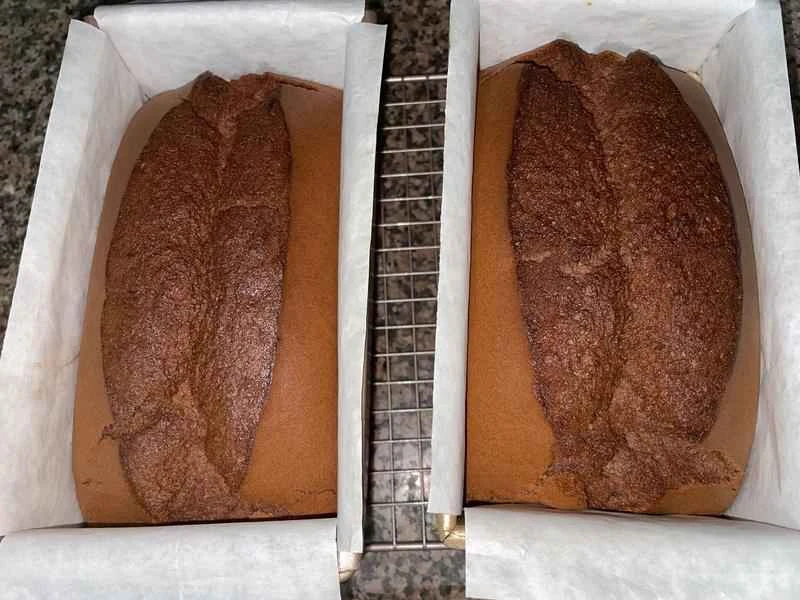
When the time is up, let them sit in the oven for two or three minutes, then take them out using oven mitts and tap them a few times on the table.
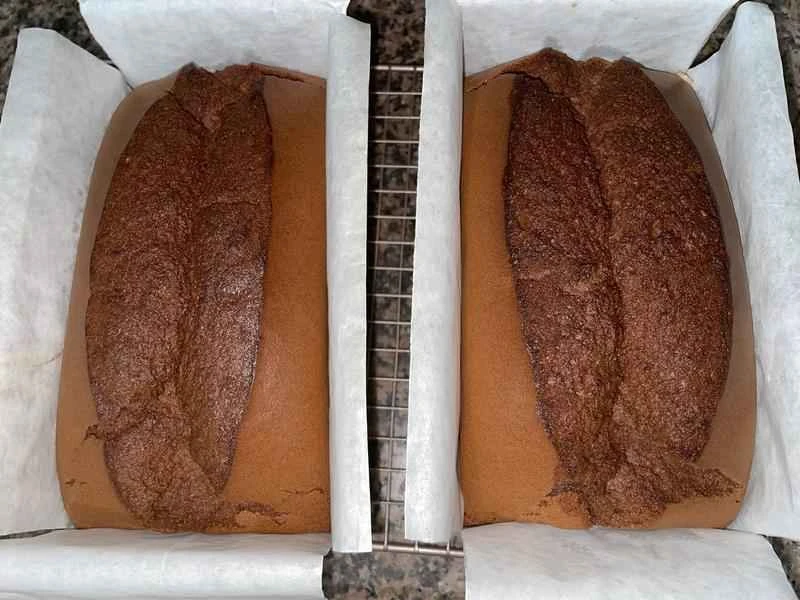
Immediately lift the cake from both sides and place it on a wire rack to cool. Don't rush to peel off the parchment paper; wait until it's completely cooled before peeling it off to minimize the amount of cake sticking to the parchment paper.
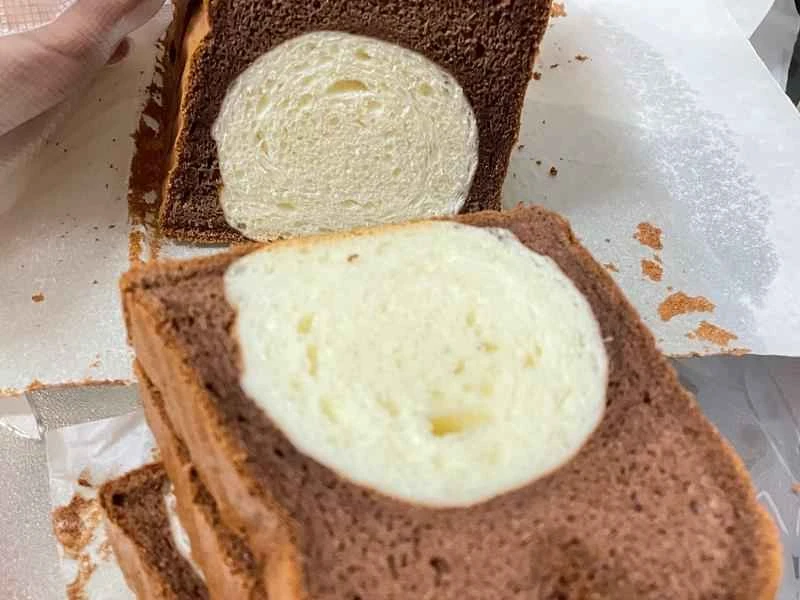
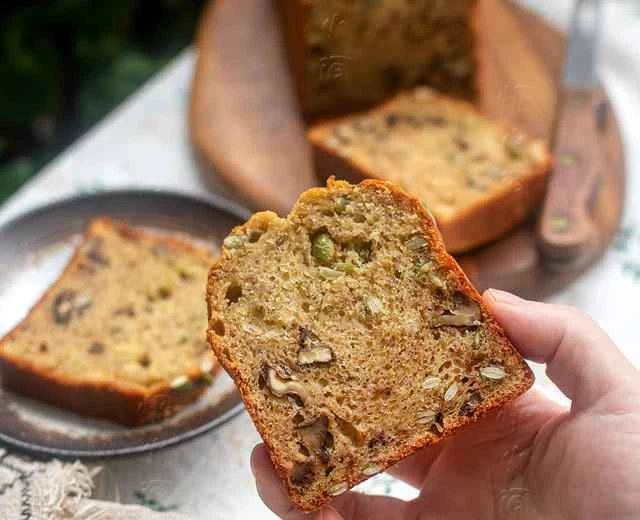
After cooling, peel off the parchment paper and use a serrated knife to cut the slices back and forth to the desired thickness. Perfect! 😋
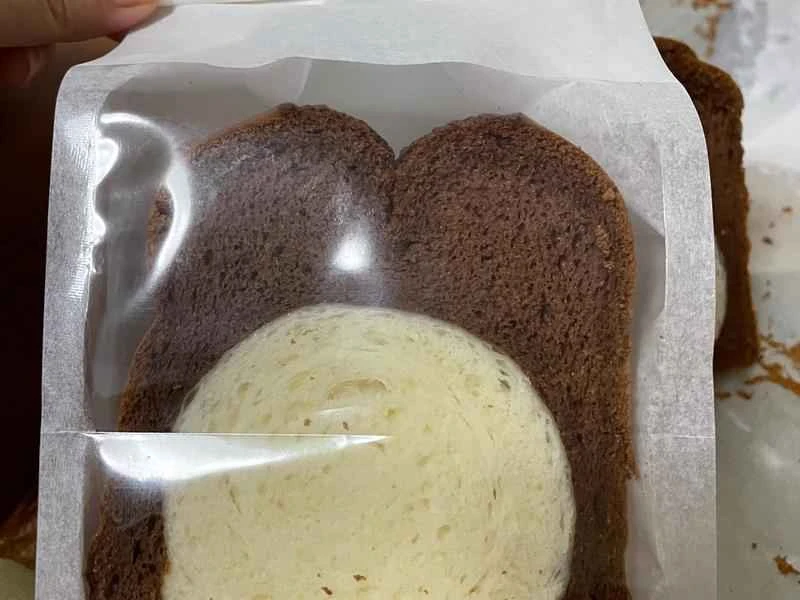
Store in sealed bags