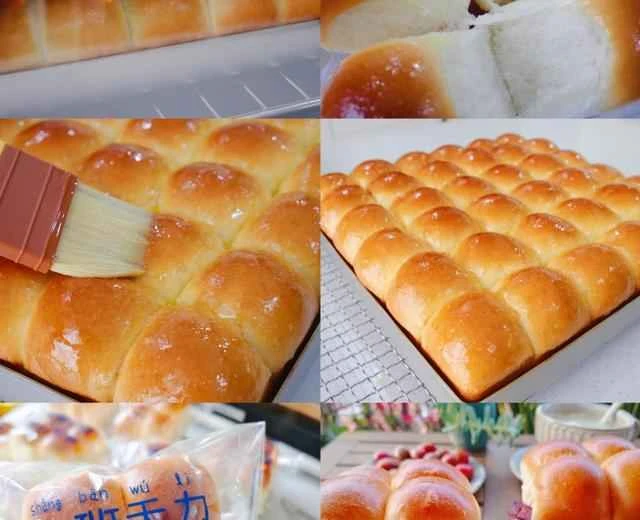
Here it comes, here it comes again, making delicious bread! Today I'm sharing a recipe for rock-baked borscht. The bread is soft and springy, topped with a rock-baked sauce, and every bite is so satisfying. You definitely have to try this one!
Materials
Rock-baked Russian Bread | Steps to make this classic childhood bread
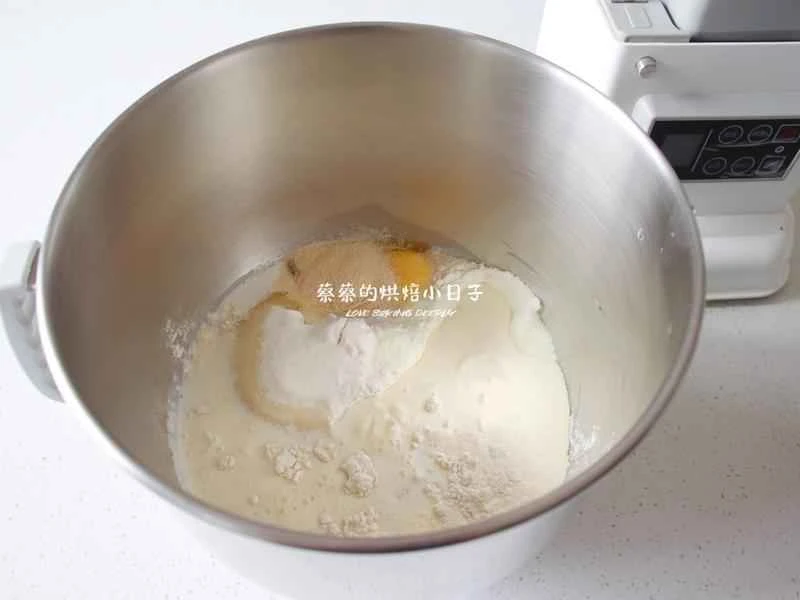
Except for the butter, put all the dough ingredients into the stand mixer bowl and knead. First, start at low speed to set the dough's consistency, then switch to high speed to knead.
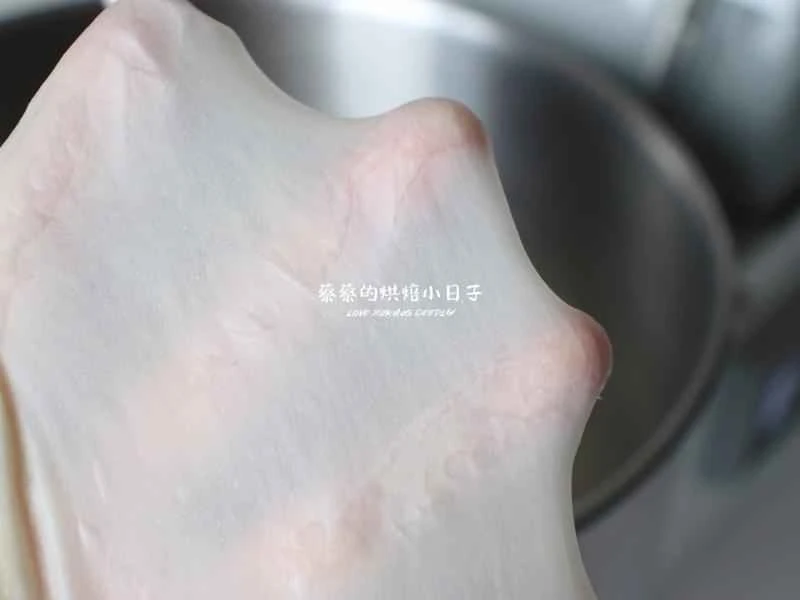
When the dough reaches the rough membrane stage, add the softened butter and knead until the dough is smooth and elastic. This dough doesn't contain much water, so pay attention to the dough's extensibility and elasticity; you don't need to knead it until it reaches such a thin, translucent membrane.
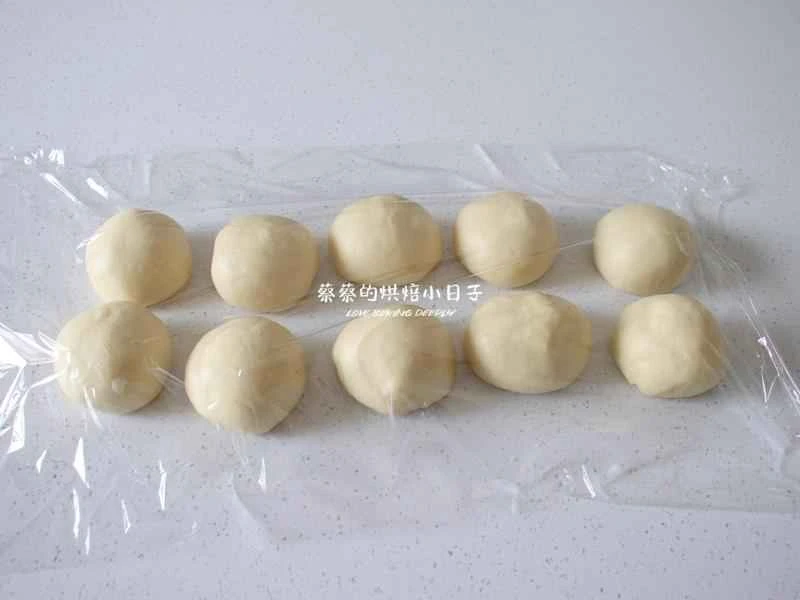
The kneaded dough does not need to rise once. Divide it directly into 10 portions, roll them into balls, cover with plastic wrap and let them rest for 15 minutes.
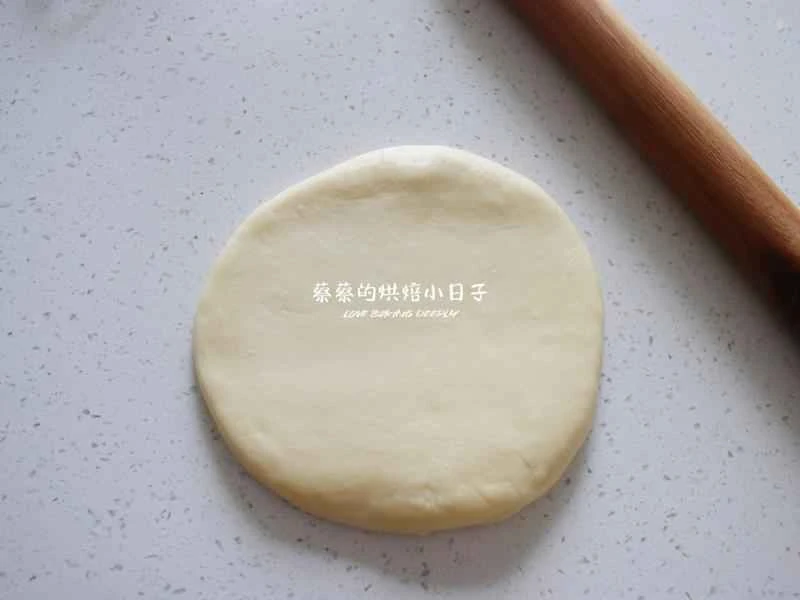
Take a relaxed dough ball, gently roll it out into a round sheet, and gently flip it over so that the smooth side is facing down.
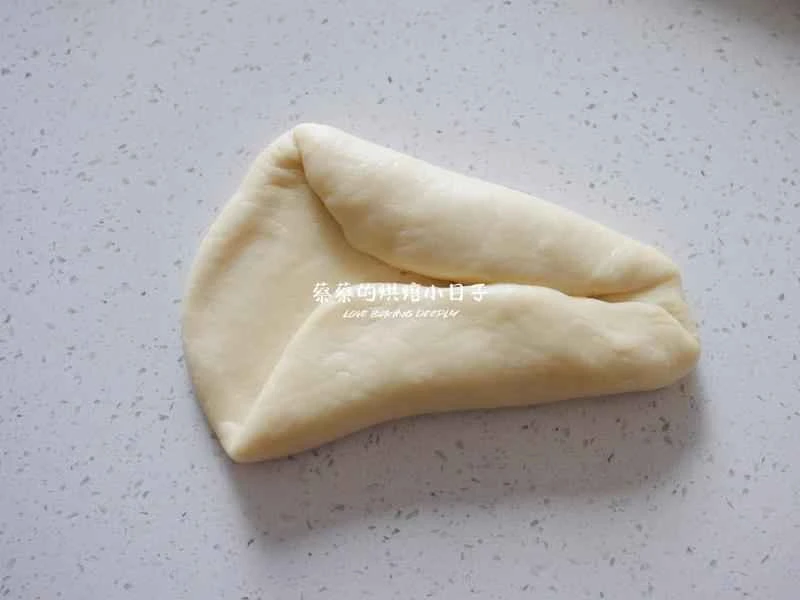
Fold the dough on both sides to make it look like a triangle.

Fold it in half again and pinch the opening closed. If you're unsure, you can watch a video tutorial.
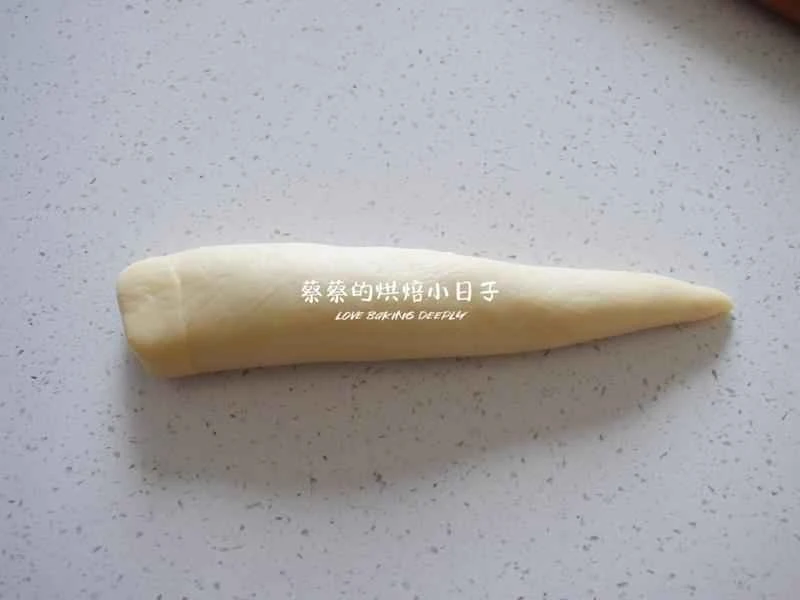
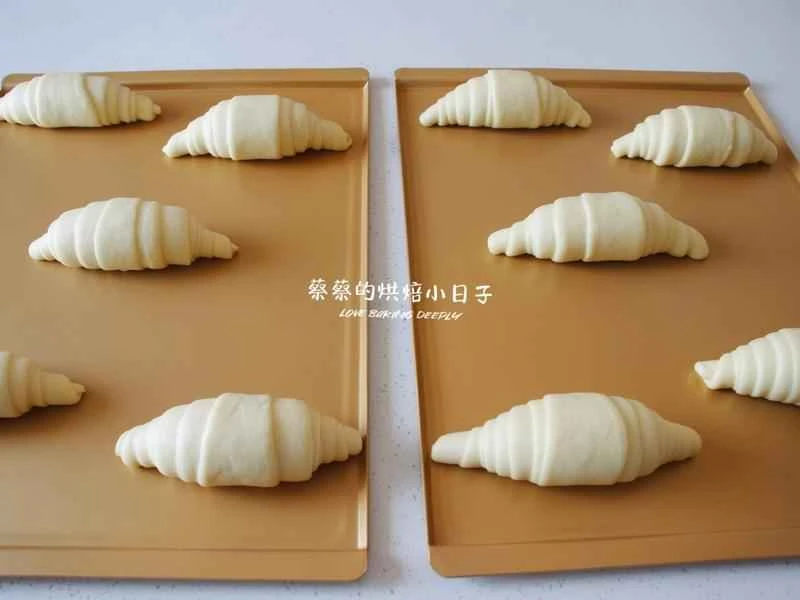
Shape it so that one end is larger than the other, resembling the shape of a carrot.
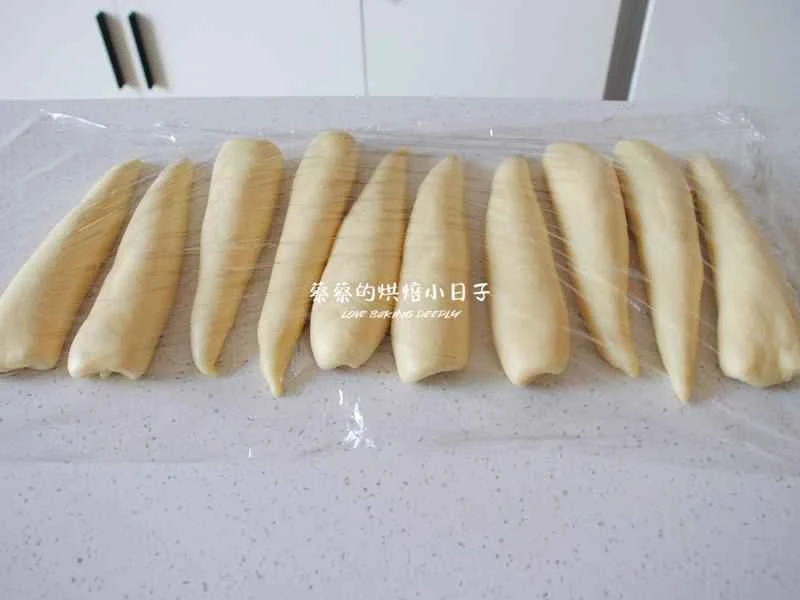
Let the pre-shaped dough rest for another 15 minutes.

Put all the ingredients for the rock-grilled sauce into a small saucepan, heat over low heat while stirring.

Stir until smooth, then transfer to a piping bag for later use.
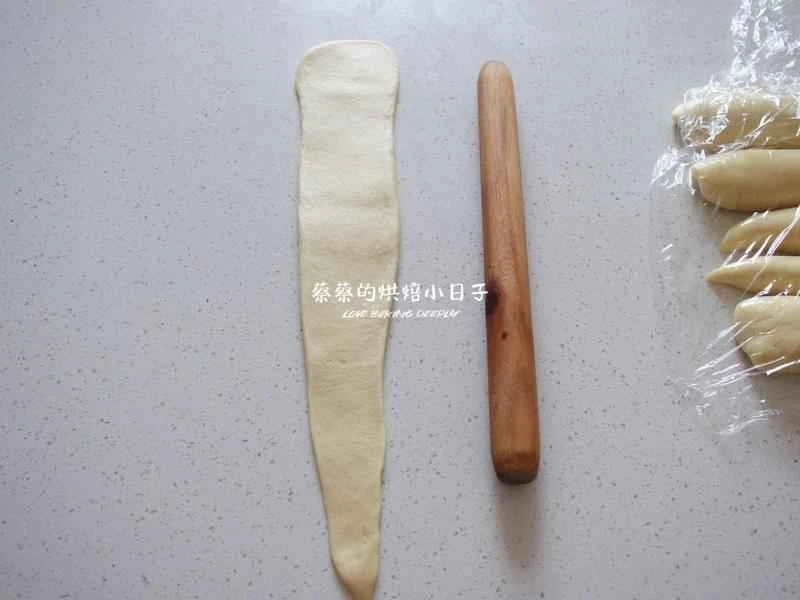
Take a rested dough ball, roughly roll it out, then gently flip it over so the smooth side is down. Use a rolling pin to gently roll the dough out further, you can use your hands to help hold the dough while rolling it out. The video shows the technique.
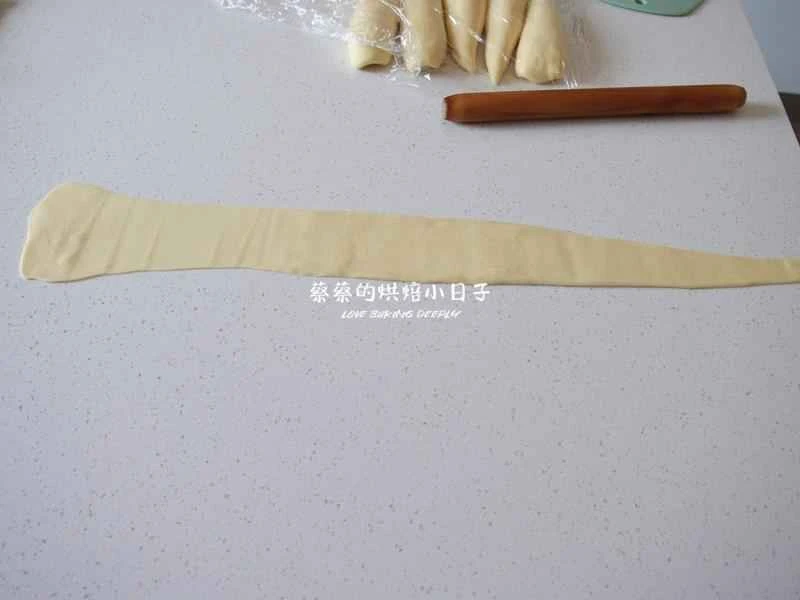
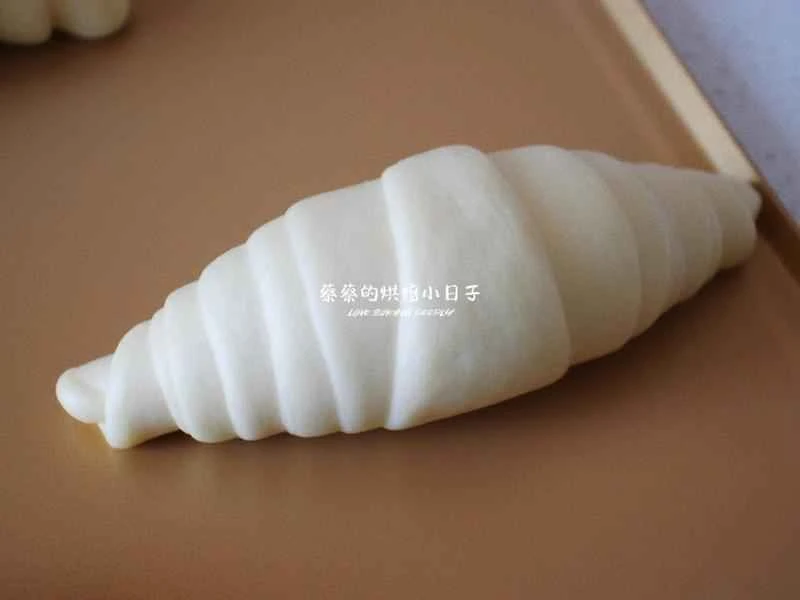
The rolled-out dough should be about 45 cm long. Gently roll it up from top to bottom, but don't roll it too tightly.

When you get to the very last bit, you can pick up the dough and gently roll it up with your hands.
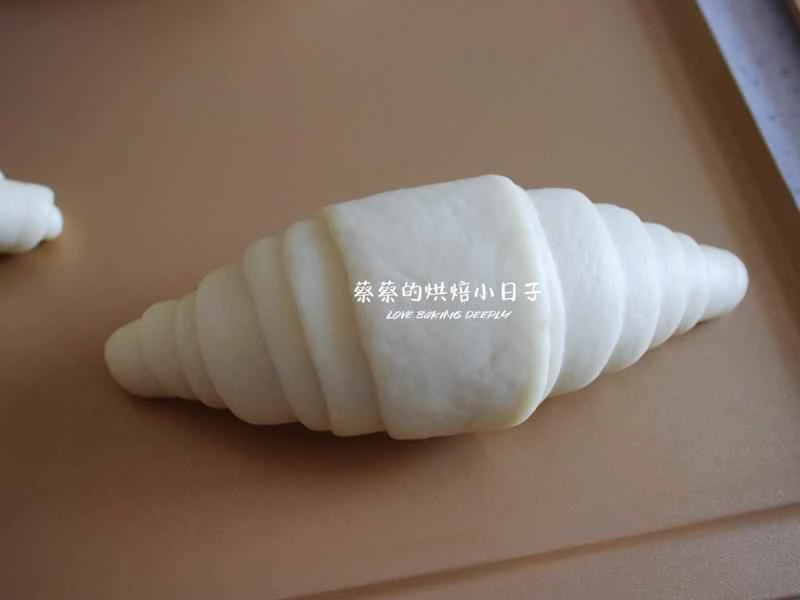
Good plastic surgery~

Place the shaped dough on a baking tray and put it in a proofing box or oven to proof. The proofing temperature should be 32 degrees Celsius and the humidity 80%. If you don't have a proofing box, you can use an oven for a second proofing. If the oven doesn't have humidity control and you can't achieve the correct humidity, you can put a bowl of warm water in it to maintain the humidity.
The time is about 30 minutes, but there is no fixed time. The main thing is to observe the state of the dough. The surface of the dough should be elastic, and it should slowly spring back when pressed with a finger.
The dough has risen.
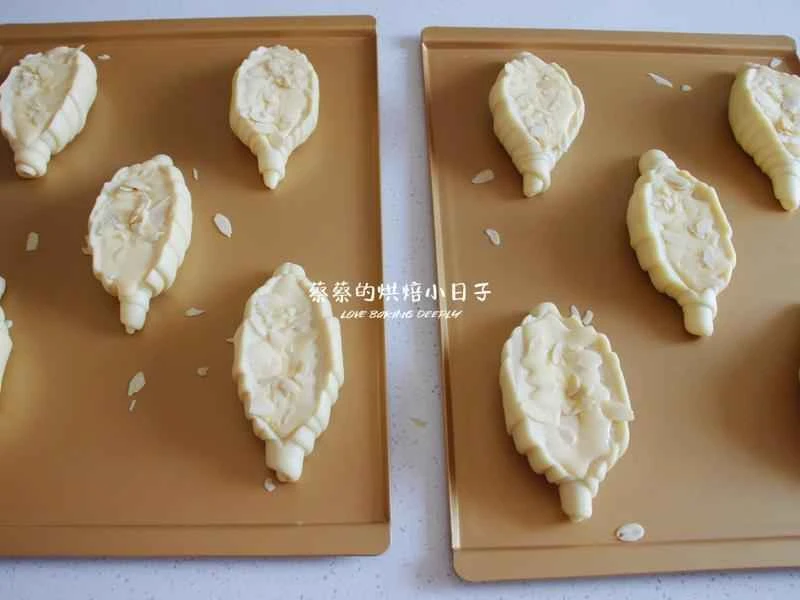
Make a deep cut in the middle of the risen dough, then squeeze in the prepared rock-grilled sauce.
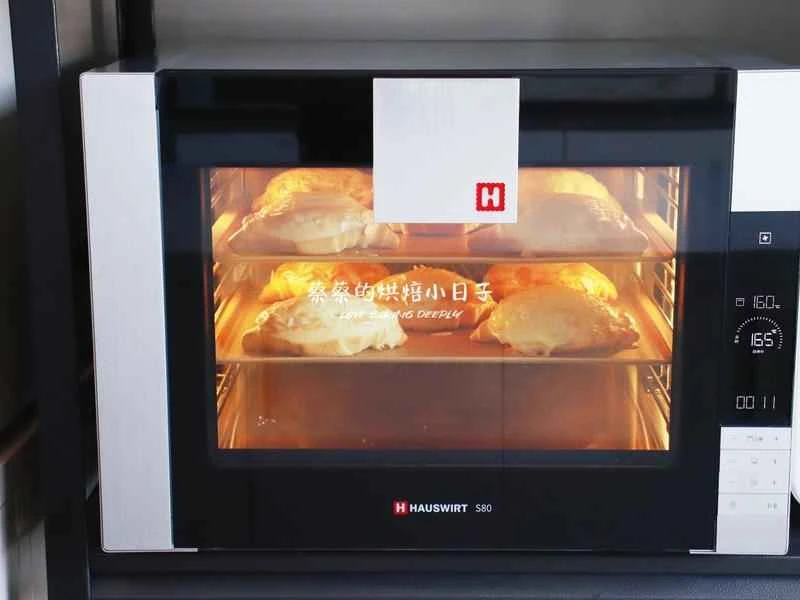
Place in a fully preheated convection oven, baking two racks simultaneously at 160 degrees Celsius (320 degrees Fahrenheit) for 20 minutes. The time and temperature are for reference only; adjust according to your oven.

For furnaces that are not blast furnaces, the operation can be reduced by half.

After baking, unmold and place on a cooling rack to cool. When it has cooled to a slight residual temperature, pack it into bags and seal for storage.

The sauce on top smells amazing!
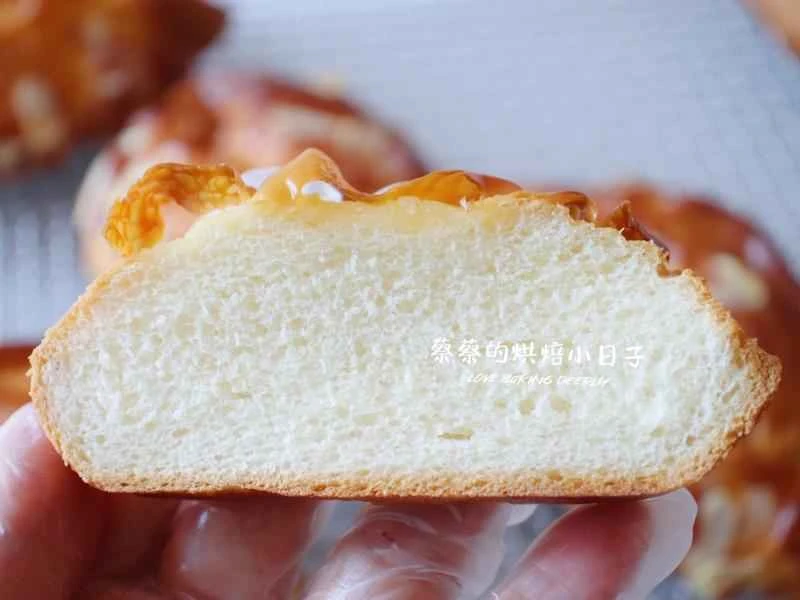
The bread is soft and springy.

One bite is incredibly satisfying.

The organization is very meticulous~ Come and experience the taste of your childhood.
Rock-baked Russian Bread | Tips for making this classic childhood bread
Many friends have asked: "I followed the recipe exactly, why is mine too wet? Why is mine too dry? Why...why..." Making bread requires flexibility in adjusting the liquid content of the recipe. Flour absorbs water differently, and the climate and humidity vary from north to south. You must observe the dough's consistency and add liquids accordingly—this is a well-worn topic! Homemade yogurt is thicker than store-bought. If using thinner yogurt, remember to reserve some and add it as needed, observing the dough's consistency. Adjust the time and temperature according to your own oven. Large and small ovens differ significantly, and even two identical ovens from the same brand will have temperature variations.