This recipe makes 24 mooncakes (50g each). The best mooncakes of the year are here! The crust is incredibly crisp and fragrant, like a cookie, with a rich milky and cocoa flavor. It's so crumbly it practically melts in your mouth. The filling is a new special tiramisu, a blend of chocolate and coffee flavors that isn't bitter. The center is filled with stretchy caramel mochi, chewy and bouncy with a subtle caramel aroma. The multiple textures are a truly amazing combination! One bite and you'll be hooked, showing off several already – it's so delicious I could cry! 😭😭😭 I prepared the crust with about 30% sweetness, so feel free to add sugar; it's not cloyingly sweet! The filling is 5-70% sweet, so even those who don't like overly sweet mooncakes can enjoy it! This isn't my first time making milk-crisp mooncakes, but this combination is truly amazing and harmonious. Several friends have said it's the best mooncakes they've ever had! Go ahead and make it with confidence! Other delicious milk-flavored mooncakes 🥮 https://www.xiachufang.com/recipe/106534856/ https://www.xiachufang.com/recipe/106873248/ https://www.xiachufang.com/recipe/106877913/ https://www.xiachufang.com/recipe/106868737/ Super delicious crispy mooncakes 🥮 https://www.xiachufang.com/recipe/107401367/ https://www.xiachufang.com/recipe/107405456/ https://www.xiachufang.com/recipe/107166845/ https://www.xiachufang.com/recipe/106886092/ https://www.xiachufang.com/recipe/107187284/ Various flavors of Cantonese-style mooncakes 🥮 [Links to recipes on xiachufang.com] https://www.xiachufang.com/recipe/106527715/
Materials
Tiramisu Caramel Mochi Cocoa Shortbread Mooncakes | One Bite and You'll Be Delighted | Cookie-like Texture | Crispy and Crumbly Recipe

First, buy the fillings: tiramisu filling and caramel mochi. I used Mochi Youpin's new products this year. Open the large image, take a screenshot, save it, and scan the QR code with WeChat to place your order through the Kuaituantuan mini-program.
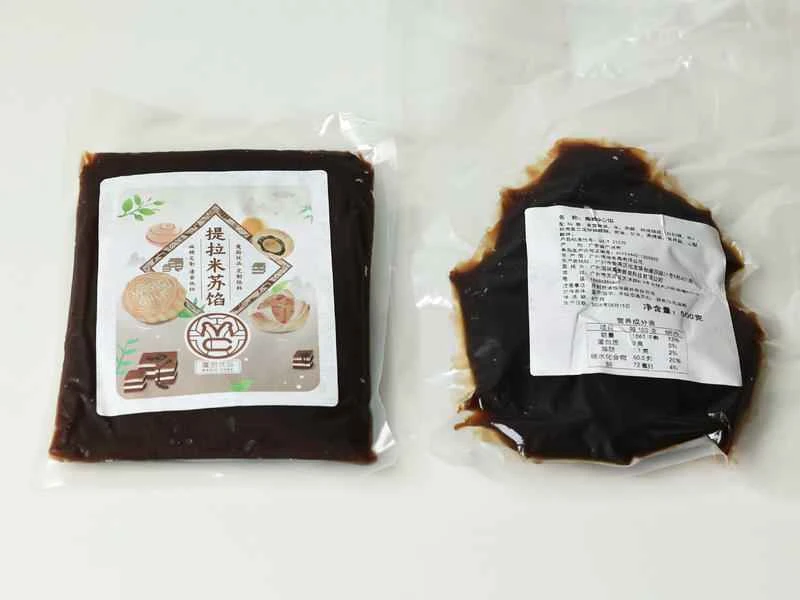
The filling can be refrigerated or frozen.
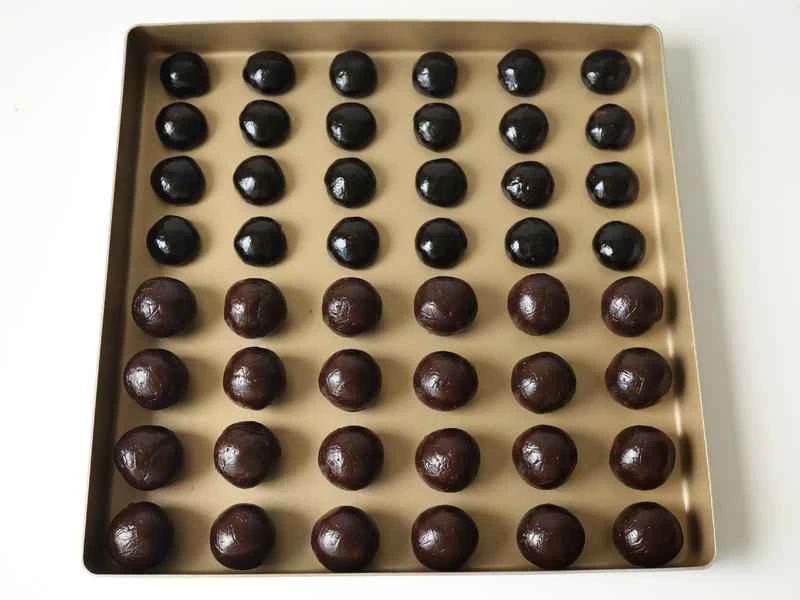
To make 50g mooncakes, the dough-to-filling ratio is 1:1, with 25g dough and 25g filling. First, divide the filling: 17g tiramisu filling and 8g caramel mochi filling. Wear disposable PVC gloves throughout the process to prevent sticking. Once divided, round each portion. Adjust the amounts as needed for other mooncake weights.
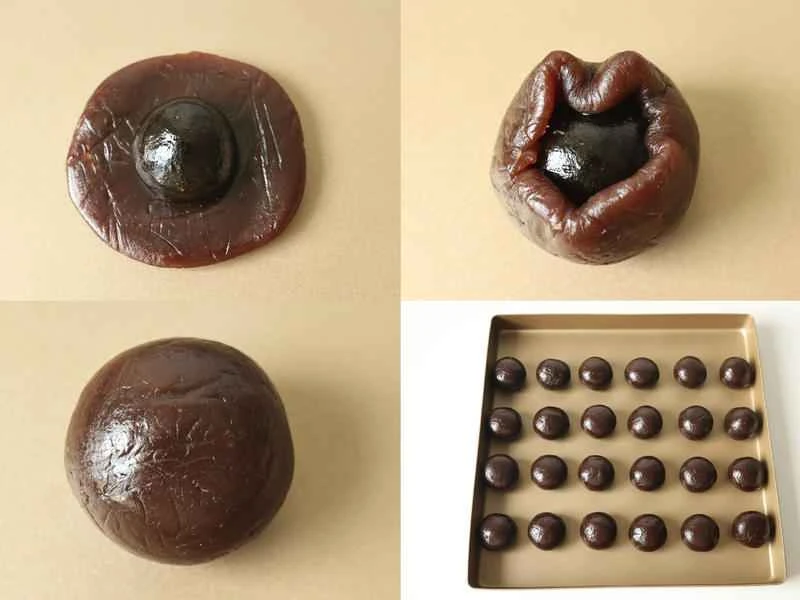
Flatten the tiramisu filling and wrap it around the mochi. Seal the edges together with your thumb and forefinger, roll it into a ball, making sure not to get any air in. Once all the mochi is wrapped, seal it with plastic wrap and set aside. I wrapped the mochi directly, and it was quite easy. If you find it difficult to wrap, freeze the mochi for half an hour until it's firm before wrapping.
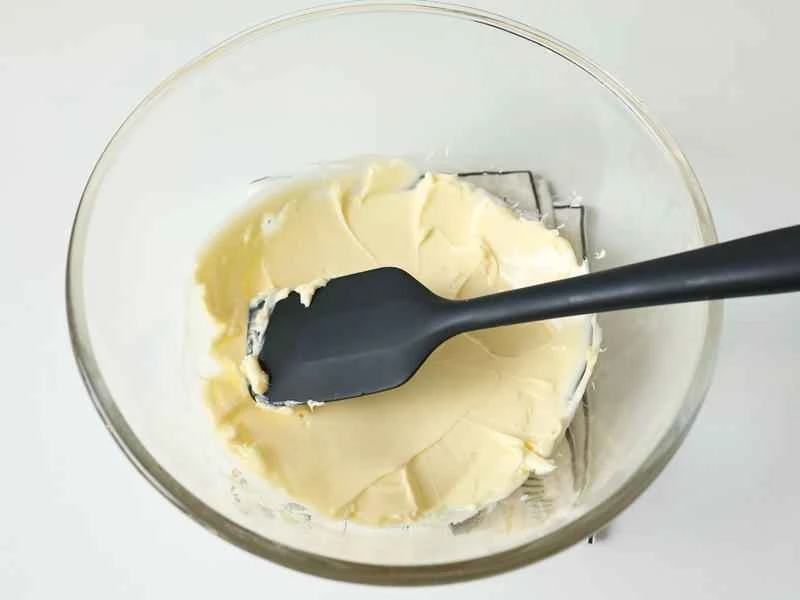
Soften the butter at room temperature (26-28 degrees Celsius). It's best to use fermented butter for a richer and tastier flavor. If the room temperature exceeds 30 degrees Celsius, turn on the air conditioner; otherwise, it will easily separate into oily layers later, making it difficult to handle.
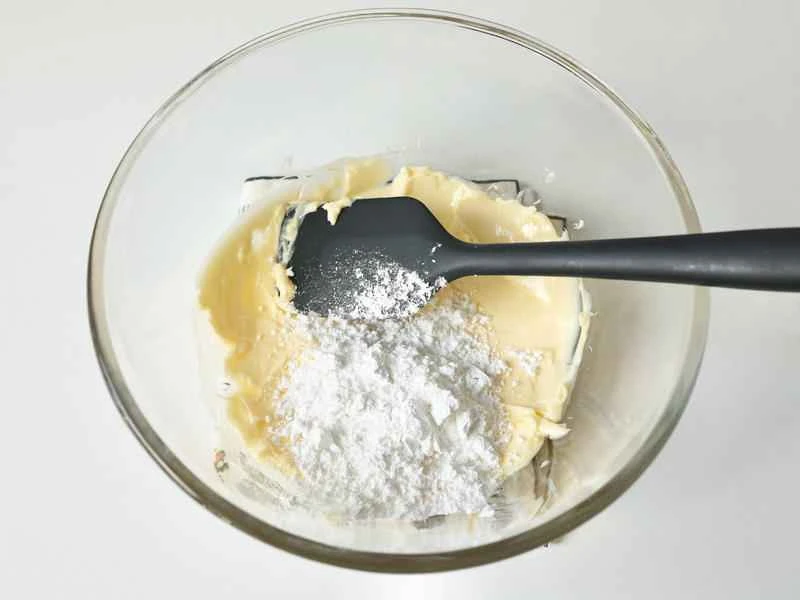
Add powdered sugar
Mix with a spatula
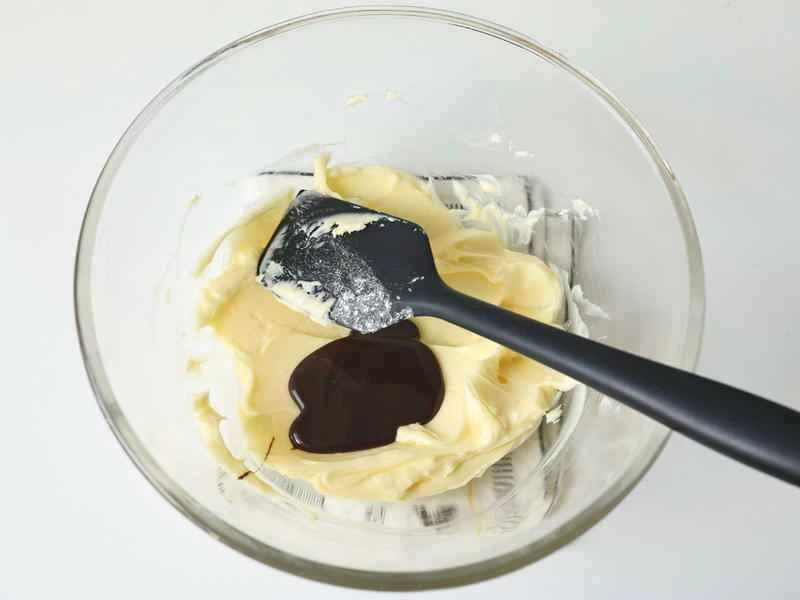
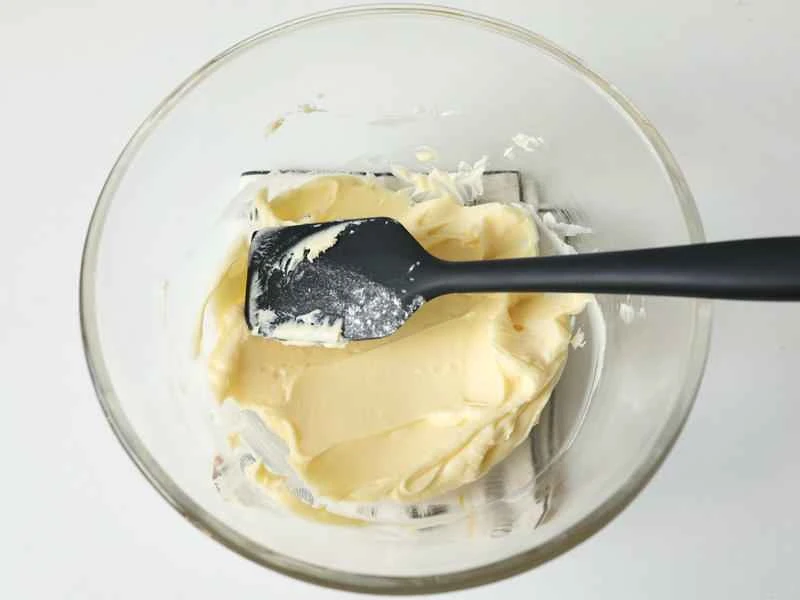
Add condensed milk (I used chocolate-flavored condensed milk, but I had too much at home. You can use the original flavor; it won't affect the taste. You don't need to buy chocolate-flavored condensed milk).
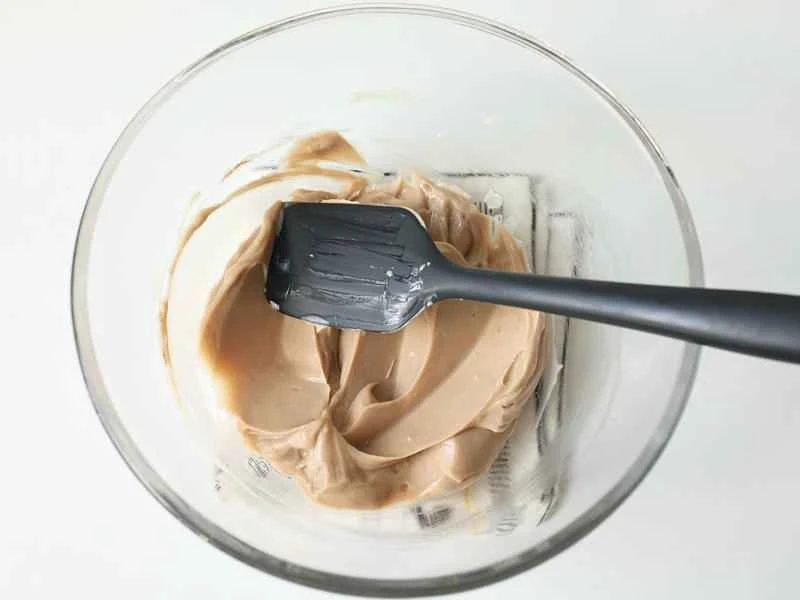
Mix with a spatula
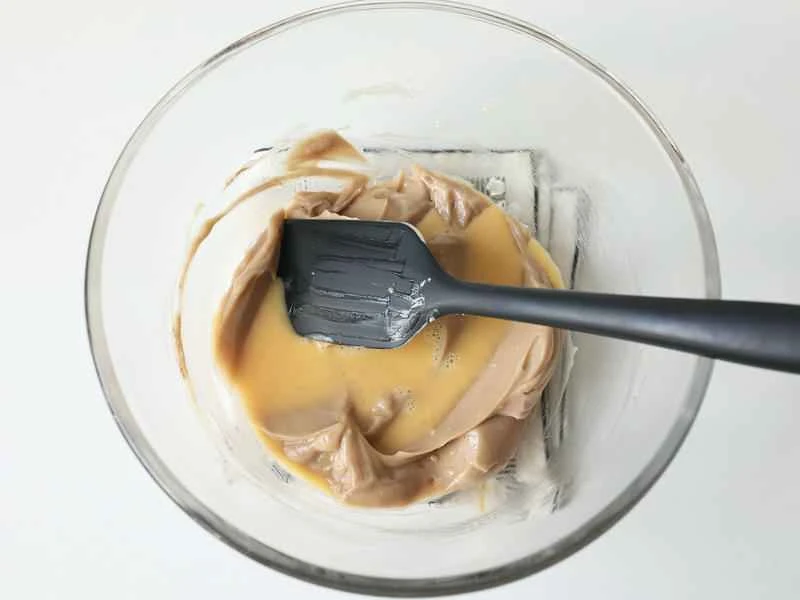
Add the room temperature egg mixture in 2-3 batches (I added it all at once, don't follow my example, I'm a genius). Whisk well with a large whisk, not a spatula, as it won't mix evenly. Add the next batch only after each addition is well mixed to prevent oil and water separation.
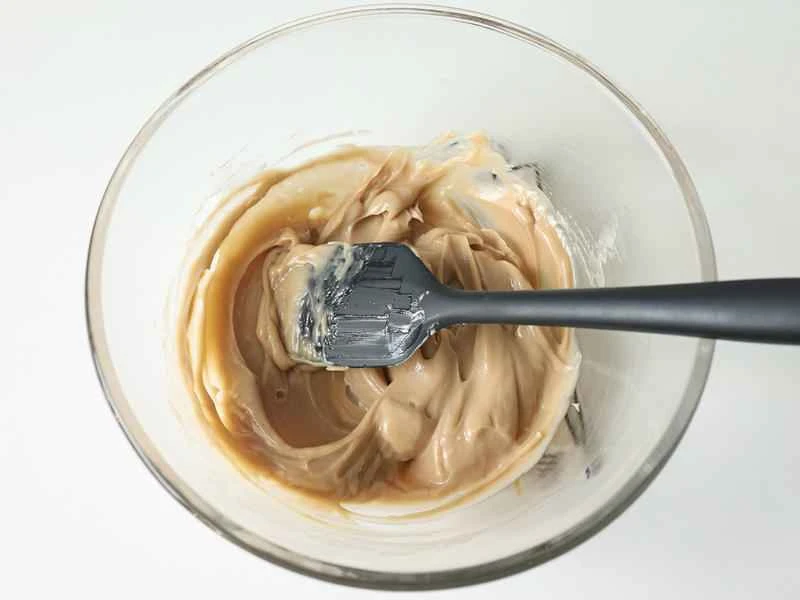
Still oil and water separation? Use a whisk, stir quickly! Stir continuously! Keep stirring, keep stirring, keep stirring, and it'll be solved. If that doesn't work, use an electric mixer, and if that still doesn't work, use a stand mixer. Don't ask me how to fix it anymore (roaring)! It's not dead, it doesn't need fixing, you just need to keep up with the speed.
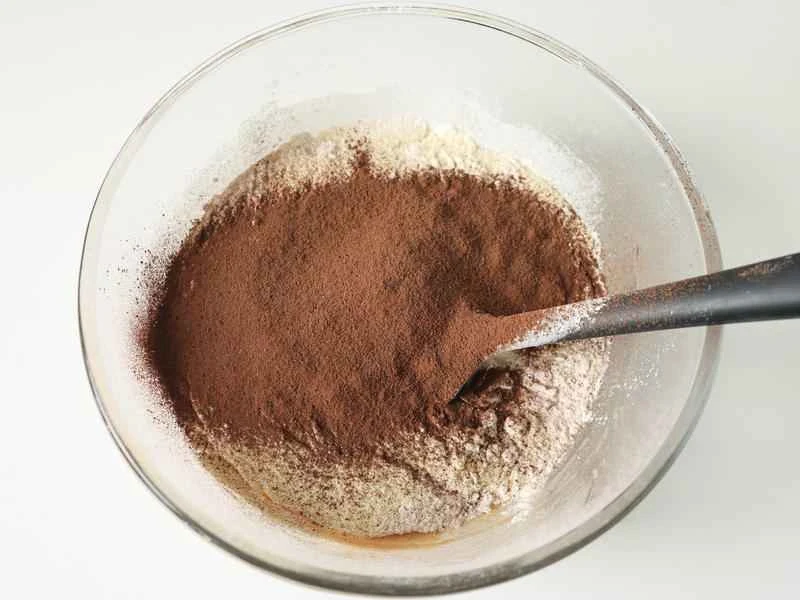
Sift in cake flour, cornstarch, milk powder, and cocoa powder.
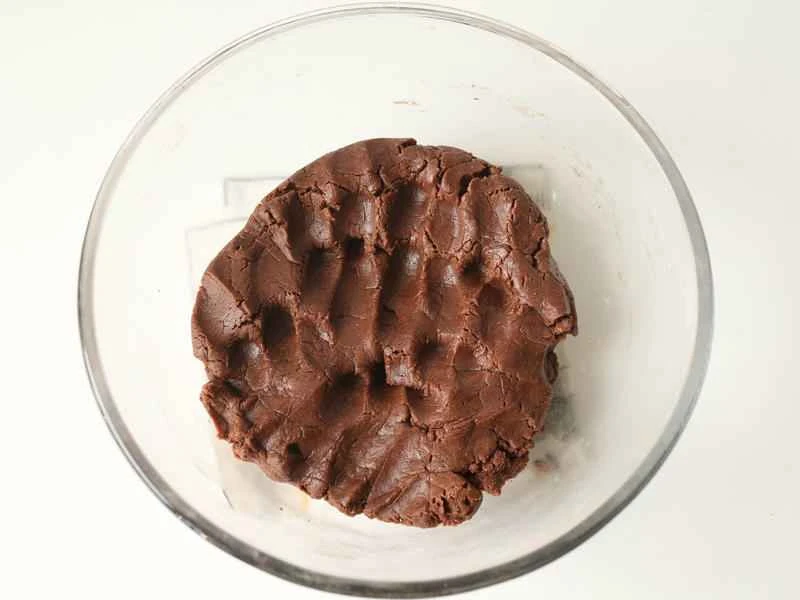
After roughly mixing with a spatula, put on disposable gloves and knead into a ball until there is no dry powder. It is a very soft cookie dough. Do not over-knead, as it will easily develop gluten.
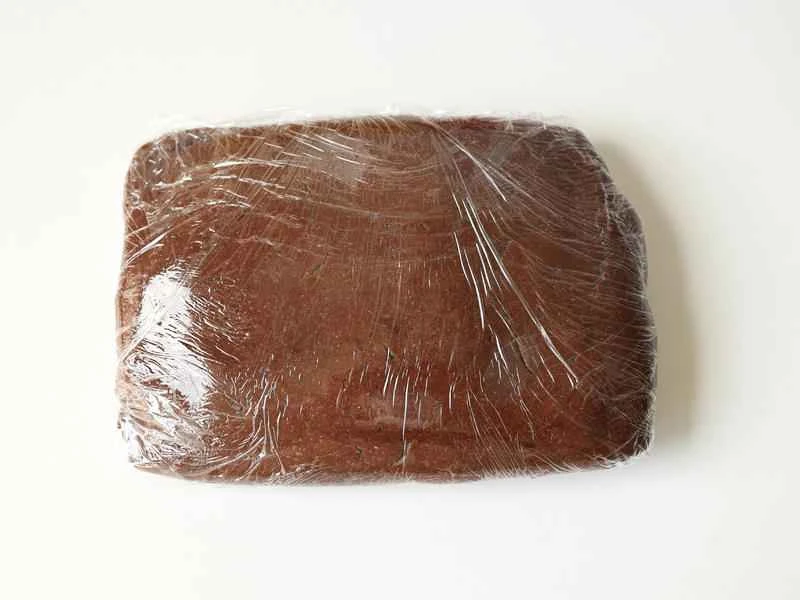
Wrap it in plastic wrap and refrigerate for 1 hour before use to prevent oil from seeping out.
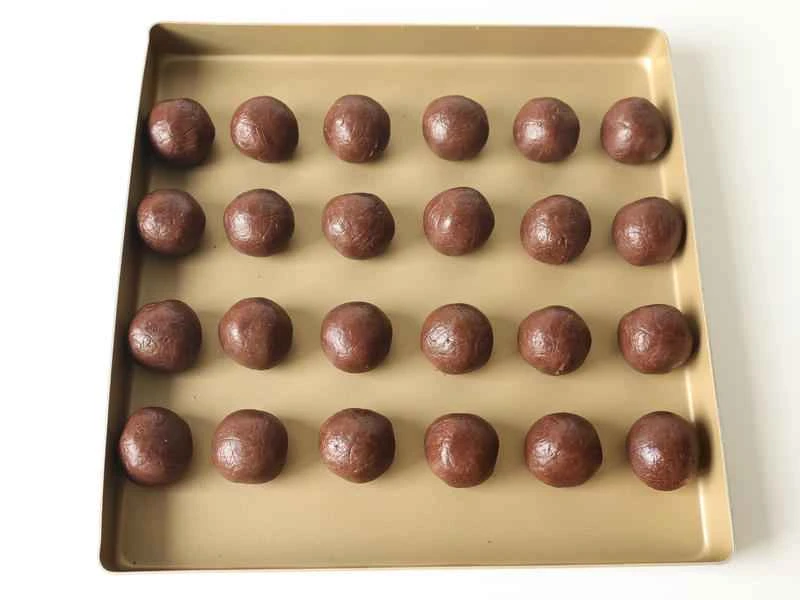
After refrigerating, take it out, divide it into 25-gram portions, and roll them into balls.
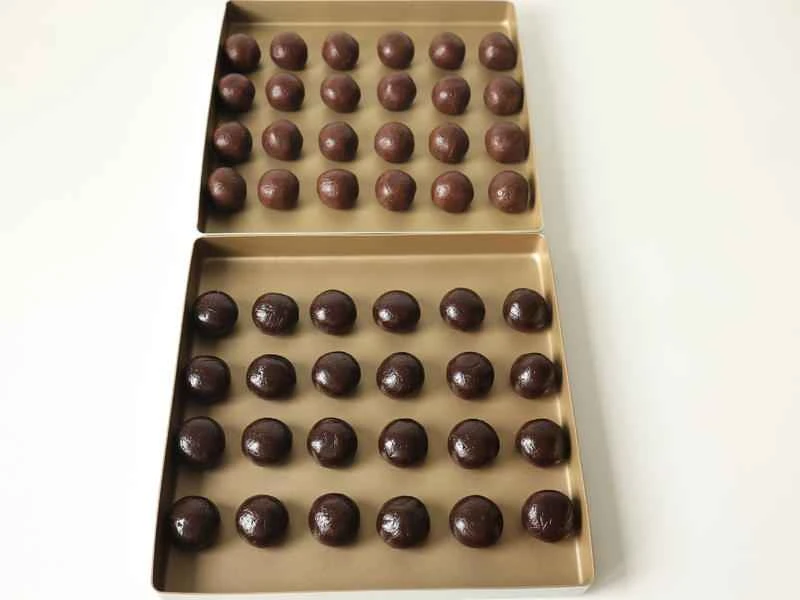
The dough and filling are ready, so you can start wrapping. Seal them with plastic wrap, and use one at a time to prevent them from drying out.
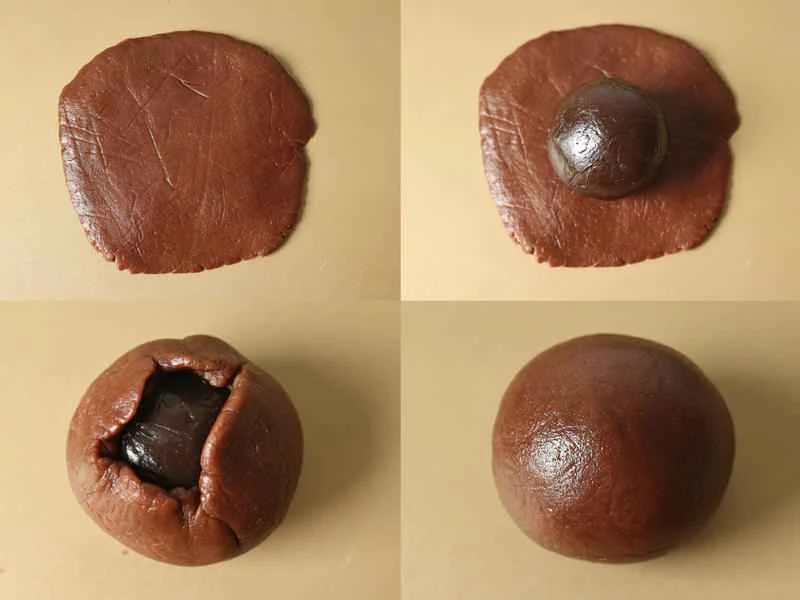
Wear disposable PVC gloves throughout the process to prevent sticking. Flatten the mooncake dough into a circle in your palm, making it thicker in the center and thinner at the edges. Place the filling in the center, support the bottom with one hand, and use the other hand to gently gather the dough upwards. Seal tightly, ensuring no air pockets remain, and make sure the opening is sealed perfectly. Roll the dough into a smooth ball in your palm until it is free of fine lines.
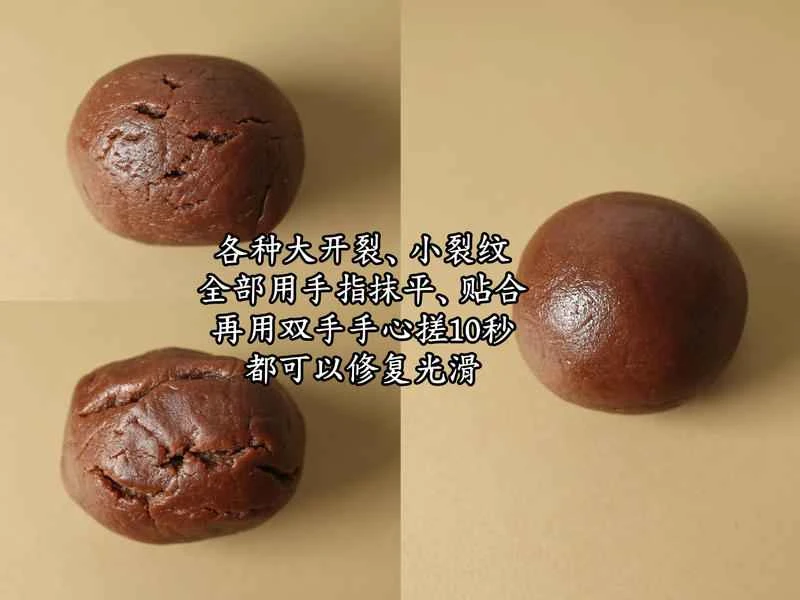
When wrapping, the dough may crack slightly, which is normal. Pinch it together with your fingers, smooth it out, rub your palms together for 10 seconds, and silently chant: "Balala Energy - Fanilala - Crack Disappearance Magic~" When the time is up, open it and check; it will become very smooth. If you want it even smoother, repeat the above steps.
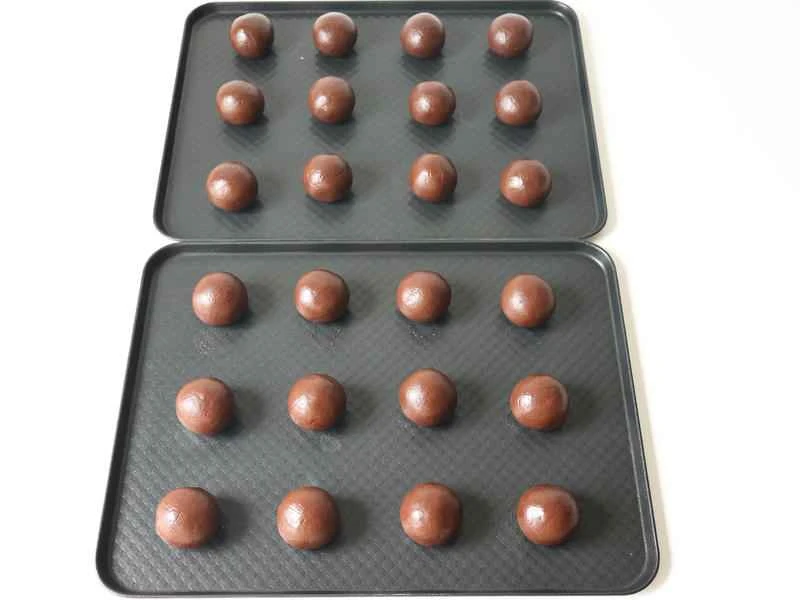
Wrap all the fillings, leaving space between them, and place them on a non-stick baking tray. If using a non-stick baking tray, line it with parchment paper or a baking mat. Finally, press them together in a mold; the patterns will be clear and the mold feet won't easily crumble.
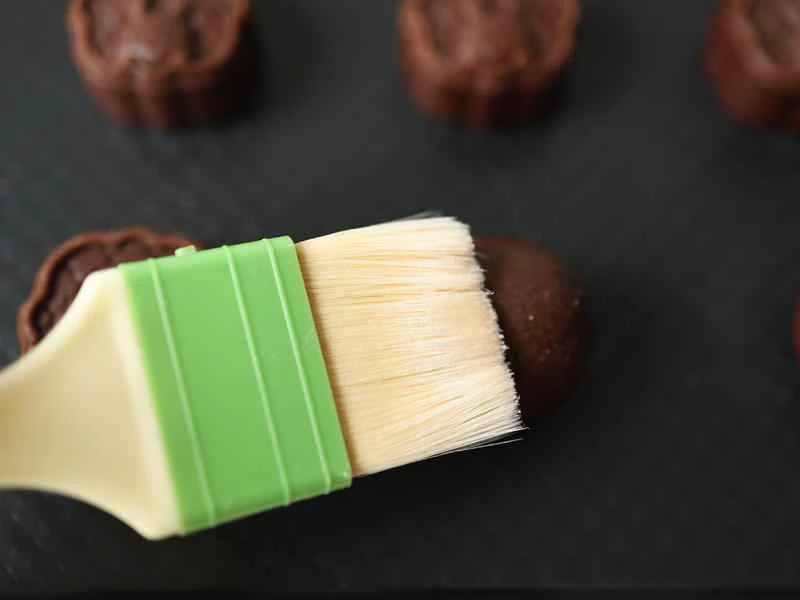
Brush a thin layer of dry powder onto the mooncakes with a brush to prevent sticking. Use as little powder as possible, as too much will result in many white spots after baking, affecting the appearance. Non-stick mooncake molds don't require powdering; I didn't powder most of mine, I'm just demonstrating. ⚠️Try to use symmetrical molds, round or square are fine. Choose molds with clear, three-dimensional patterns and simple lines. It's best to avoid irregularly shaped molds or those with shallow or complex patterns, as the slight expansion of the milk-flavored mooncakes after baking may obscure the patterns.
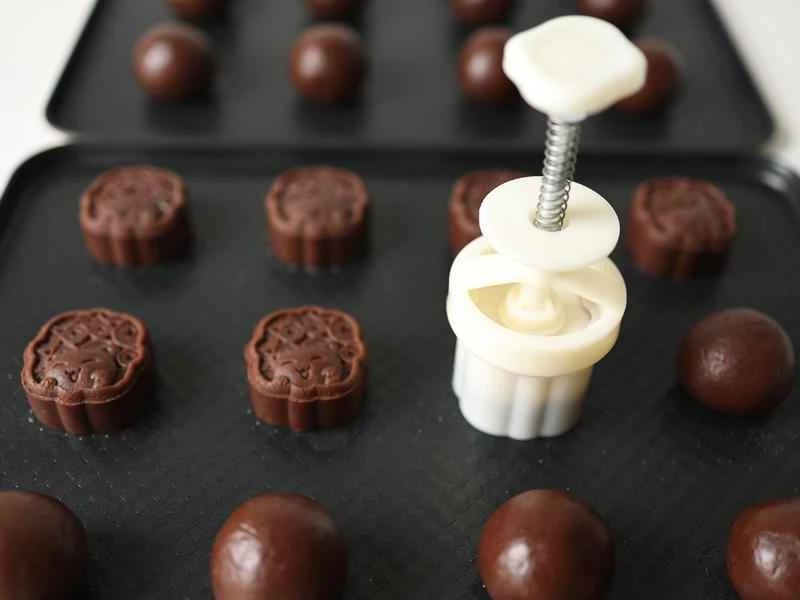
Choose the smooth, wrinkle-free side to contact the dough. If the dough is too large, gently roll it to be slightly smaller than the mold to prevent tearing. Place it on a baking sheet, with the sheet directly in front of you to prevent tilting. Hold the mold firmly with one hand and press down firmly with the other; firm pressure is needed for a clear pattern. Hold for 3 seconds, then slowly release and let it spring back to unmold. Avoid releasing immediately to prevent the dough from sticking.
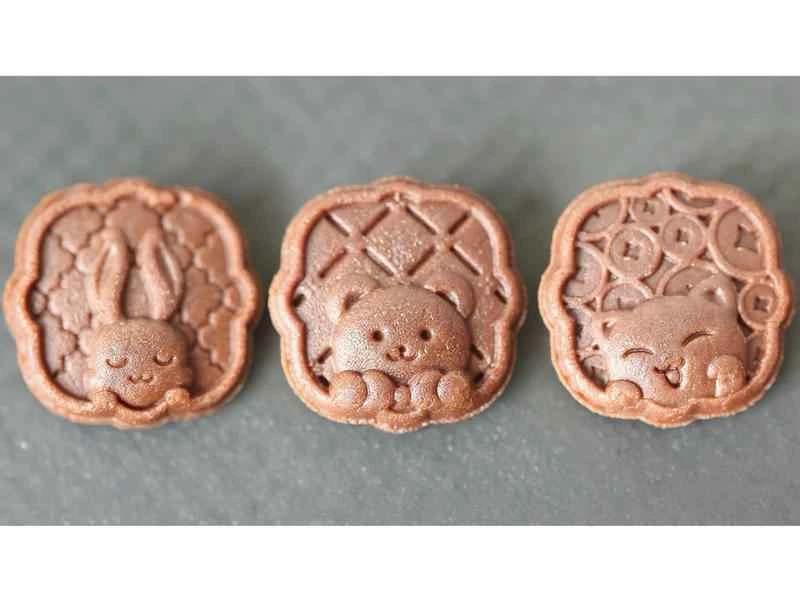
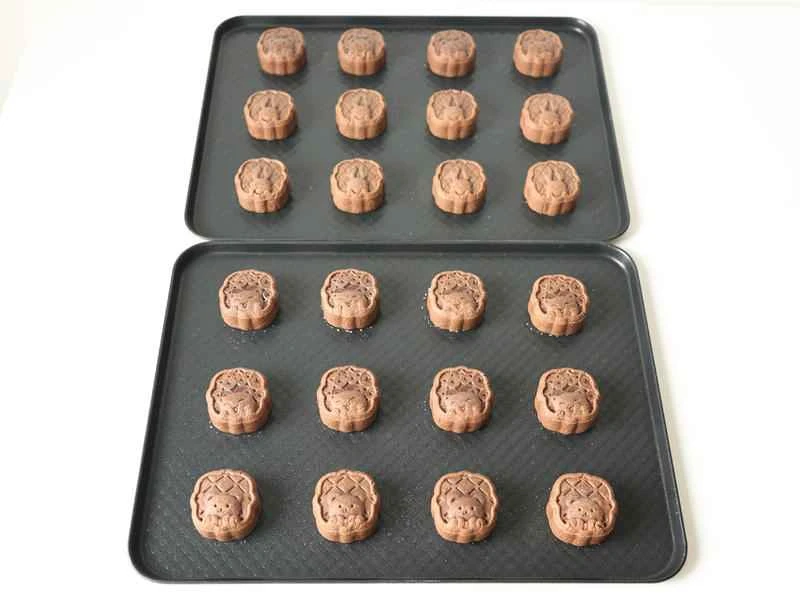
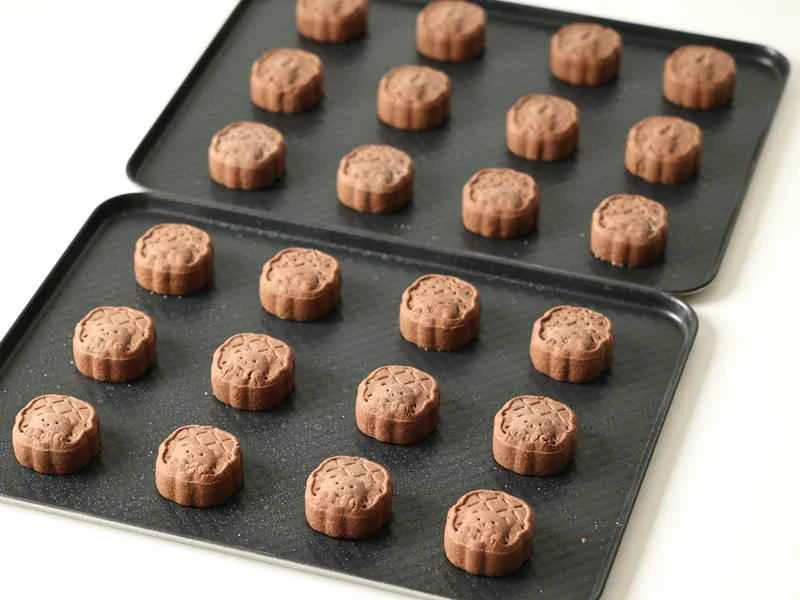
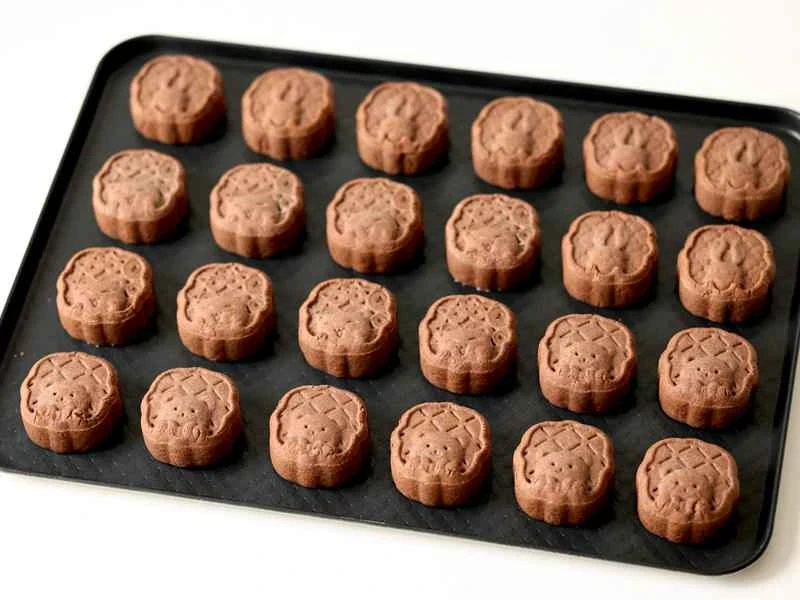
Three different looks, all so cute!
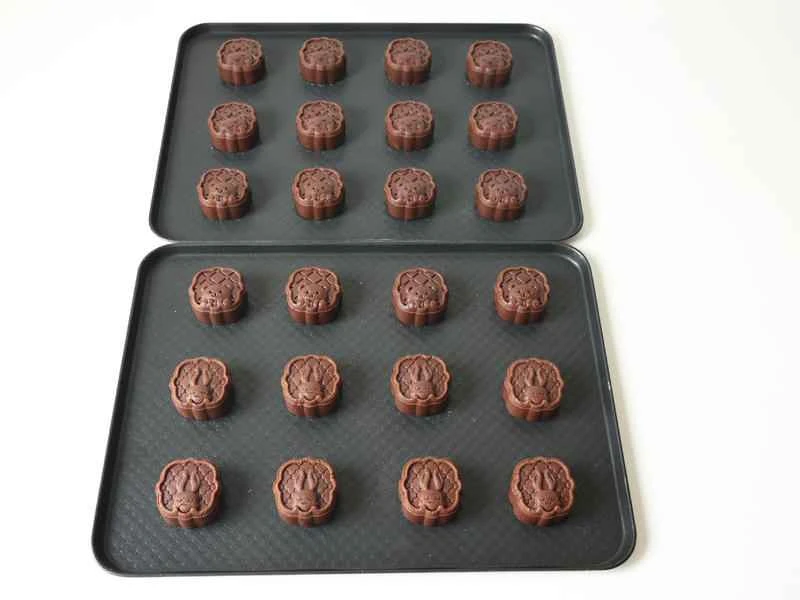
Press them all down
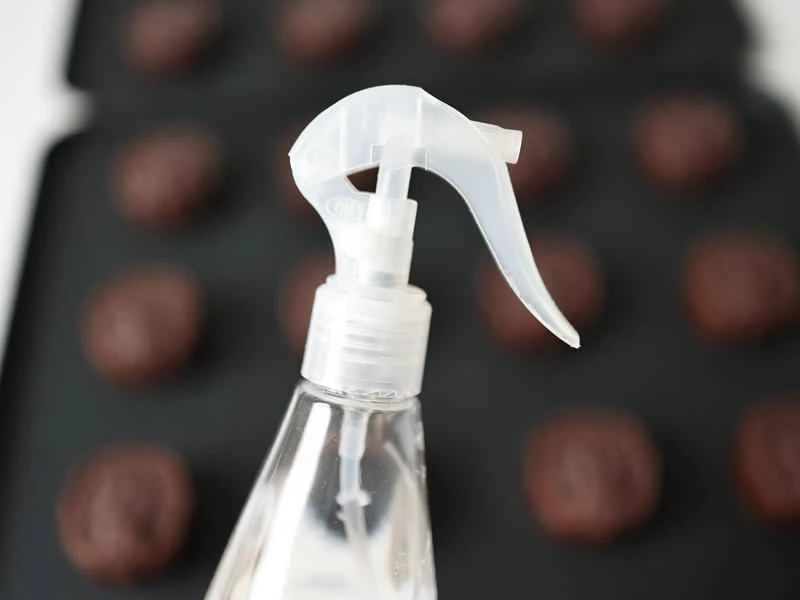
Spray water evenly on the surface of the mooncakes before baking to prevent cracking.
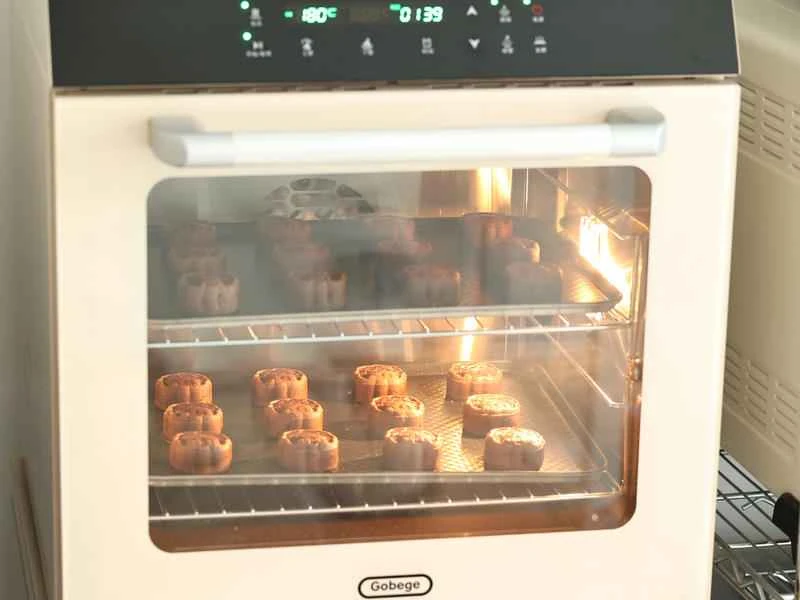
Preheat the oven to 200 degrees Celsius using the convection mode (Gorbic 80S). Place the oven in the convection oven at 180 degrees Celsius and bake for 6 minutes to set the shape. Remove and let cool. ⚠️For a 40-liter convection oven, use a convection setting of 180-190 degrees Celsius and bake for approximately 6 minutes to set the shape. ⚠️For other household ovens using the top and bottom heat setting, use 190-200 degrees Celsius and bake for 6-8 minutes to set the shape. Remove and let cool.
Remove from the oven and let cool until the surface is no longer hot to the touch, below 50 degrees Celsius.
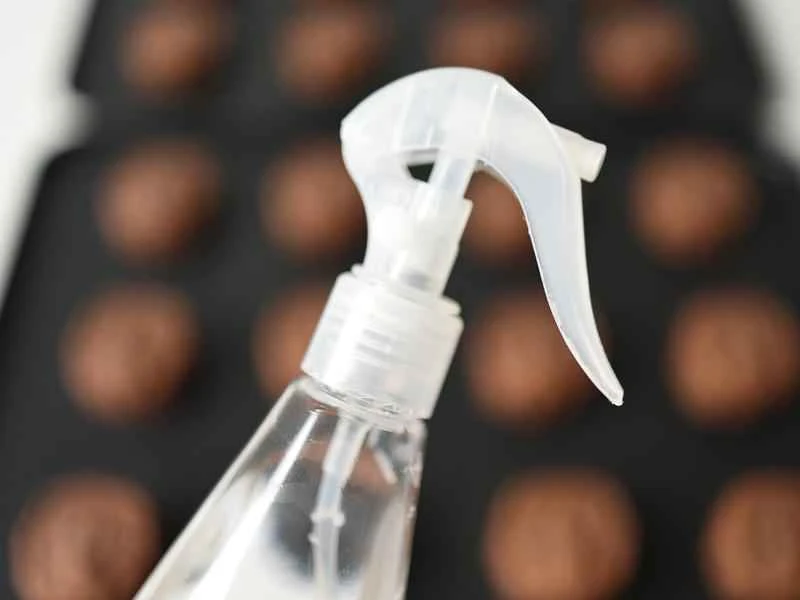
Spray the surface with water again! Don't forget to prevent cracking!
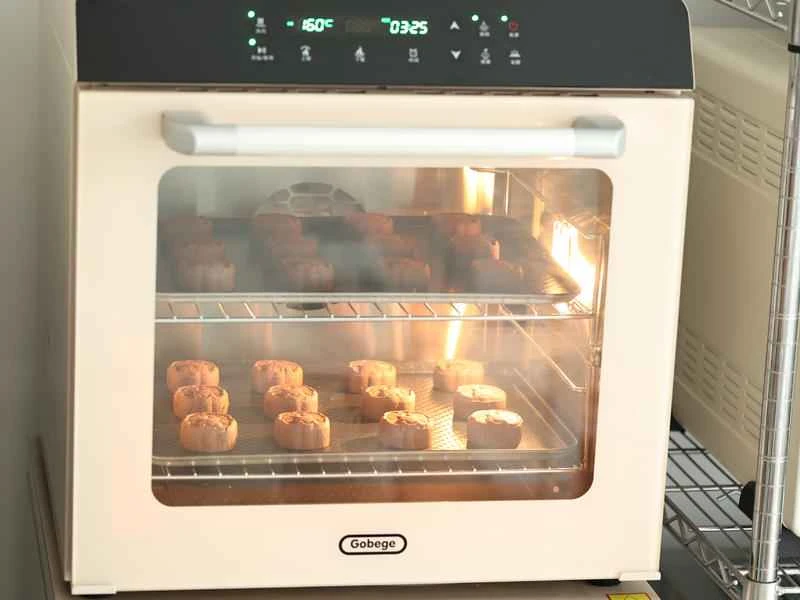
Preheat the oven to 200°C (390°F) using the convection oven mode (GROUP 80S). Bake at 150-160°C (300-320°F) for about 15 minutes. Keep a close eye on it during the last 5 minutes; remove from the oven when cracks appear, let cool slightly, and then bake again. ⚠️For a 40L convection oven, bake at 160°C (320°F) for about 15 minutes. ⚠️For other household ovens using the top and bottom heat setting, bake at 150-160°C (320-320°F) for 15-20 minutes.
The crust will still be soft when it comes out of the oven, so don't touch it yet. It will become crispy after it cools completely. Minor cracks are okay; they will heal on their own the next day. Larger cracks should be pinched together while it's still warm; they will mostly heal by the next day.
Eat it directly after cooling; it will remain crispy throughout and doesn't need to rehydrate.
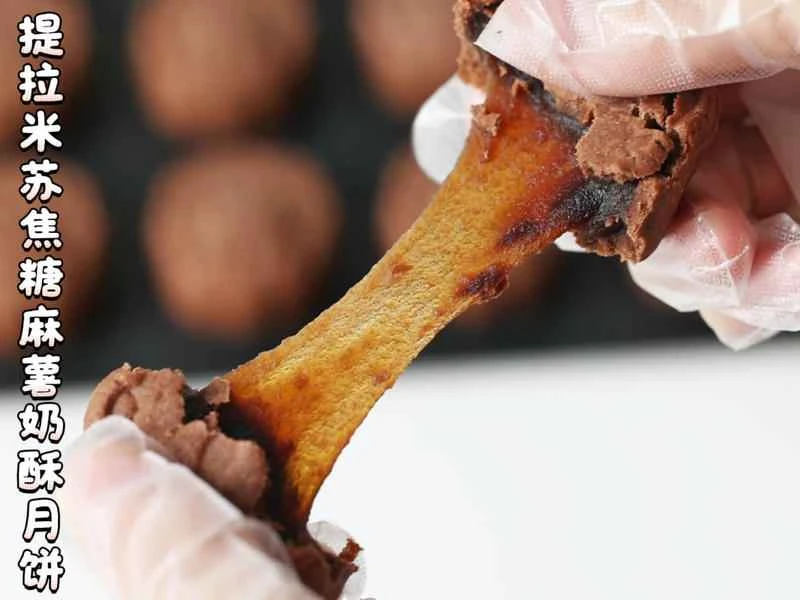
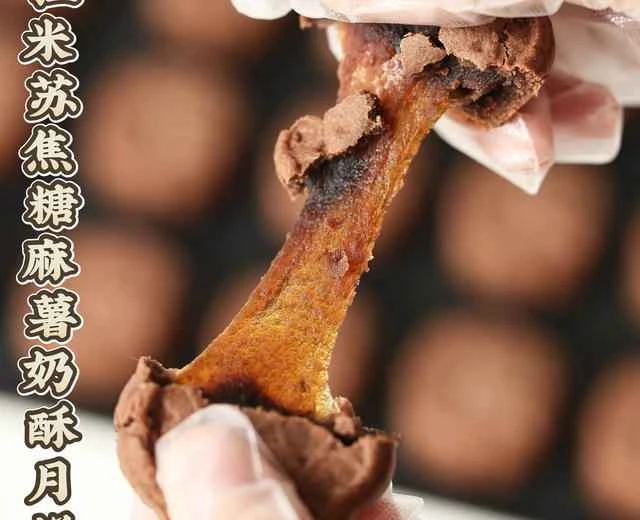
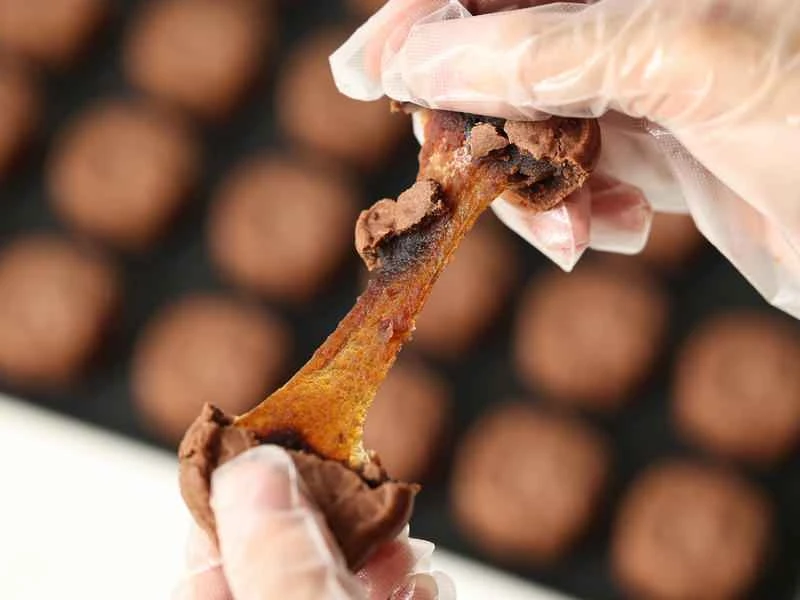
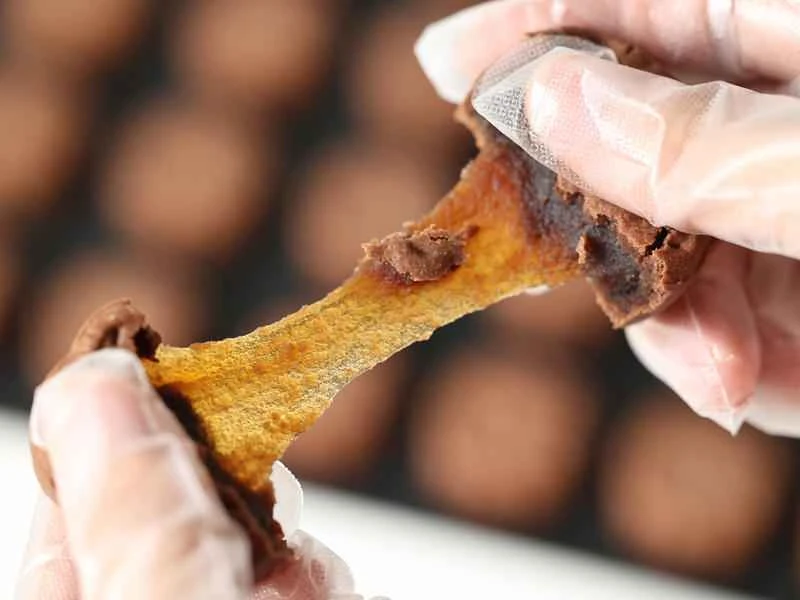
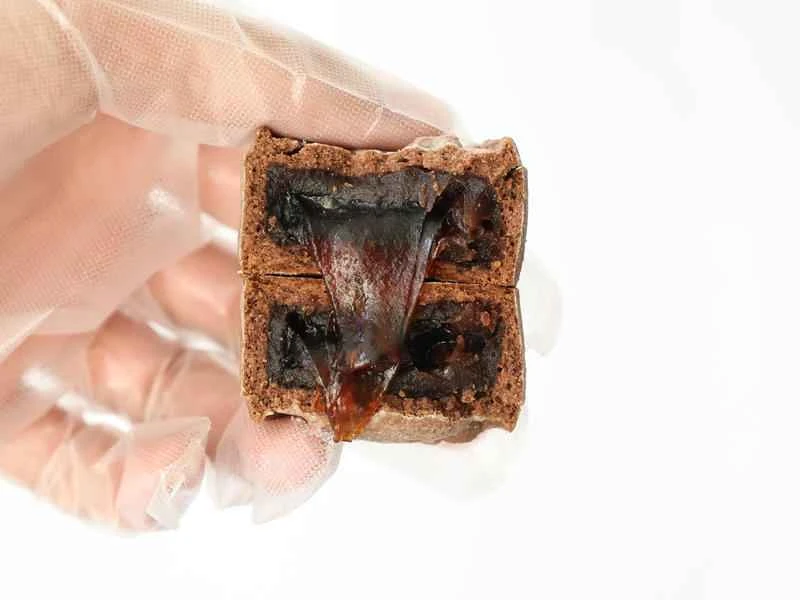
Check out the video to see how stretchy it is! This is what a mooncake looks like when it's cooled to hand temperature! Mochi also stretches! It's even better when it's warm.
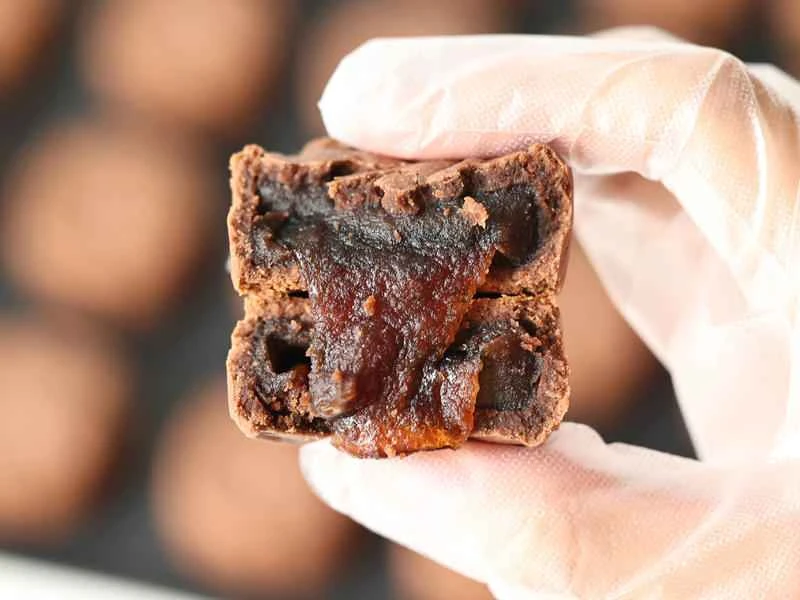
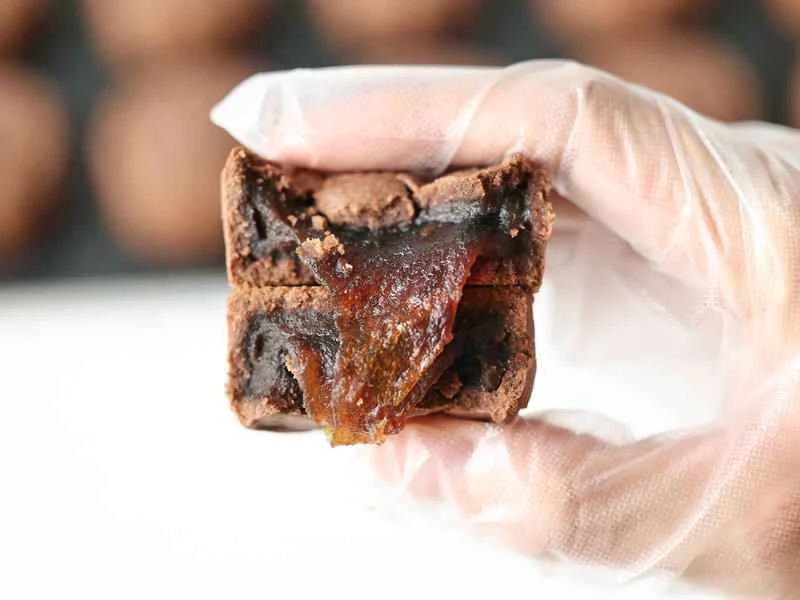
The best mooncake of the year has arrived! The crust is incredibly crispy and fragrant, just like a cookie, with a rich milky and cocoa flavor. It's so crumbly it practically melts in your mouth. The filling is a new special tiramisu, a blend of chocolate and coffee flavors that isn't bitter at all. The center is filled with stretchy caramel mochi, chewy and bouncy with a subtle caramel aroma. The multiple textures are a truly amazing combination! I was completely won over after just one bite, and I had to share several. It's so delicious I almost cried! 😭😭😭
I seasoned the crust to about 30% sweetness, so feel free to add sugar; it's not cloyingly sweet at all! The filling is 50-70% sweet, so even those who don't like it too sweet can enjoy it! This isn't my first time making milk-flavored mooncakes, but this combination is amazing—it's so harmonious! Several friends have said it's the best mooncakes they've ever had! Go ahead and make it with confidence!

Remember to come and help me with my homework! Give me a thumbs up, thank you everyone! May those who give me a thumbs up be rich!! Wishing everyone delicious mooncakes, and may your mooncake season be filled with orders and booming sales! For other delicious mooncakes, click on my profile picture to go to my homepage, and search for "mooncake" in the top search bar.
٩(˃̶͈̀௰˂̶͈́)و
(˶‾᷄ ⁻̫ ‾᷅˵)
( ・᷄ὢ・᷅ )
Tiramisu Caramel Mochi Cocoa Shortbread Mooncake | One Bite and You'll Be Delighted | Cookie-like Texture | Tips for Crispy and Crumbly Flavor
⚠️⚠️Storage Method: After the mooncakes have completely cooled from the oven, seal them in a bag. Without an oxygen absorber, they can be stored at room temperature for 7-15 days. With an oxygen absorber, they can be stored at room temperature for 30-60 days. ⚠️Oxygen absorbers must be used for resale. ⚠️It is also recommended to use an oxygen absorber when giving mooncakes as gifts. If not, instruct the customer to consume them as soon as possible or freeze them. ⚠️Although mooncakes are high in oil and sugar and do not spoil easily, there is no precise shelf life. Hygiene cannot be guaranteed after handling multiple times immediately after baking. You can test this by leaving a mooncake at room temperature to see when mold appears or the mooncake spoils. ⚠️If you are eating them yourself, without an oxygen absorber, it is recommended to seal them tightly and freeze them immediately after cooling. They will not spoil. Before eating, thaw them completely at room temperature; the texture will remain unchanged, still crisp and fragrant. The mochi will still be stretchy at room temperature. ⚠️Instead of worrying about how long they will last, just freeze them. Freezing is essentially permanent storage.