This recipe makes 18 beautiful and delicate flower-shaped breads. They're perfect for filling leftover mooncake filling from the Mid-Autumn Festival, or any other fillings you like. The reason for this shape is that some people buy mooncake fillings that are quite sweet. This design allows you to break them apart and eat them petal by petal, with only a small amount of filling on each petal. By changing the shape and the amount you eat at once, it's less likely to be cloying. I'm such a genius! Beautiful and delicate bread, let's make some! Other delicious bread recipes below 👇 https://www.xiachufang.com/recipe/107620540/ https://www.xiachufang.com/recipe/107544579/ https://www.xiachufang.com/recipe/107591128/ https://www.xiachufang.com/recipe/106609116/ https://www.xiachufang.com/recipe/107518947/ https://www.xiachufang.com/recipe/107511105/ https://www.xiachufang.com/recipe/107474044/ https://www.xiachufang.com/recipe/107332329/ https://www.xiachufang.com/recipe/107337612/ https://www.xiachufang.com/recipe/107505986/ https://www.xiachufang.com/recipe/107319262/ https://www.xiachufang.com/recipe/107425542/ https://www.xiachufang.com/recipe/107326756/ https://www.xiachufang.com/recipe/107314483/ https://www.xiachufang.com/recipe/107343474/
Materials
🌼Golden Flower Bread|Steps for Making Use Up Mooncake Filling
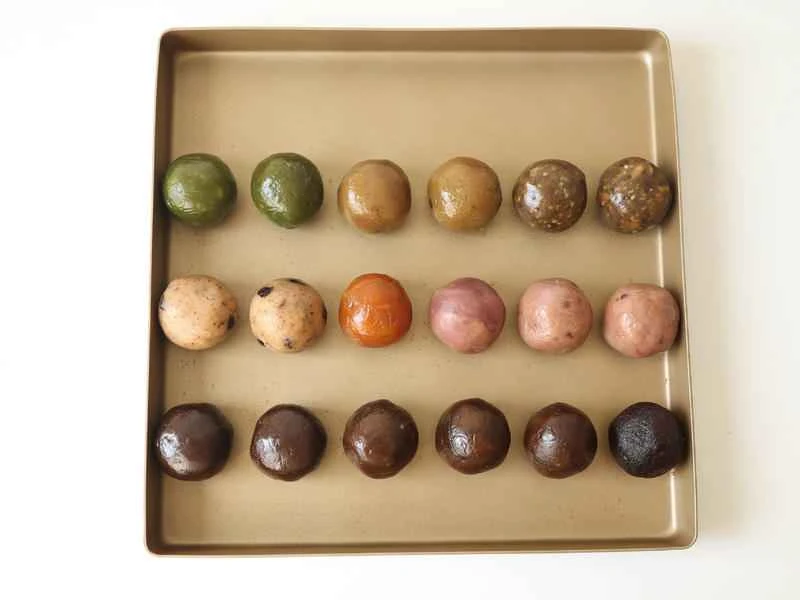
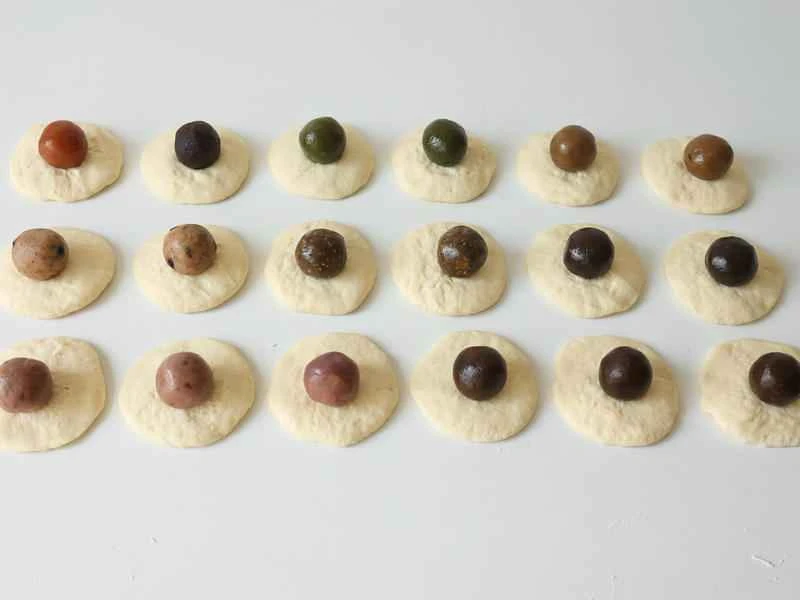
Prepare the filling, 40 grams per piece, roll into balls, make 18 in total. If you don't want too much filling, you can make 30 grams per piece.
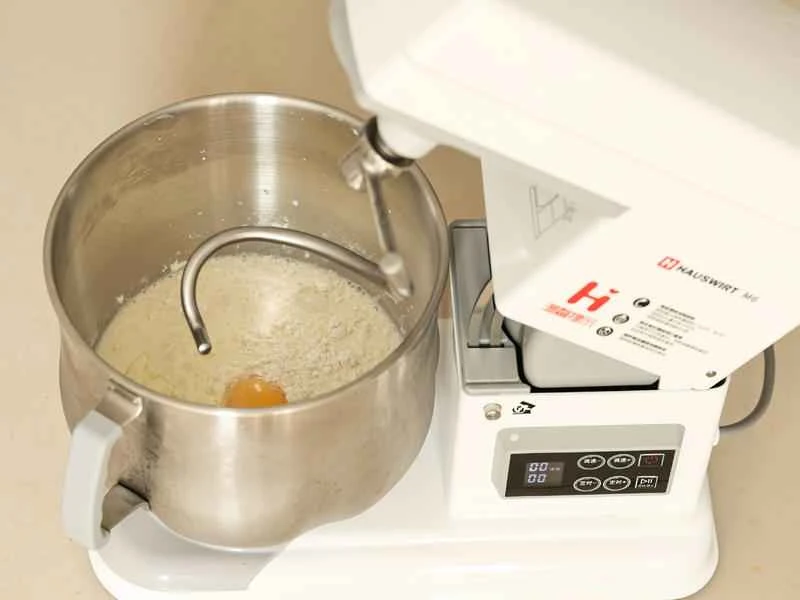
Add all ingredients except salt, yeast, and butter to the bowl of the Hauswirt M6 stand mixer.

Set the machine timer for 11 minutes, speed 2 for 10 seconds, speed 3 for 10 seconds, speed 4 for 10 seconds, and speed 5 for 30 seconds. At this point, the dough should have formed a ball. Switch to speed 6 for 10 minutes, kneading until a rough membrane can be stretched. (See picture). If kneading half the amount of dough, shorten the time by 2-3 minutes. ⚠️⚠️In areas with high room temperature, it's crucial to control the dough temperature. We didn't mention temperature control initially because we didn't add yeast, so don't worry too much about temperature rise. If the temperature exceeds 22 degrees Celsius, remove the dough, spread it evenly in a sealed container, and freeze it until it reaches 20 degrees Celsius before kneading. You can also refrigerate or freeze the stand mixer.
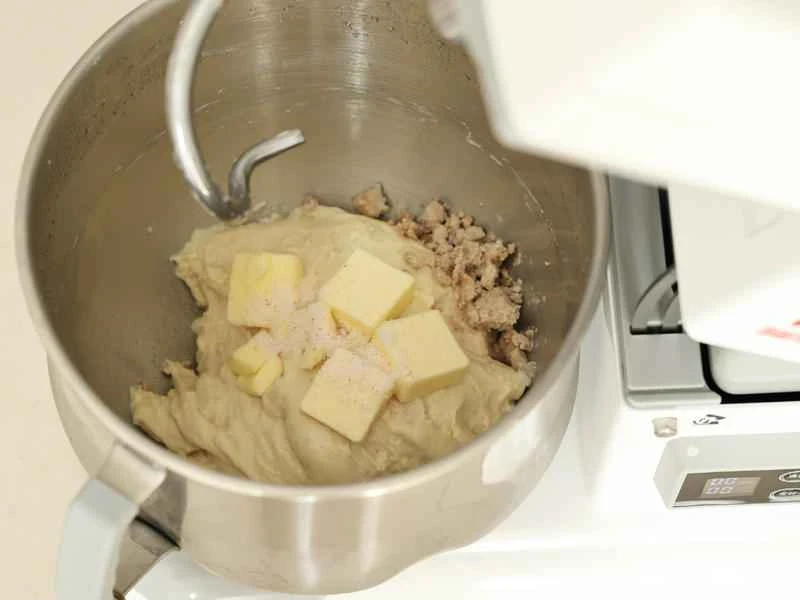
After cooling, add salt, yeast, and butter. (The yeast should be incorporated into the dough, avoiding contact with the oil and salt.)
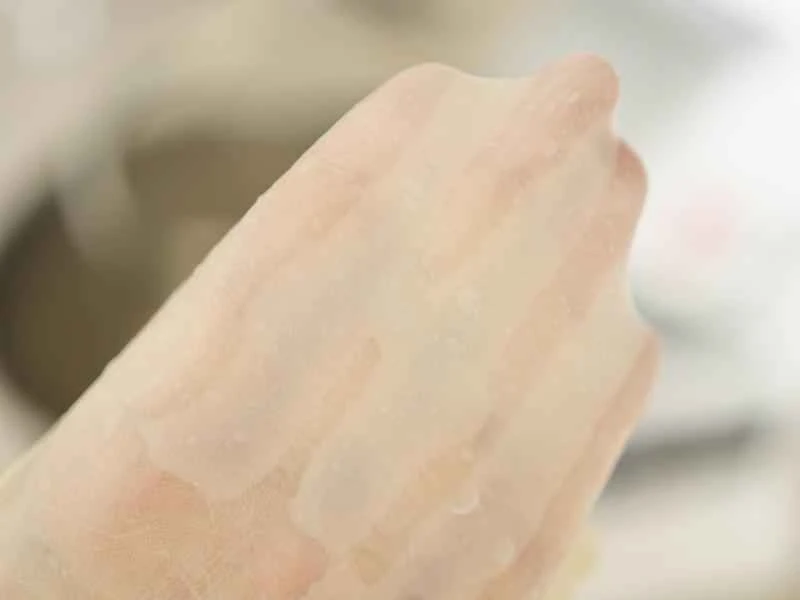
Set the machine timer for 7 minutes. Beat at speed 4 for 1 minute, then at speed 5 for 1 minute, at which point the butter and salt will be fully absorbed. Beat at speed 6 for 5 minutes, until a gluten window forms.
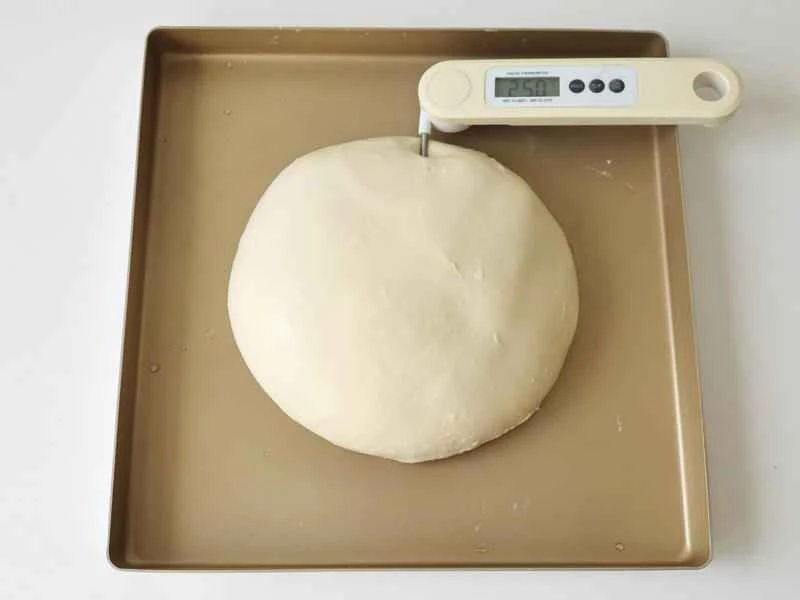
Remove the dough from the vat and round it, maintaining a surface temperature of 24-26 degrees Celsius, not exceeding 26 degrees Celsius. Place it in an environment of 26-28 degrees Celsius, seal it well, and allow it to undergo its first fermentation.
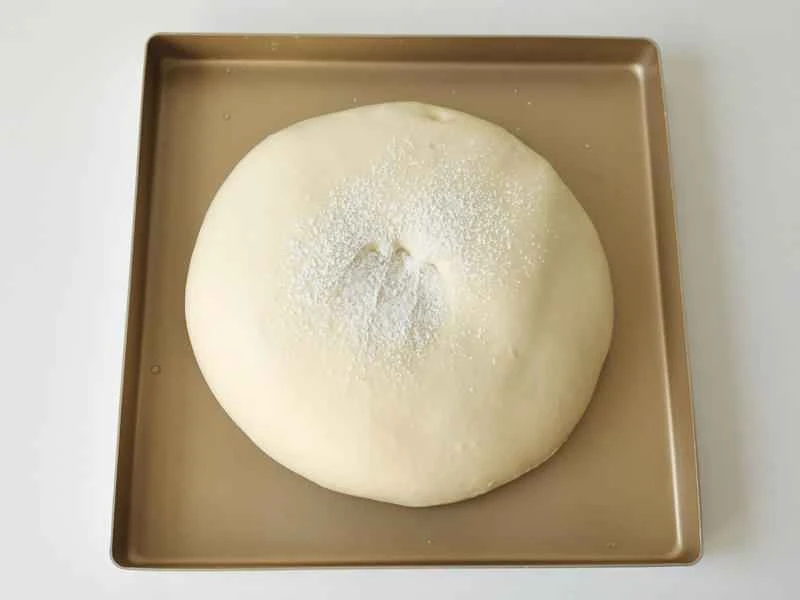
Ferment until doubled in size, about 50-60 minutes. Sprinkle with flour to prevent sticking; the mixture should leave a fingerprint when pressed and slowly spring back.
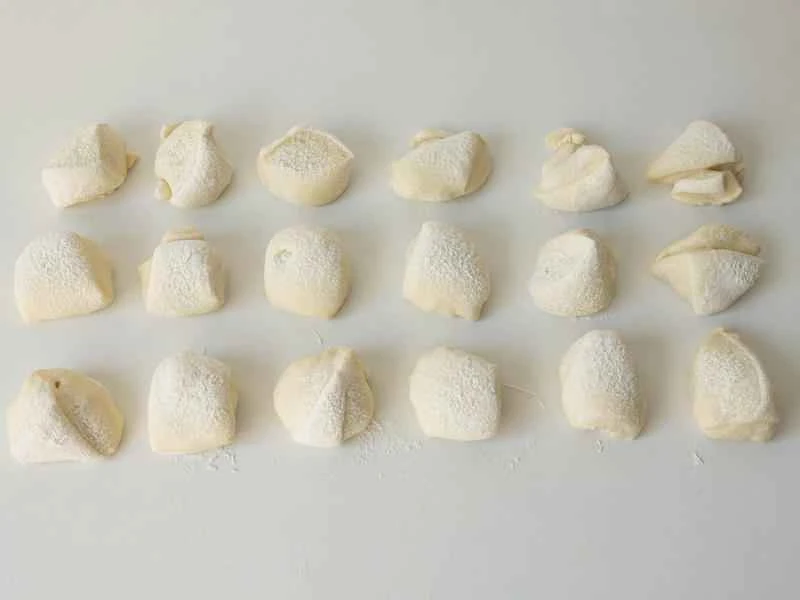
Transfer to the work surface and divide into 18 equal portions, approximately 54 grams per portion.
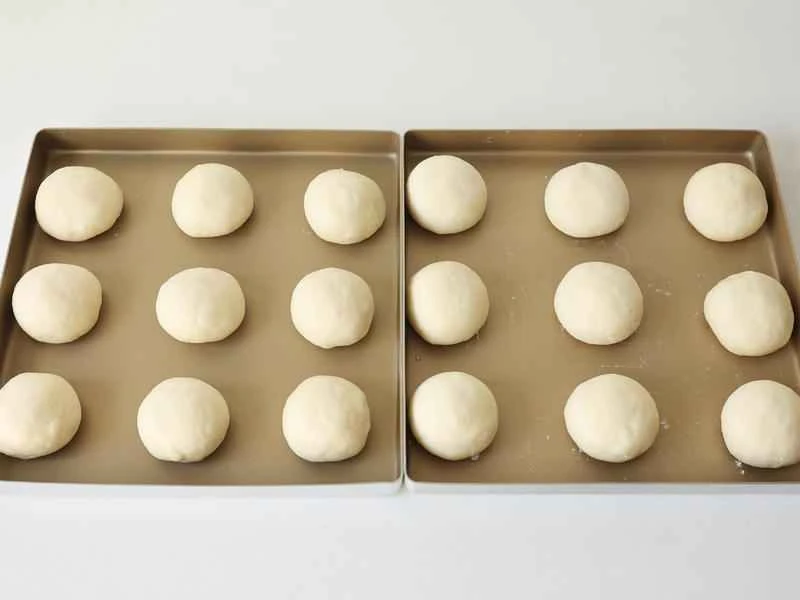
Press to release air, then round off.
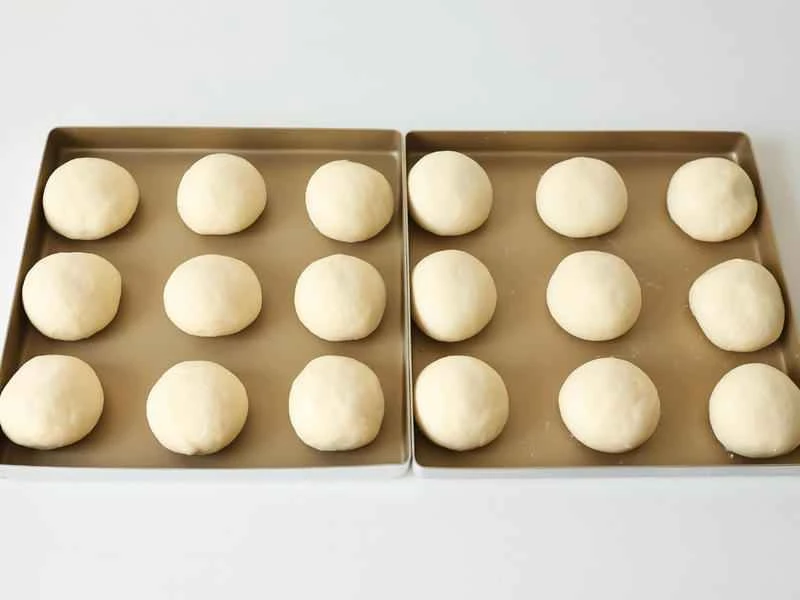
Place in an environment of 26-28 degrees Celsius, seal well, and let it relax for about 15 minutes.
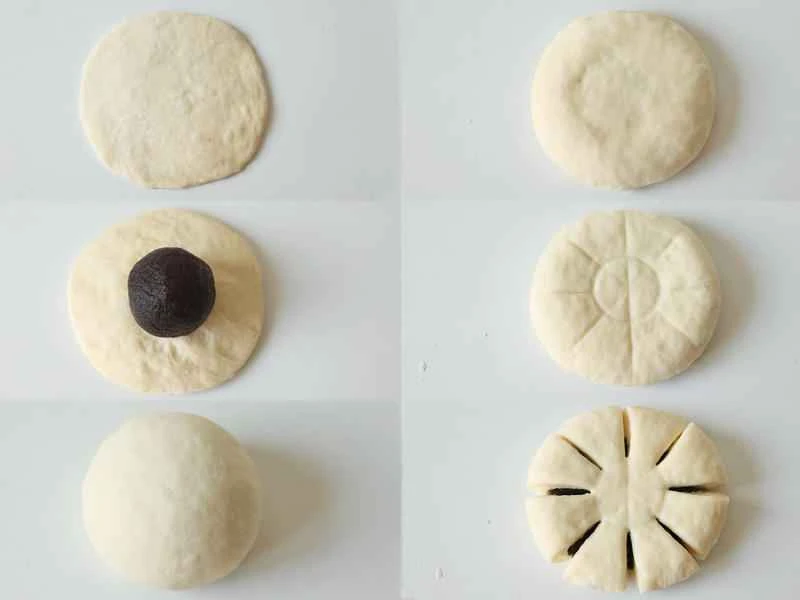
After resting, sprinkle the surface with dry flour to prevent sticking. Gently roll out the dough with a rolling pin, making it thicker in the middle and thinner around the edge. Flip it over, wrap the filling inside, and pinch the edges together to seal, shaping it into a round shape. Press it slightly into a flatbread shape, being careful not to make it too big or too thin, otherwise the flower shape will be too flat and not plump enough after baking. Use a scraper to press out the character "米" (rice), and then use a bottle cap to press an imprint in the center. Cut along the "米" pattern with scissors, making 8 cuts in total, leaving the center uncut.
Tip: Shape all 18 dough balls together by performing each step in order from 1 to 18. This will prevent large differences between the first and last dough balls, ensuring consistent fermentation and avoiding situations where the first dough ball rises significantly while the last one hasn't risen at all.
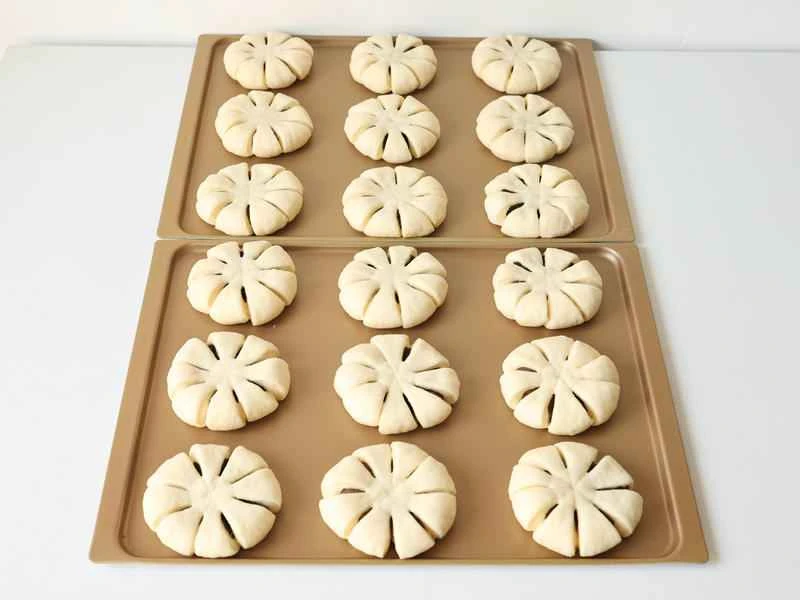
Arrange all the ingredients on a baking tray, leaving gaps between them to prevent sticking after baking. Place in a proofing box at 32°C and 80% humidity for a second proofing until the volume increases to 1.5-2 times. Proofing time: 30-50 minutes.
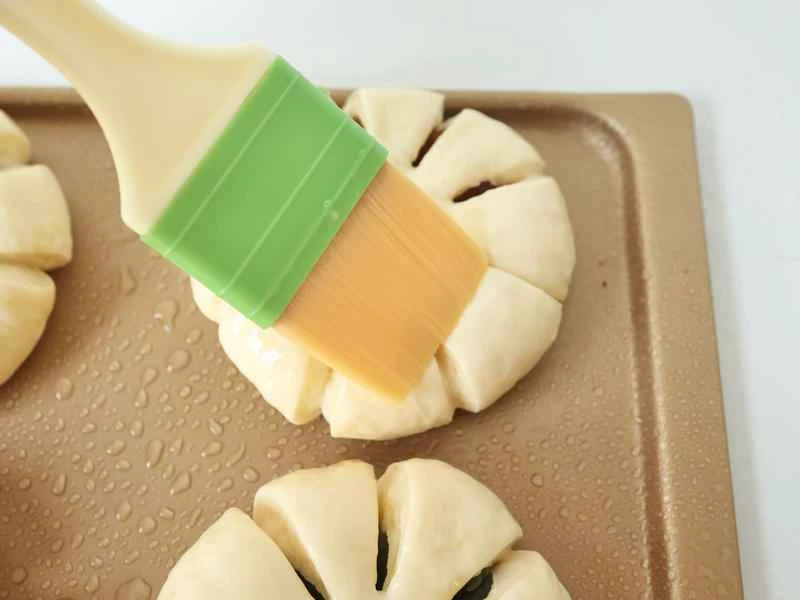
Brush a layer of whole egg wash evenly onto the surface with a soft brush. Try to avoid using a silicone brush, as it will leave streaks and won't look good after baking, unless you brush very carefully along each flower pattern.
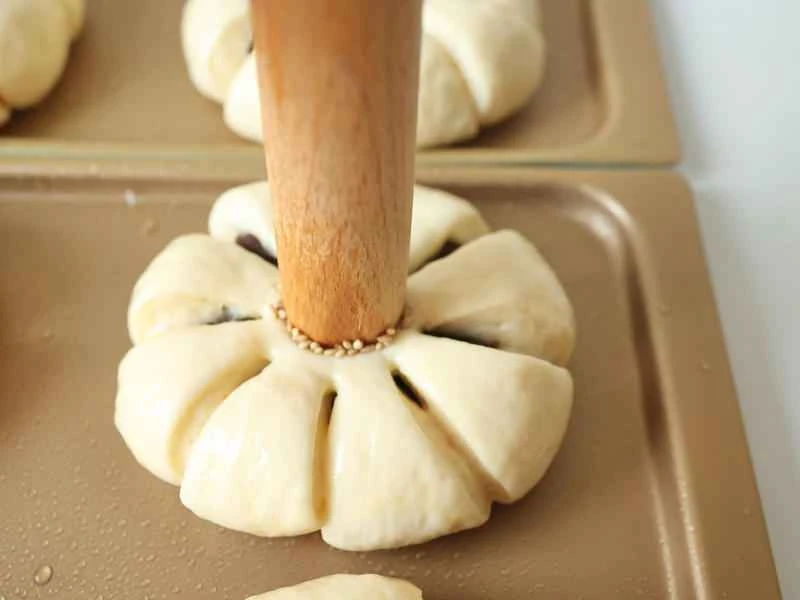
Sprinkle white sesame seeds in the center. (Dip the rolling pin in water, then dip it in white sesame seeds, and then stick it onto the bread.)

After decorating everything, spray plenty of water with a spray bottle before putting it in the oven. Convection ovens bake this type of flat, multi-cut bread, which loses a lot of moisture, so spraying it with plenty of water is essential.
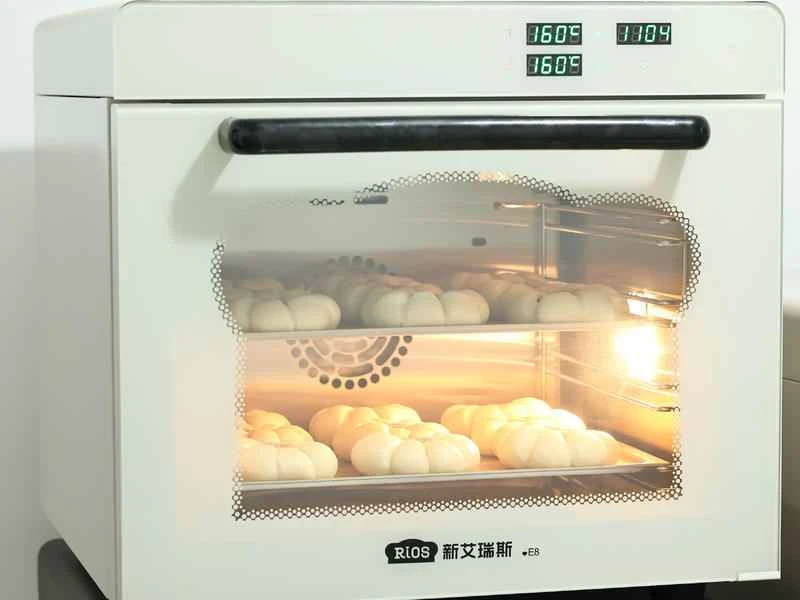
Place in a preheated oven (New Iris E8 convection oven mode), preheat to 200 degrees Celsius, then set the oven to 160 degrees Celsius and bake for 15 minutes. (Do not follow this recipe if you have a different type of convection oven.) ⚠️For home ovens with both top and bottom heat: top heat 160-180 degrees Celsius, bottom heat 180 degrees Celsius, bake for 15-18 minutes, cover with aluminum foil if it browns too quickly. (Only bake one tray at a time.) ⚠️The temperature and time in the recipe are for reference only and may not be suitable for all ovens. Adjust according to your own oven and baking habits. The baking time is similar to baking 60g filled small bread rolls; observe the progress frequently.
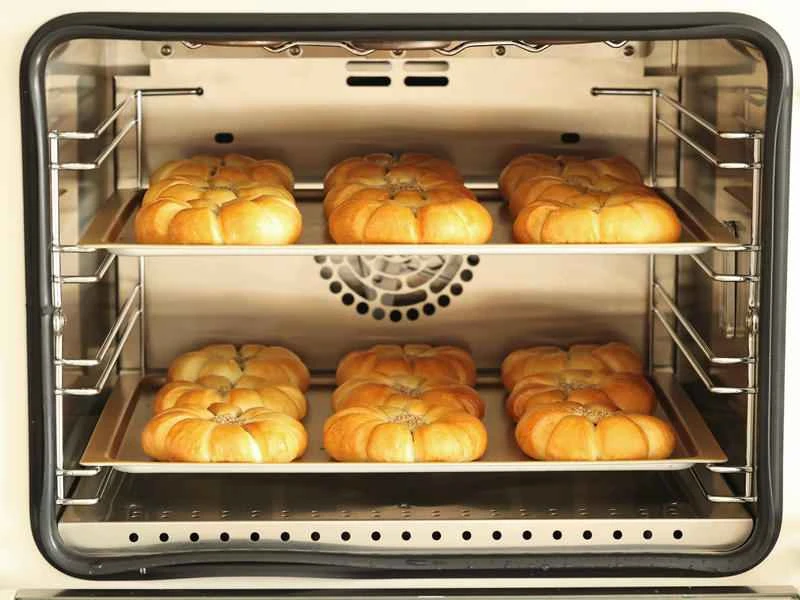
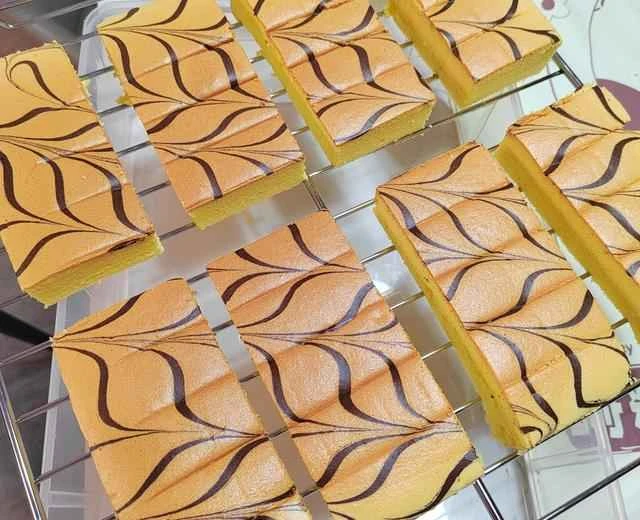
The aroma of freshly baked bread filled the house; it looks a bit like a pumpkin.
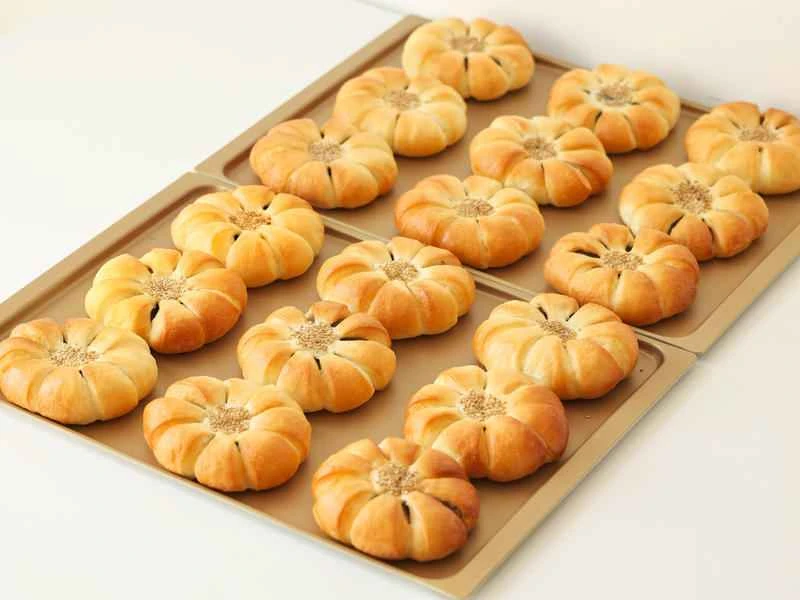
Immediately after taking it out of the oven, shake the pan to release the hot air and let it cool.
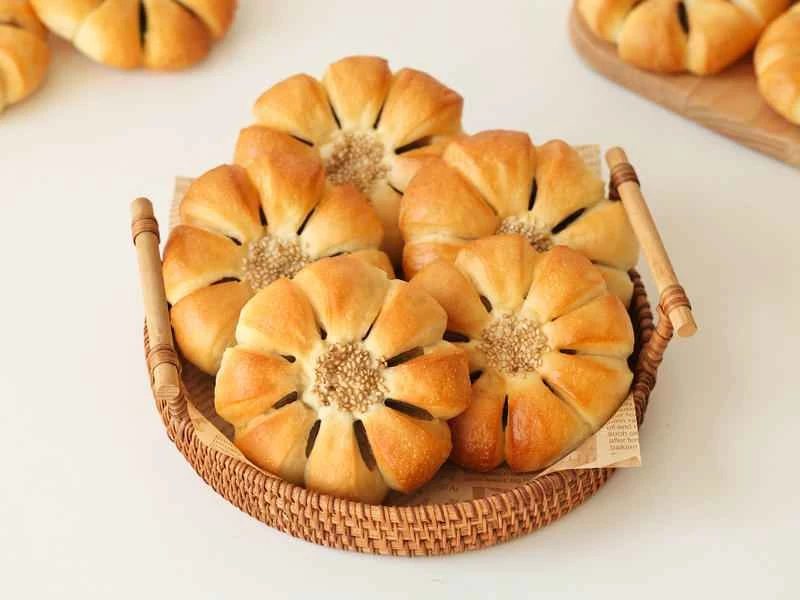
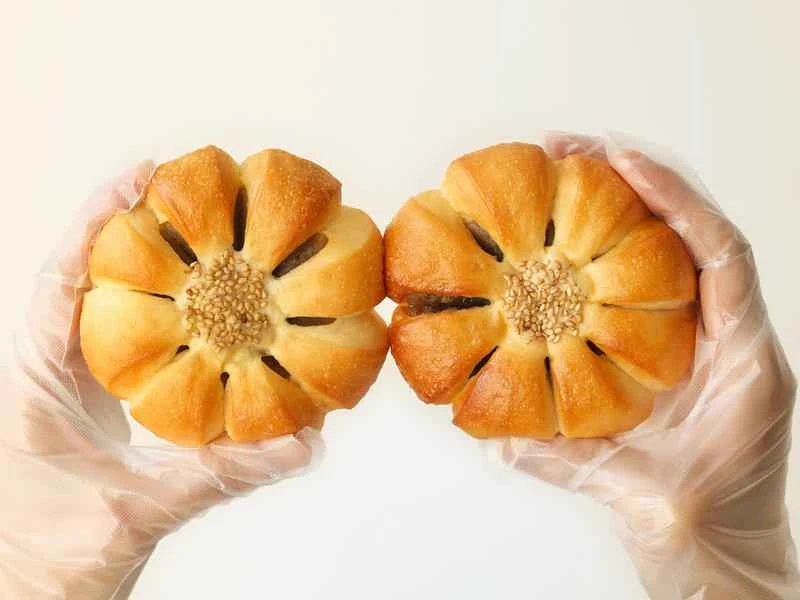
Take a beautiful photo, so cute and gentle flowers~ The reason for making it this way is that some sisters bought mooncakes with very sweet fillings. This shape allows you to break it apart and eat it petal by petal, with only a small amount of filling on each petal. By changing the shape of the food and the amount you eat each time, it's less likely to be cloying. I'm such a genius.
Here's a little yellow flower for you 🌼

⚠️⚠️Storage method: Seal in a bag and freeze at -18°C. Do not refrigerate, as refrigerated toast will stale quickly and harden easily. After completely thawing at room temperature, it will still be very soft. If it's cold, microwave on medium heat for 30-50 seconds for an even softer and tastier bread.
🌼Golden Flower Bread|Tips for Using Up Mooncake Filling
Delicious and easy to make, come and try it! Remember to submit your results and give me a "Great" rating. Thank you everyone, and I wish you all great wealth and prosperity, and may you eat as much as you want without gaining weight! For other delicious breads, follow my homepage and search for "bread" in the search bar at the top.